DIY Succulent Ledge + IKEA Shelf Hack
I’m so excited to join this talented group of bloggers to bring a little fun diy + craft inspiration your way. I’m sharing our DIY succulent ledge + IKEA shelf hack. If you are heading over here from Tana at Your Marketing BFF than welcome! Tana is my go-to for all things blogging, marketing and home inspiration!
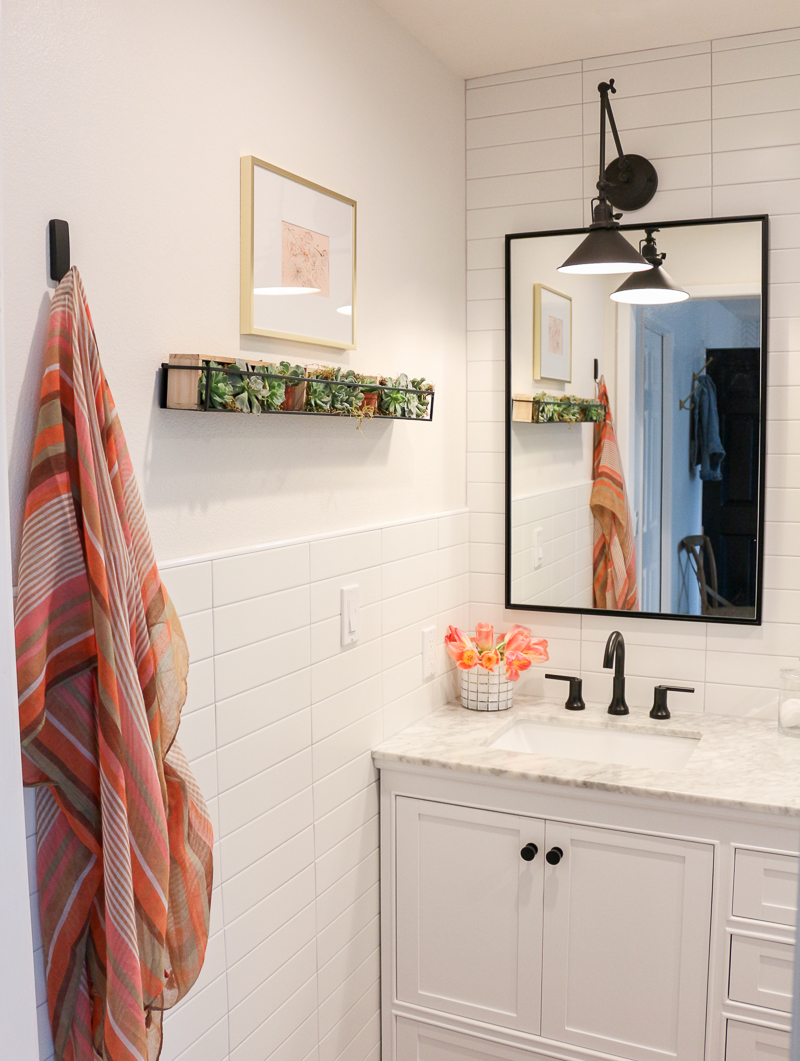
This is an easy diy project that takes less than an hour to complete and doesn’t cost a fortune. And who doesn’t love an IKEA hack?! I’m always thinking about the ways I can use IKEA items for other things. This is a perfect example. While this awesome shelf can be used to display a variety of items I decided I would use it for a succulent ledge in our bathroom.
*affiliate links used.
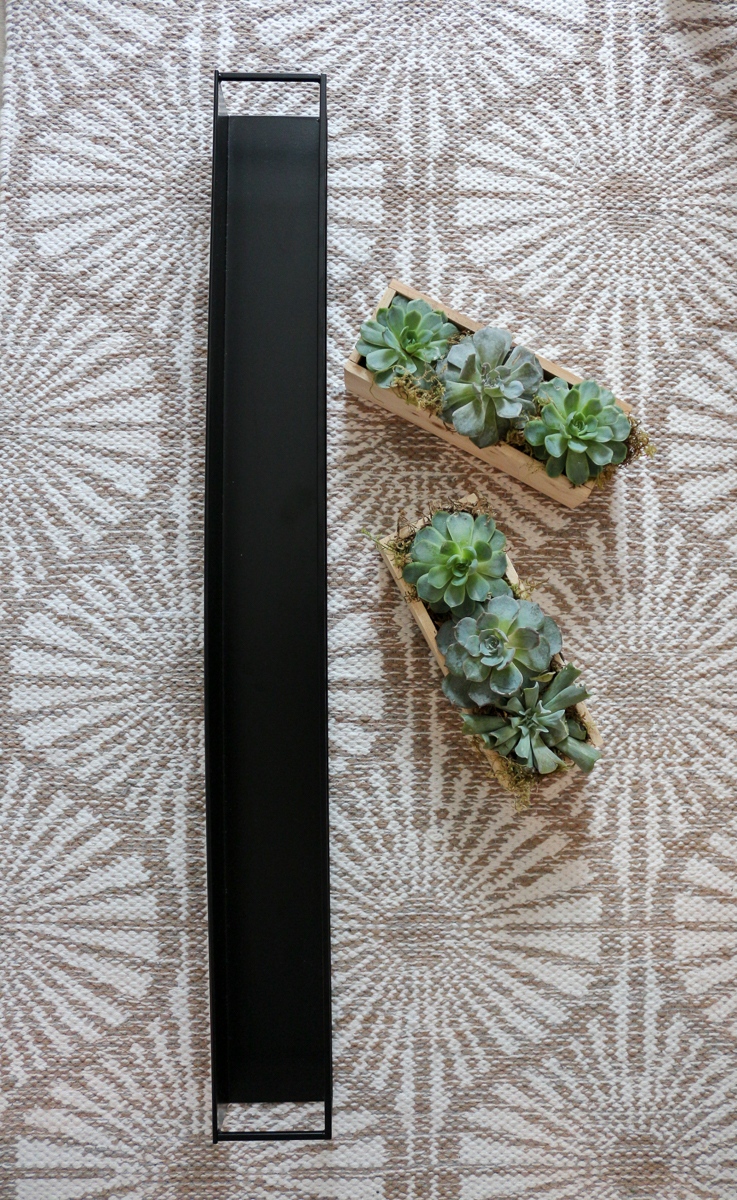
If you would like to see our modern farmhouse bathroom renovation you can head to the bathroom reveal post and also a post for the design. I was searching for something to display on the left wall adjacent to our sink and mirror area. The depth had to be considered since I didn’t want something sticking out into the area in which I stand at the sink.
This shelf/ledge is deep enough to hold small succulents or any plants yet not too deep for the wall. Make sure you read the entire post so you can see how I arranged the succulents 2 different ways.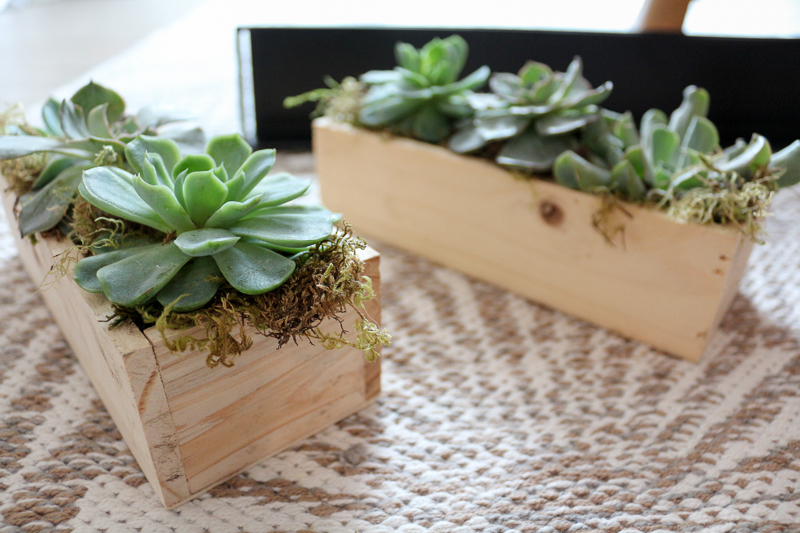
Succulents: Real or Faux
You can place dirt and moss in small pots for your succulents. Or you can buy succulents in small planter boxes. I found mine at Trader Joe’s. You can also use faux succulents if you don’t want to maintain real succulents. I will say that succulents are one of the easiest plants to keep alive – they need minimal water and they’ll receive some of that natural humidity when placing this shelf in a bathroom. So I say go for the real and give them a try. Now let’s take a look at the steps on how to complete this easy diy!

Items you will need:
- SAMMANHANG shelf/ledge from IKEA
- Drill
- Pencil
- Level
- Screws
- Succulents (faux or real)
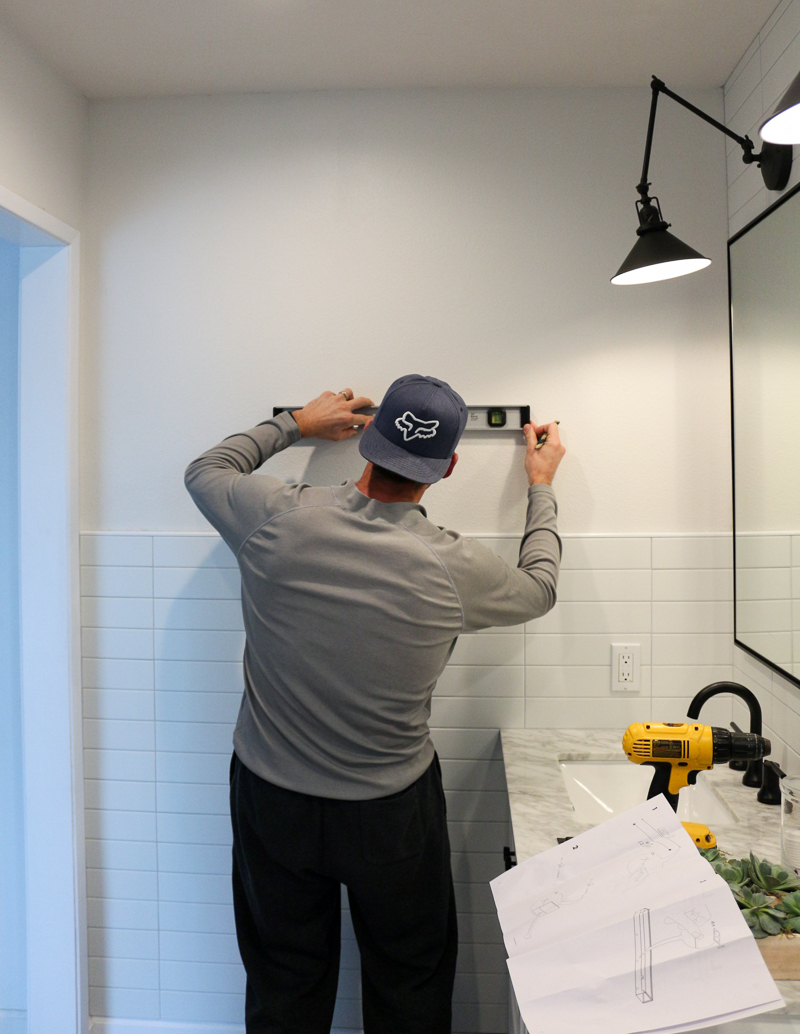
Step 1:
As with any shelf or ledge measure the area of the wall you are hanging it on and make sure it’s in the middle of the wall or in the right area. Consider the height and placement.
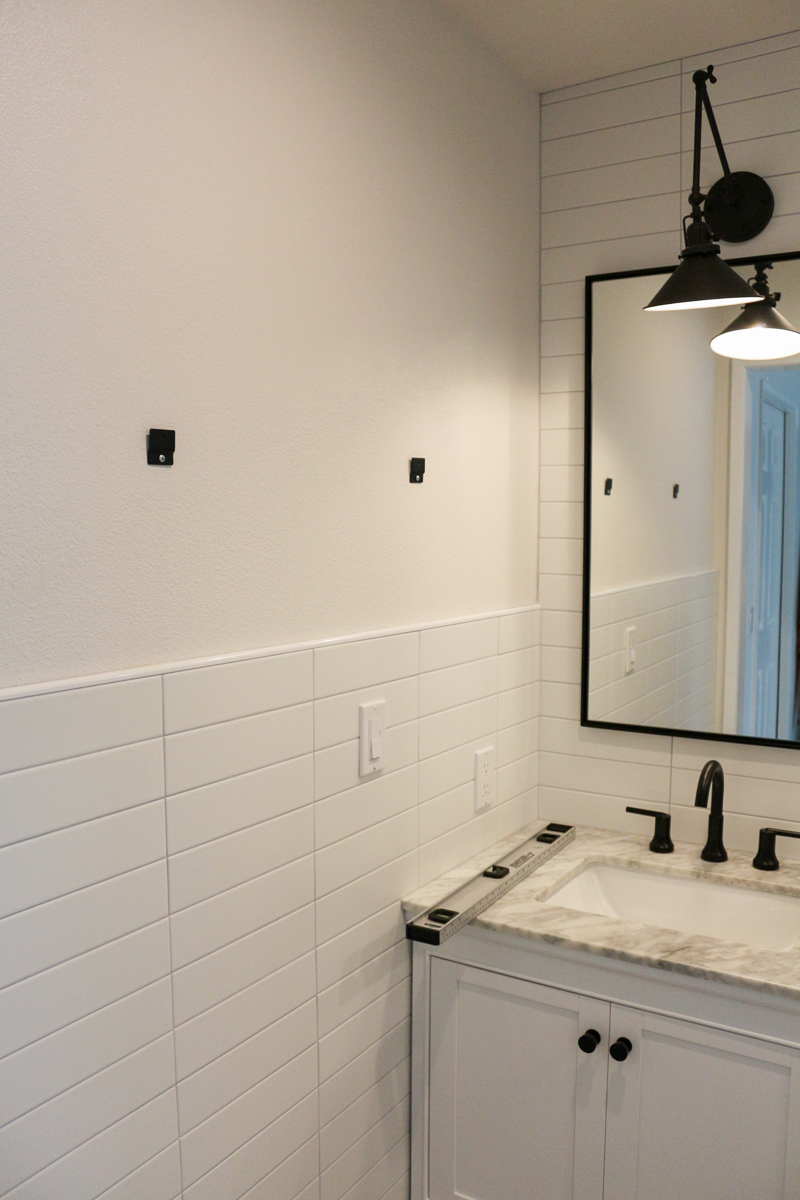
Step 2:
Attach the brackets to the wall per the enclosed directions.
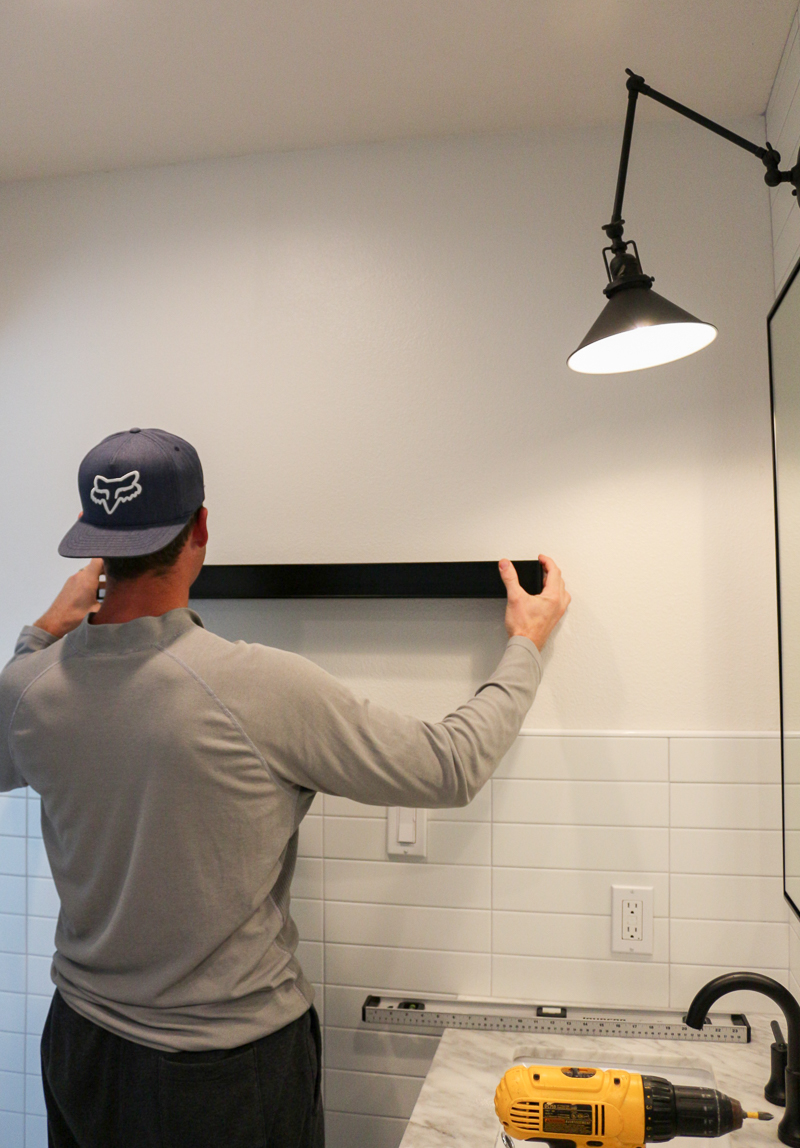
Step 3:
Attach the shelf to the brackets and make sure it’s secured in place.
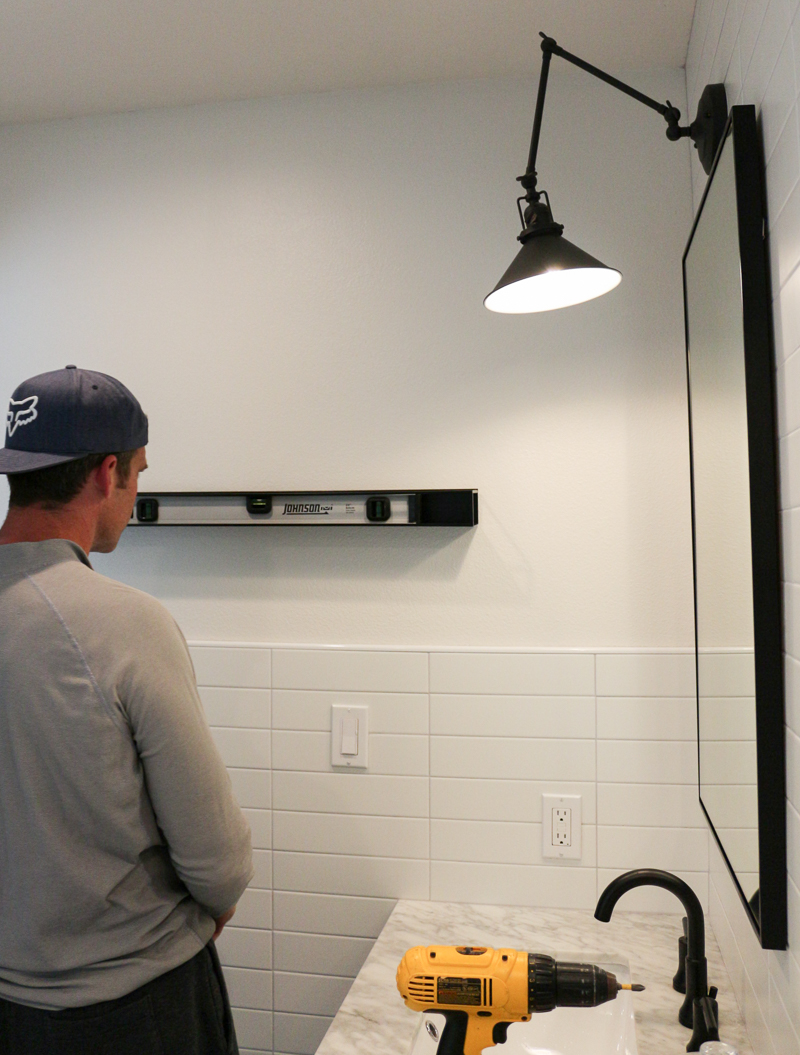
Step 4:
Make sure the shelf is level and adjust if need be.
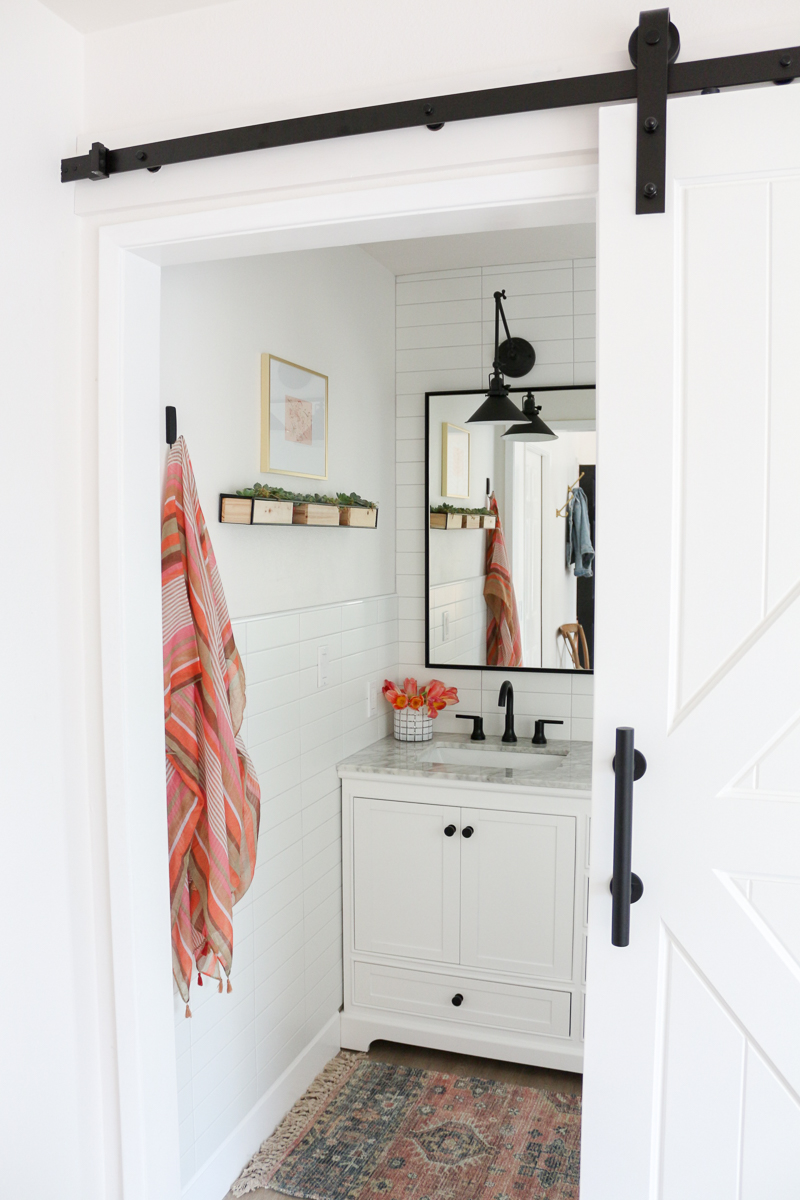
Step 5:
Add real or faux succulents or any type of plant. Consider the weight of the plants/succulents and width. I placed mine on the shelf and then realized they would look better sideways. Sometimes when you are hacking IKEA items you realize you have to make adjustments as you go!
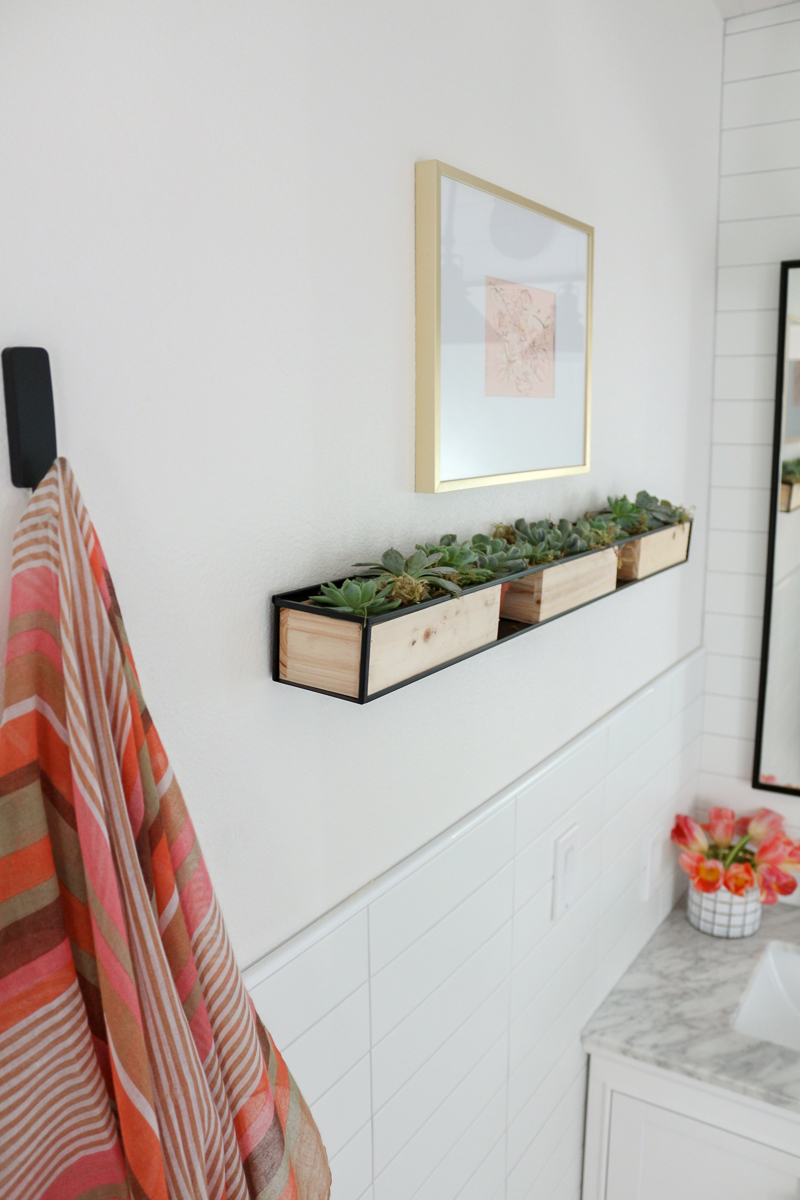
The succulents looked cute this way in the planters but I couldn’t see the greenery very well so I decided to turn them sideways and voila!
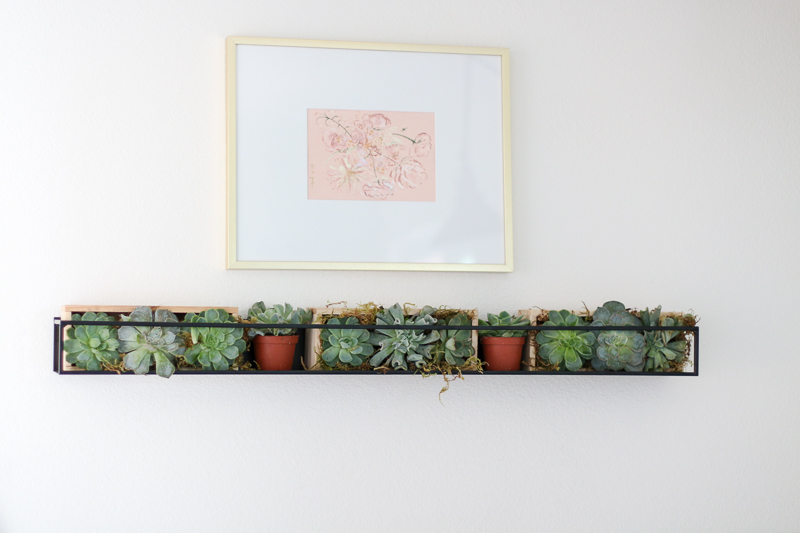
I shopped my home and found art by the talented Kaila Jackson from BlueGreenPatina and my go-to brass frame to hang above it. I’m not sure if I’ll keep this art here – I love it but I’m thinking maybe a cute round clock or something with some wood tones might look great too! Another option is to stack 2 of these succulent ledges on top of one another give the look of a succulent wall.
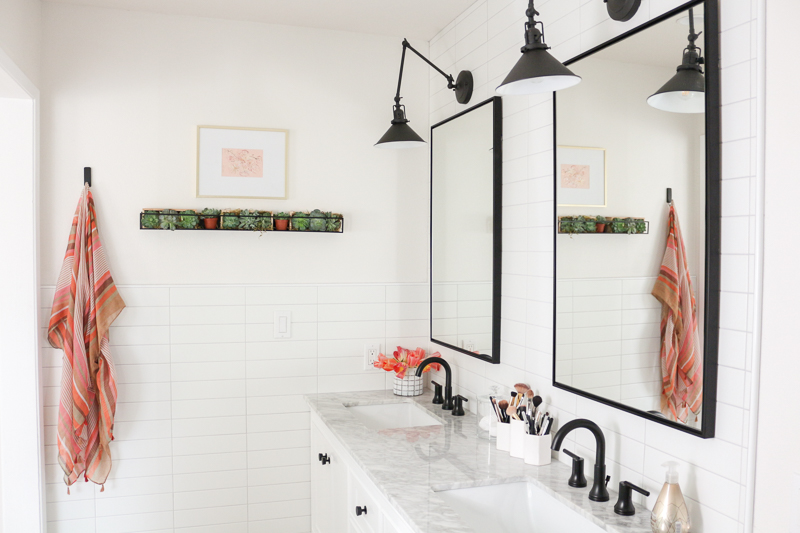
I love the subtle pops of greenery it gives to our space. Eventually I will find some cute mini terracotta pots for those 2 succulents towards the middle.
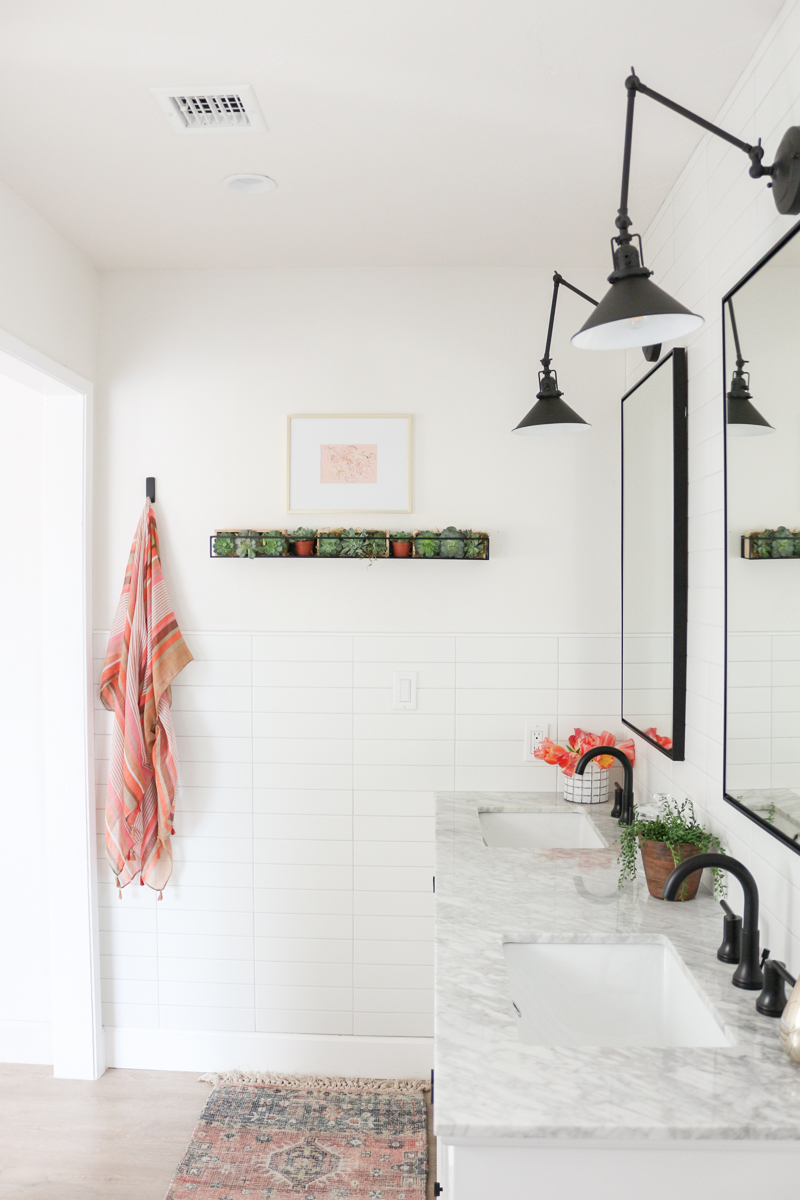
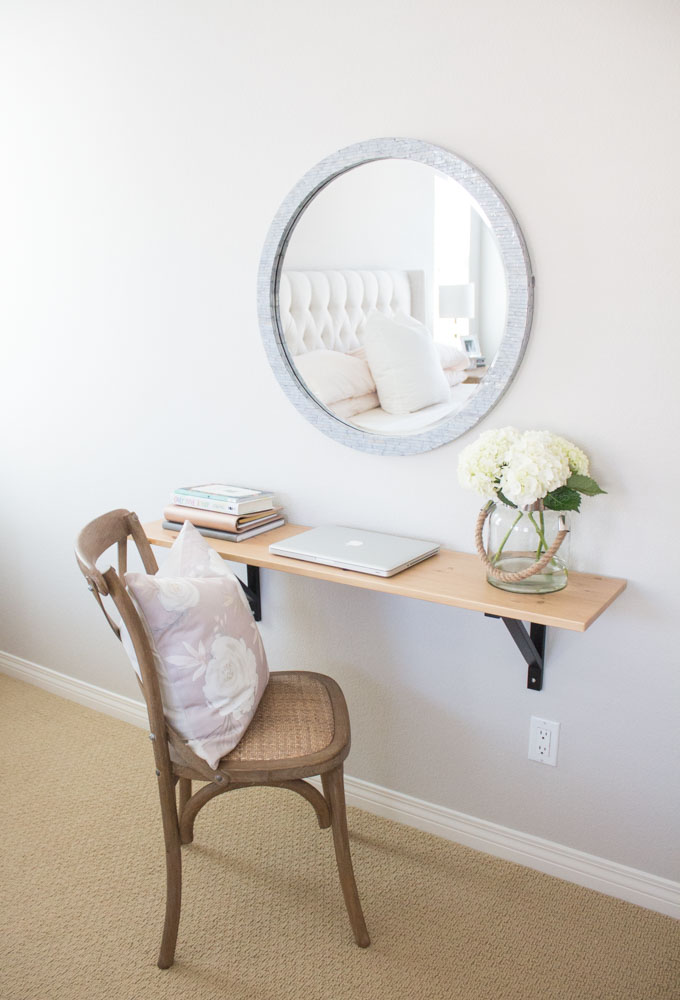
I hope I’ve inspired you to add a succulent shelf to your home! IKEA hacks are so much fun and I’m always amazed at how many IKEA items can be transformed and used for other things. You can see how I transformed a shelf in our last home into a desk space.
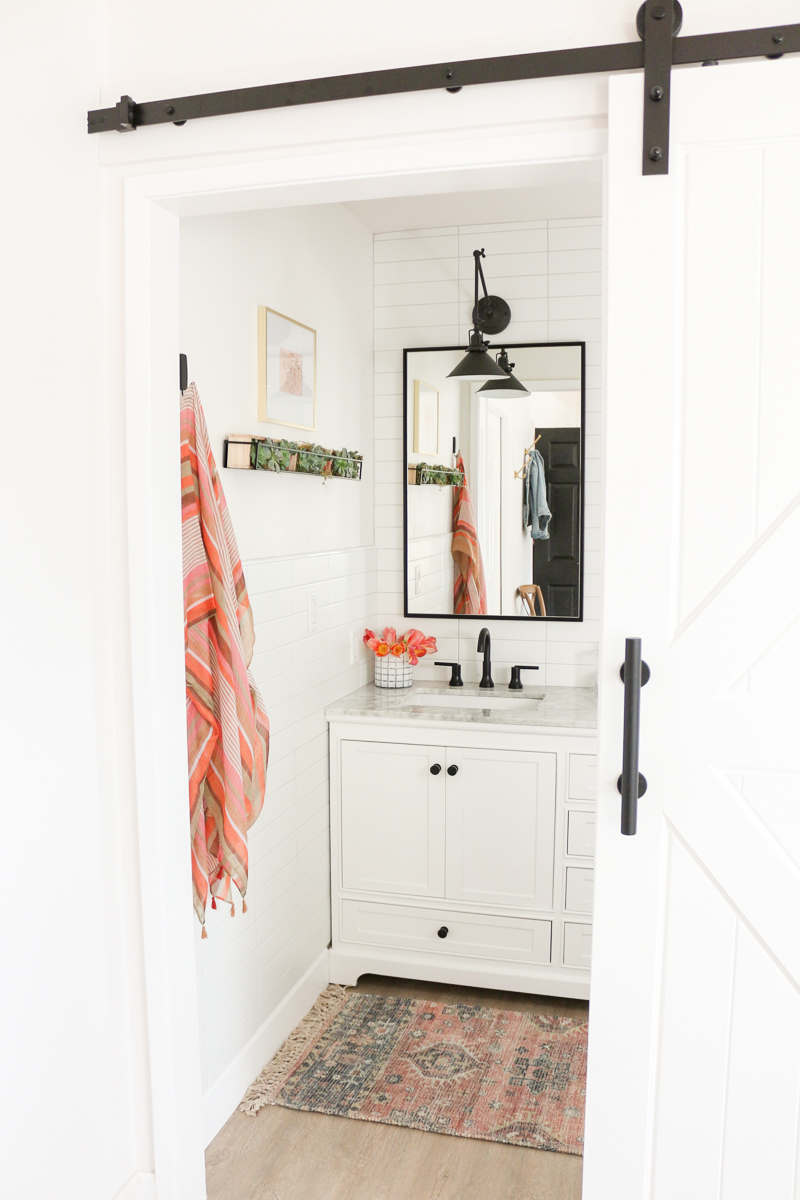
Here’s a look at how cozy it feels with the lights on at night…
Shop the Post below
Next stop on this diy + craft blog hop is my talented friend Christina from CG Home Interiors! Christina is so inspiring and I love everything she shares.
Don’t forget to head over to the rest of the amazing ladies on this blog hop for lots of diy + craft inspiration!


Thanks for stopping by,


I love IKEA hacks and this is a quick one! Such a great addition to your gorgeous bathroom!
Thanks Tana and I appreciate you including me in this fun blog hop with such a talented group! xo, Beth
Beth,
I always love IKEA hacks! Your project is so clever and it turned out wonderful!!! Pinning it to possibly make it later.
Thanks so much Janine! I pinned yours as well – you are so crafty and creative! xo, Beth
IKEA hacks are the best!! Put that with greenery and you are speaking my love language, girl. Love this!
Beth I love your shelf and succulents! What a cool idea and love that you can use real or faux 👌🏻
Thanks so much Judy! xo, Beth
Beth what a great IKEA hack. I just love the detail it adds to your bathroom!
Thank you so much Jackie! So fun to work together on this blog hop! xo, Beth