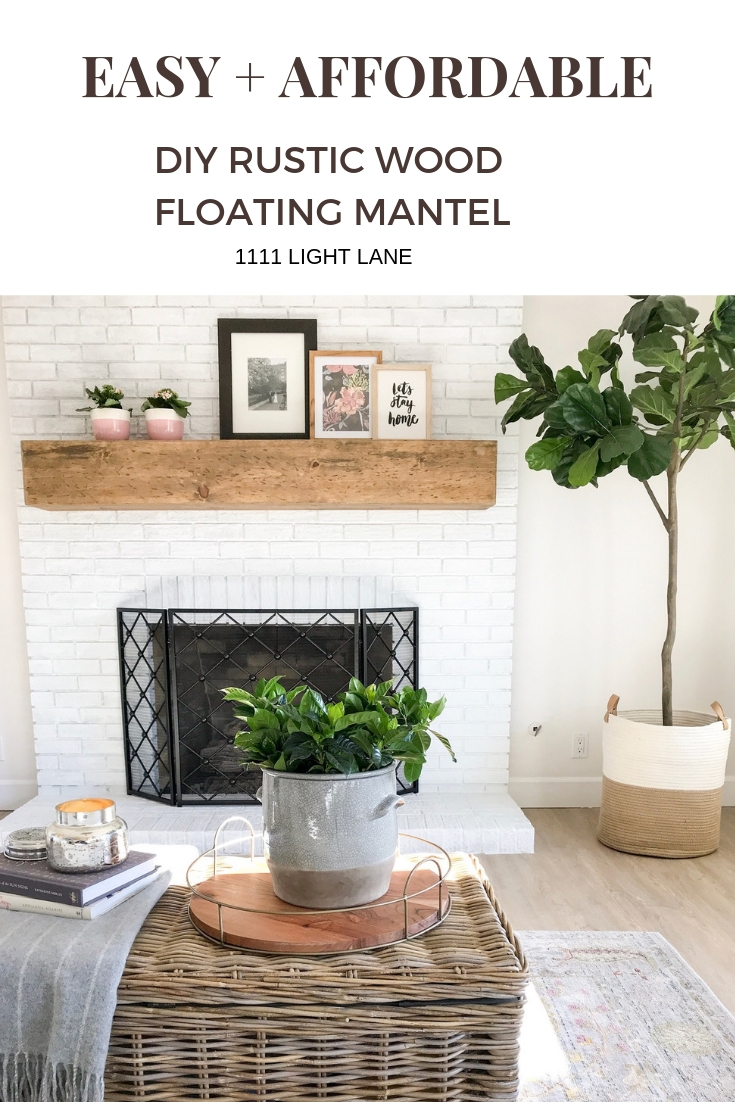
Easy + Affordable DIY Rustic Wood Floating Mantel
It’s finally here you guys! Sharing our easy + affordable DIY rustic wood floating mantel!! We love making over fireplaces. You can see our previous home fireplace makeover here. My parent’s fireplace is next on our list to revamp and refresh and we can’t wait.
But first I feel like I could write this diy like a fairytale…so here it goes:
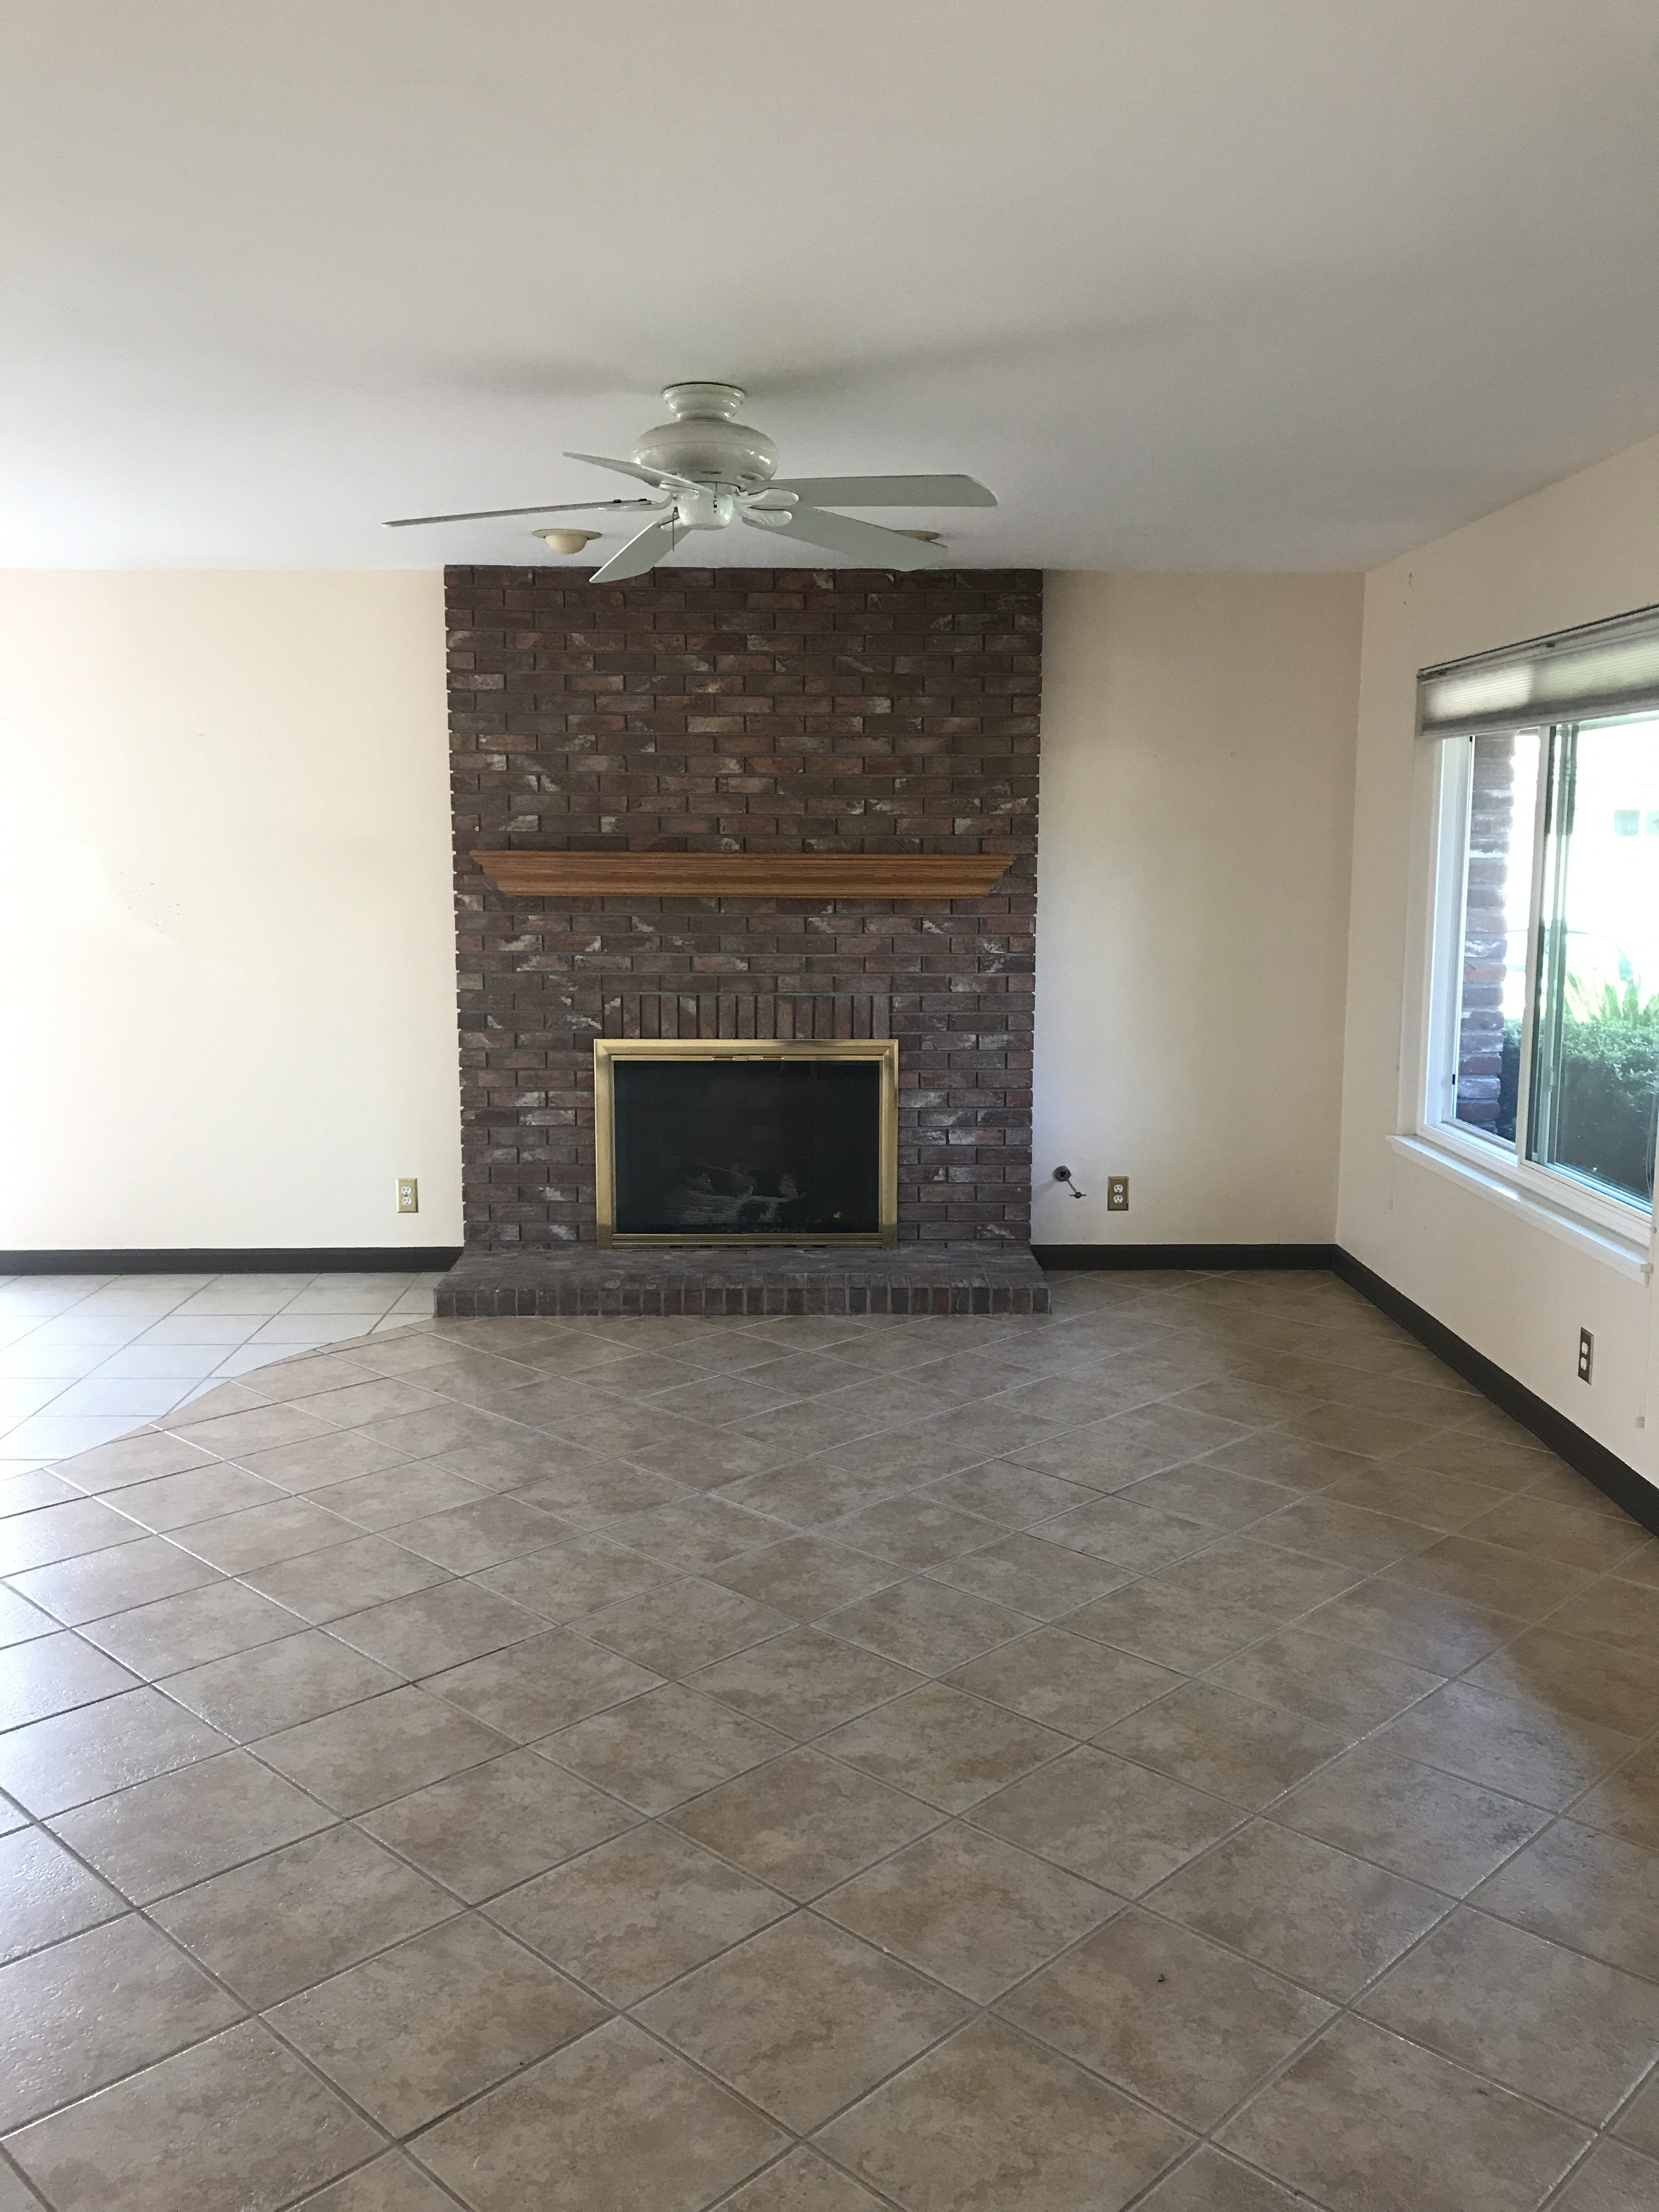
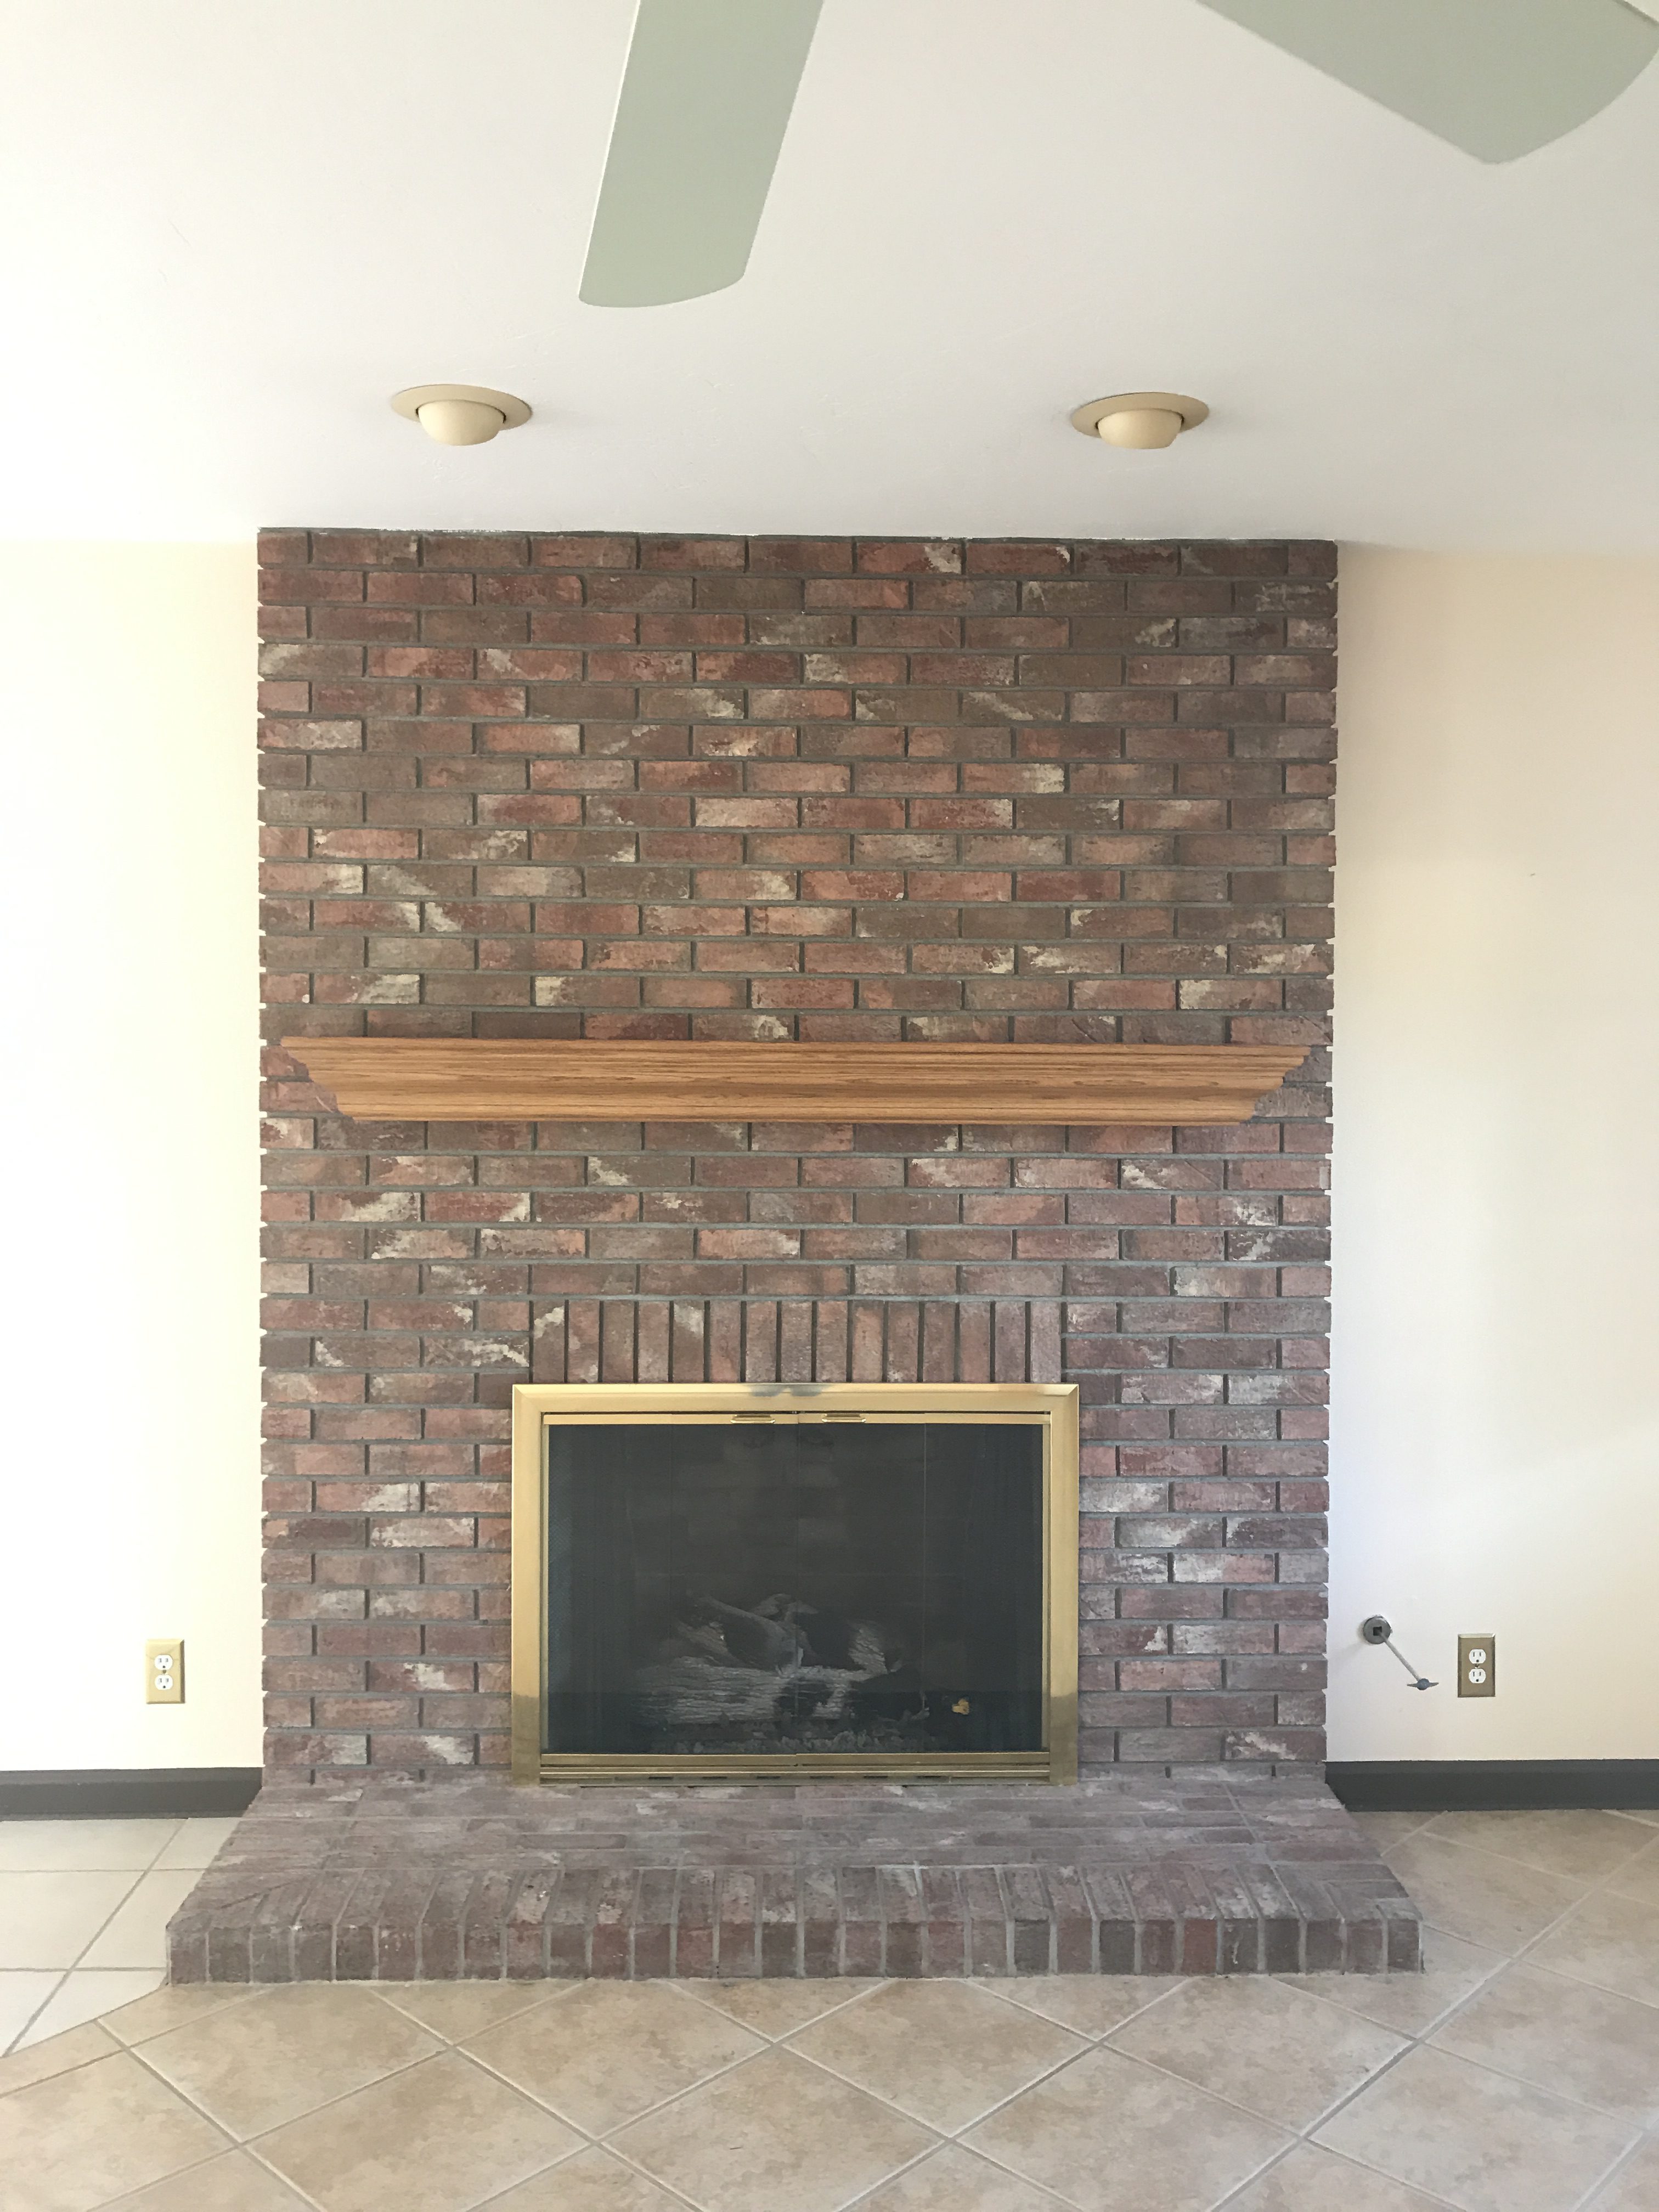
There once was an old fixer upper, dated, tired and worn. It needed some love and an update all the way around. One look at the fireplace and the sad little mantel and I knew…it would immediately be on my list of to-do’s! So one New Year’s Eve we got out our saw, nail gun, glue, sandpaper, stain, and chains – yes chains – and made this little mantel. Making our fireplace and mantel dreams come true. So beautiful and what we always envisioned it to be while saving money and taking great pride in how this transformation came to be…
Ok now for the real DIY info! Also my apologies in advance for all the iPhone pics – at the time I just snapped as we went along so didn’t have the chance to grab better pics. We love to tackle projects and do our research before hand. This time we consulted with You Tube for some videos to guide us – I’m including the videos we referenced here because they were super helpful. In addition to the videos and our tips we feel you can confidently take on this diy!
*affiliate links used.
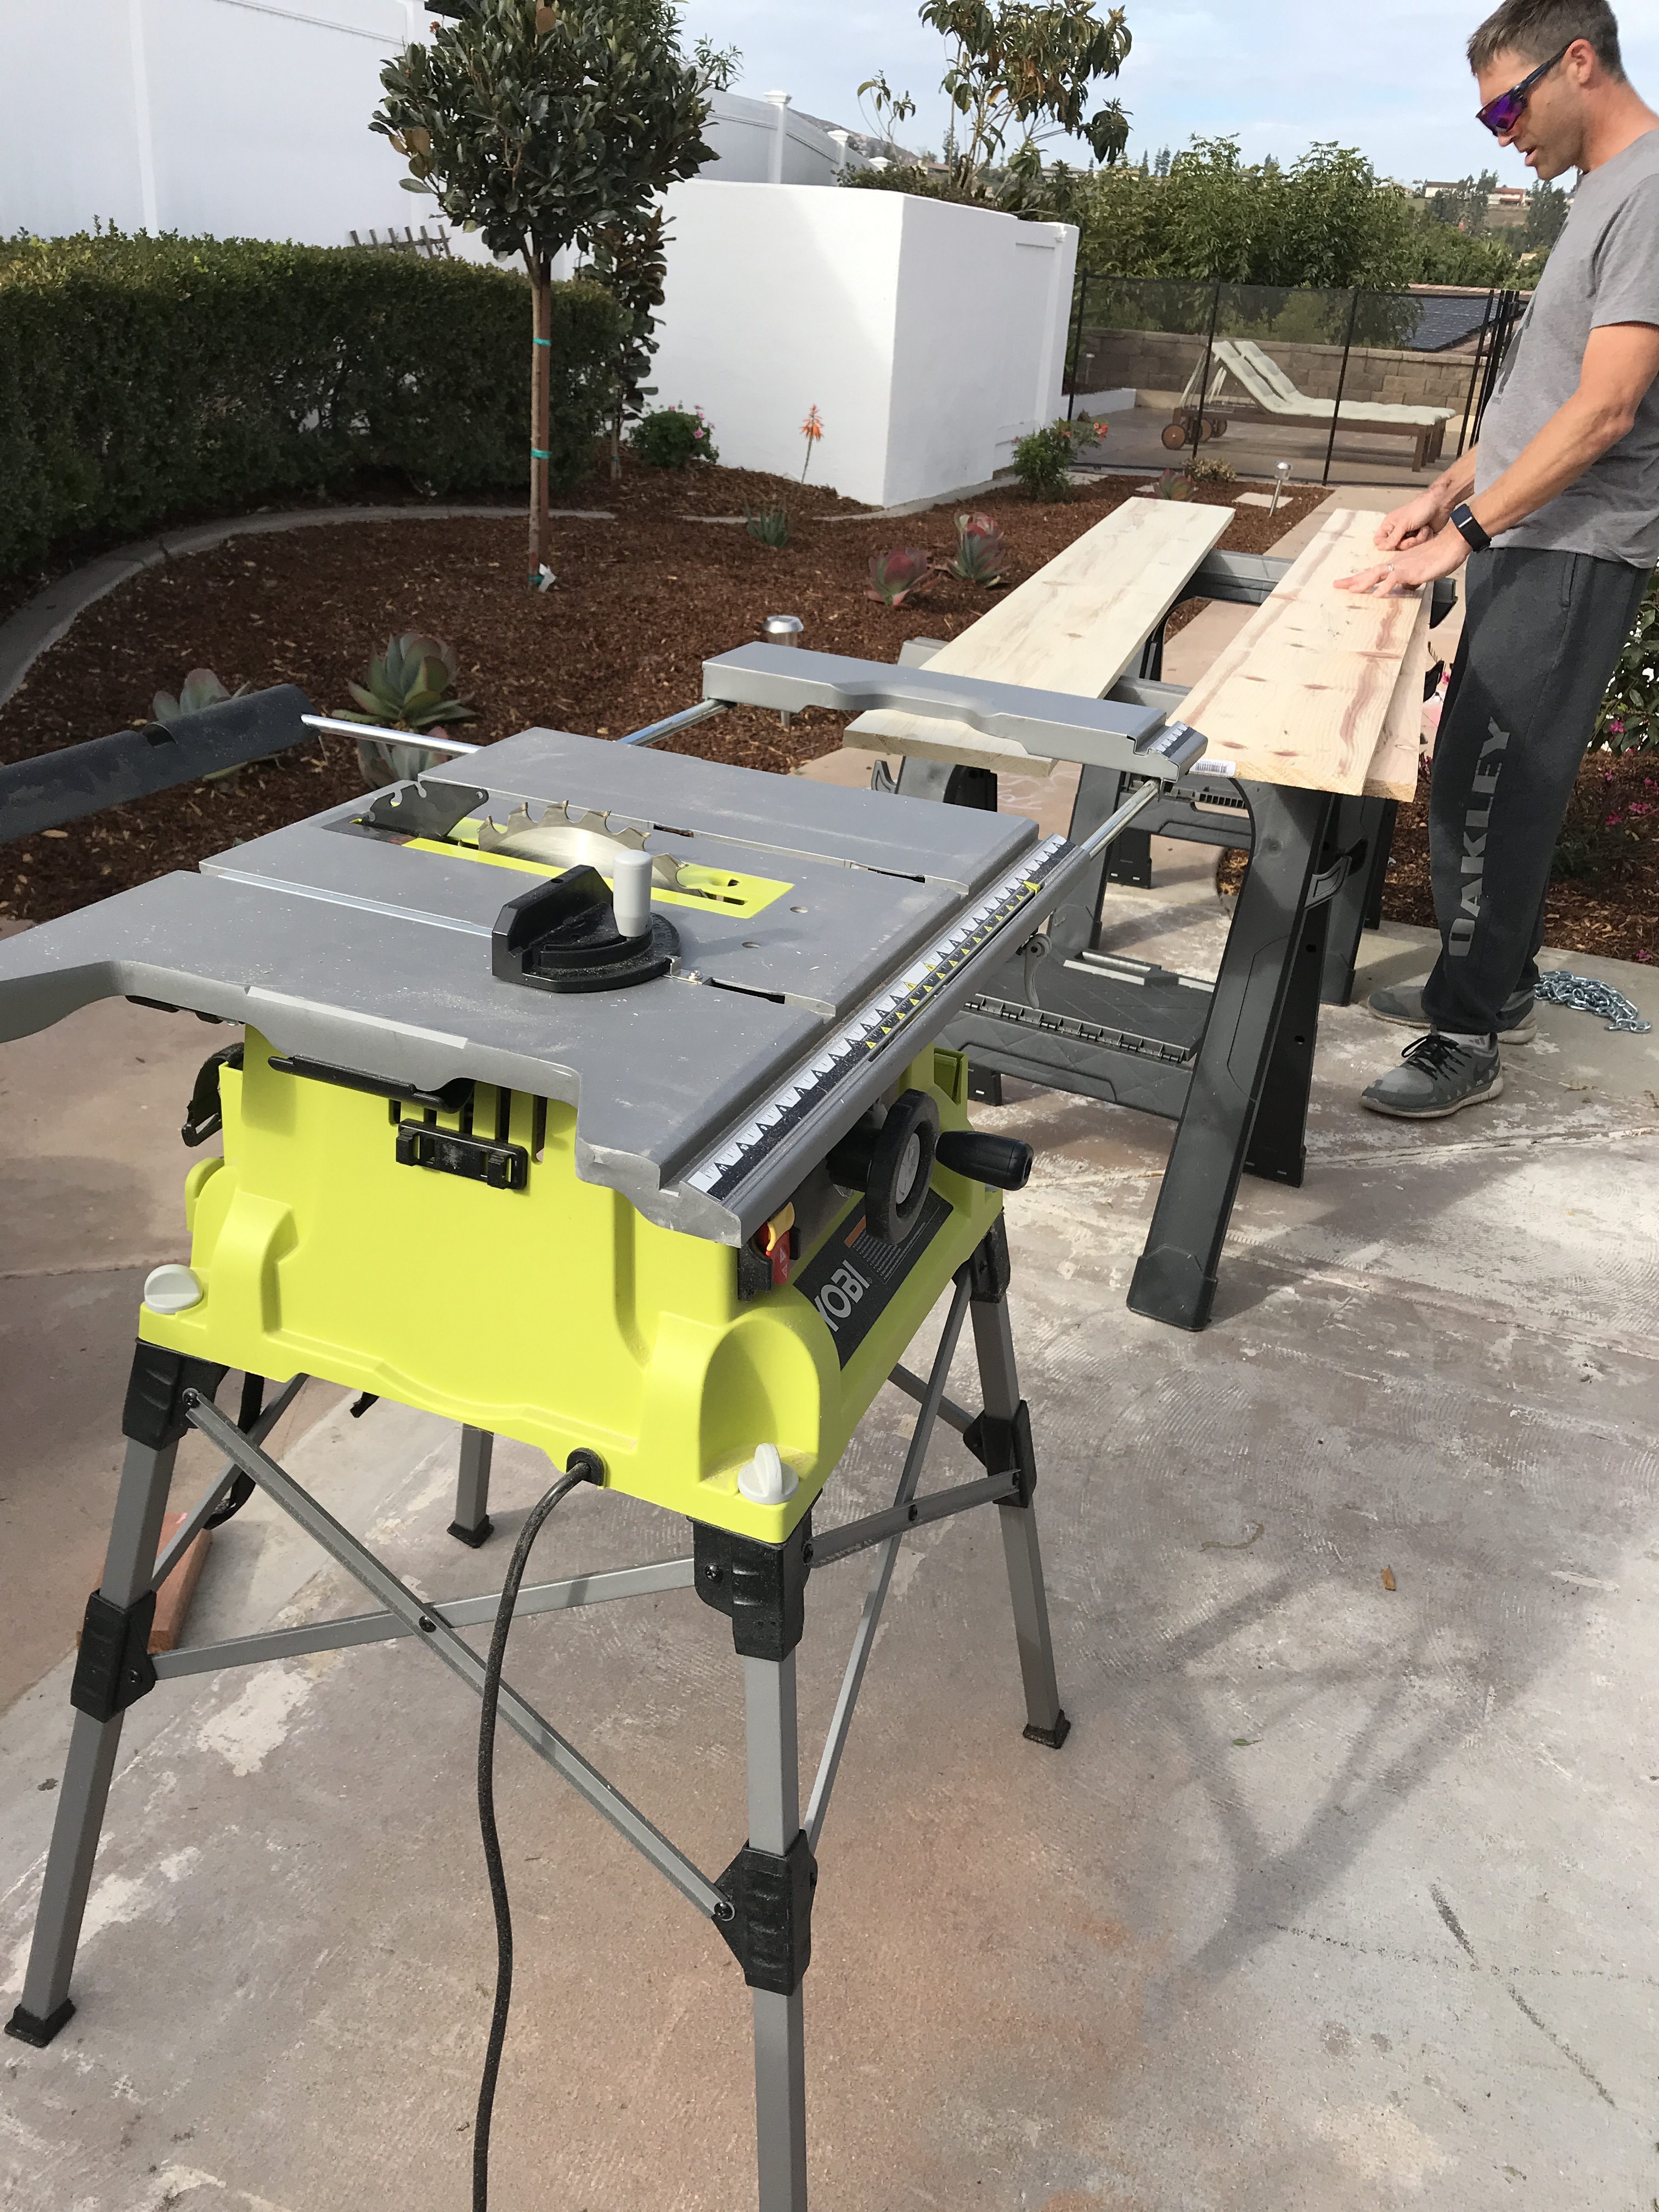
Dion is in full diy mode with his sweatpants on – lol! He loves his table saw. You can find his exact one here. Also don’t mind our side yard concrete – that will be changing very soon. Now onto the wood selection. Selecting the wood is important in this diy. We picked a knotty pine because we wanted it to look rustic. Choose your wood according the look you want to achieve but for a rustic look we suggest going with knotty pine. This mantel is hollow inside so it is easy to hang without the worry of a very expensive solid rustic beam mantel. I’m going to break this diy into sections so it’s manageable – hoping it helps!
Easy + Affordable DIY Rustic Mantel Breakdown
What you need:
- Table Saw (you can buy, rent or borrow one)
- Drill
- Nail gun
- Knotty pine wood
- Wood filler
- Wood Stain
- Chisel
- Sand paper 100 & 300 grit
- Wood Glue
- Chains (for distressing the wood)
- Measuring tape
Items to make the cleat to hang your floating mantel: See this video
- Masonry Screws
- 2 x 4
- Wood screws
DIY Average Cost
$50 depending on if you own, rent or borrow the table saw, nail gun and drill.
DIY Length of Time
4-6 hrs depending on how handy you are! Also take into account the time needed for the stain to dry between additional coats of stain applied.
Videos Referenced
We referred to these videos found here and mounting your mantel here.
Size of our mantel:
- Length 69.5 inches
- Width 9 inches
- Depth 9 1/4 inches
*Our mantel sits 55.5 inches tall – this is measured from the brick hearth to the top of the mantel.
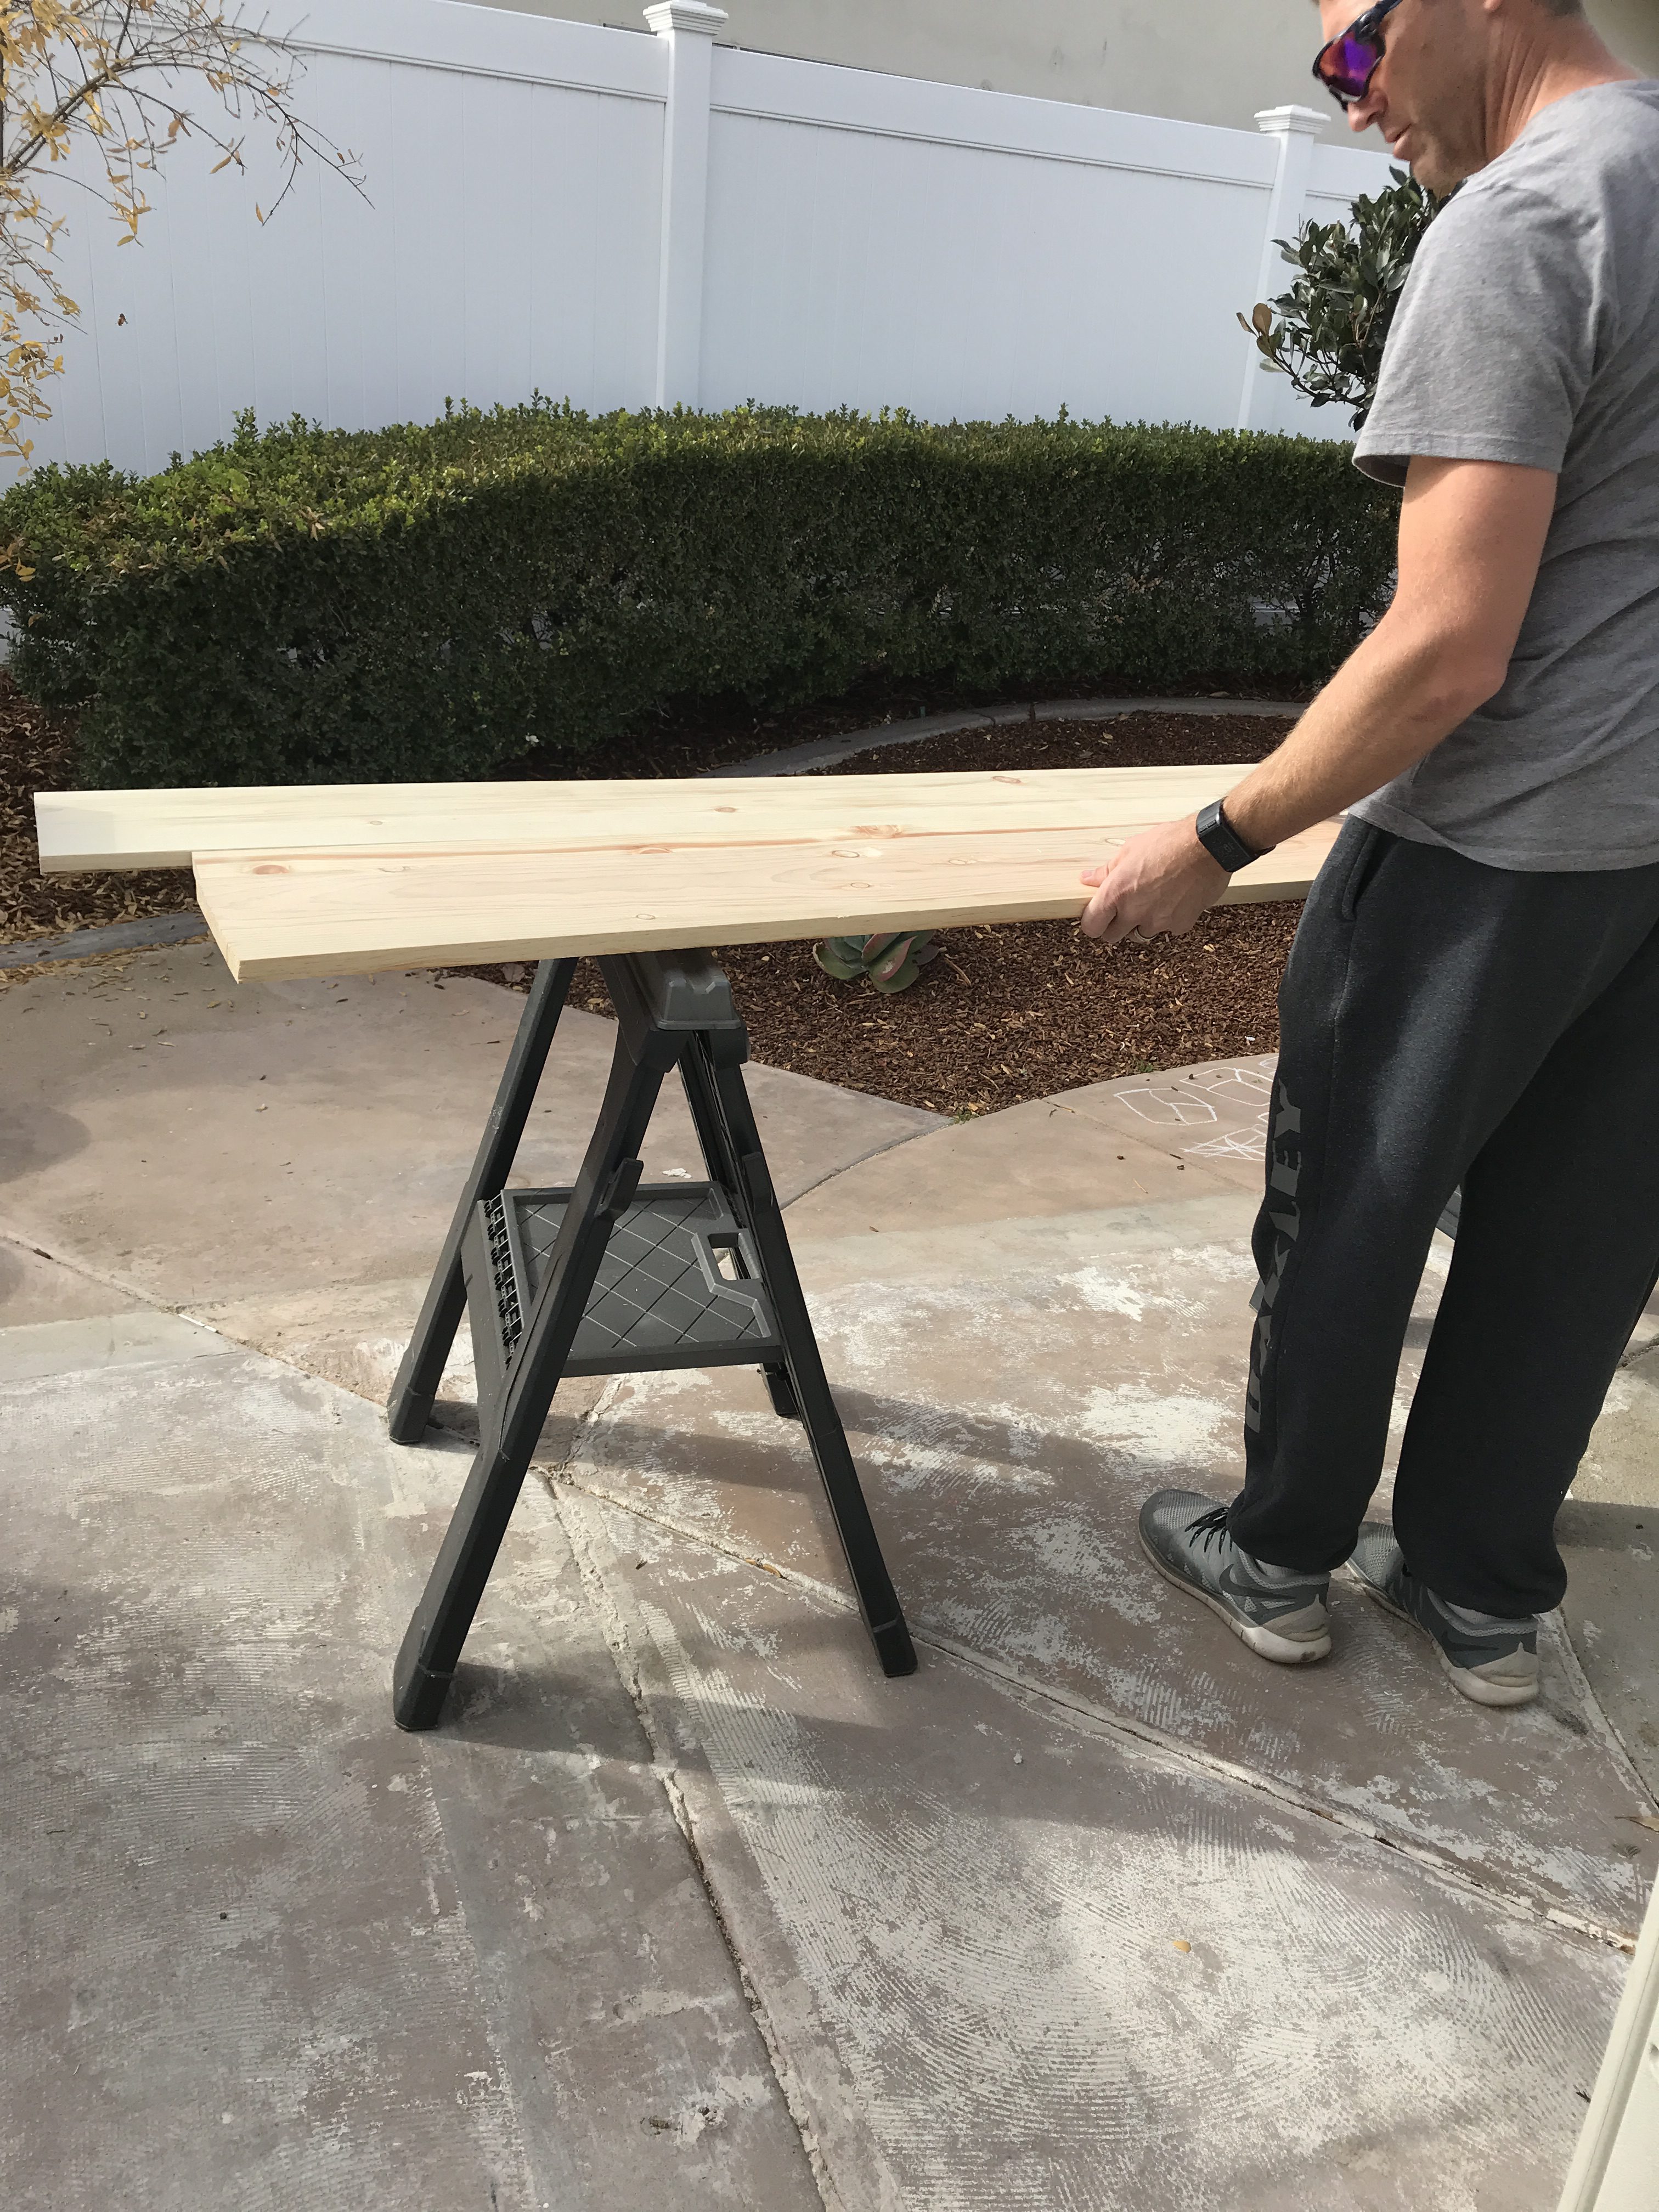
I’m so glad I took this picture so you can see the wood before the stain and distressing. You can find this wood at Home Depot and cut the wood to your specific measurements. Dion recommends and utilized these to help hold and stabilize the wood while cutting and assembling to form the mantel. Making the 45 degree cuts is key to make the edges join nicely.
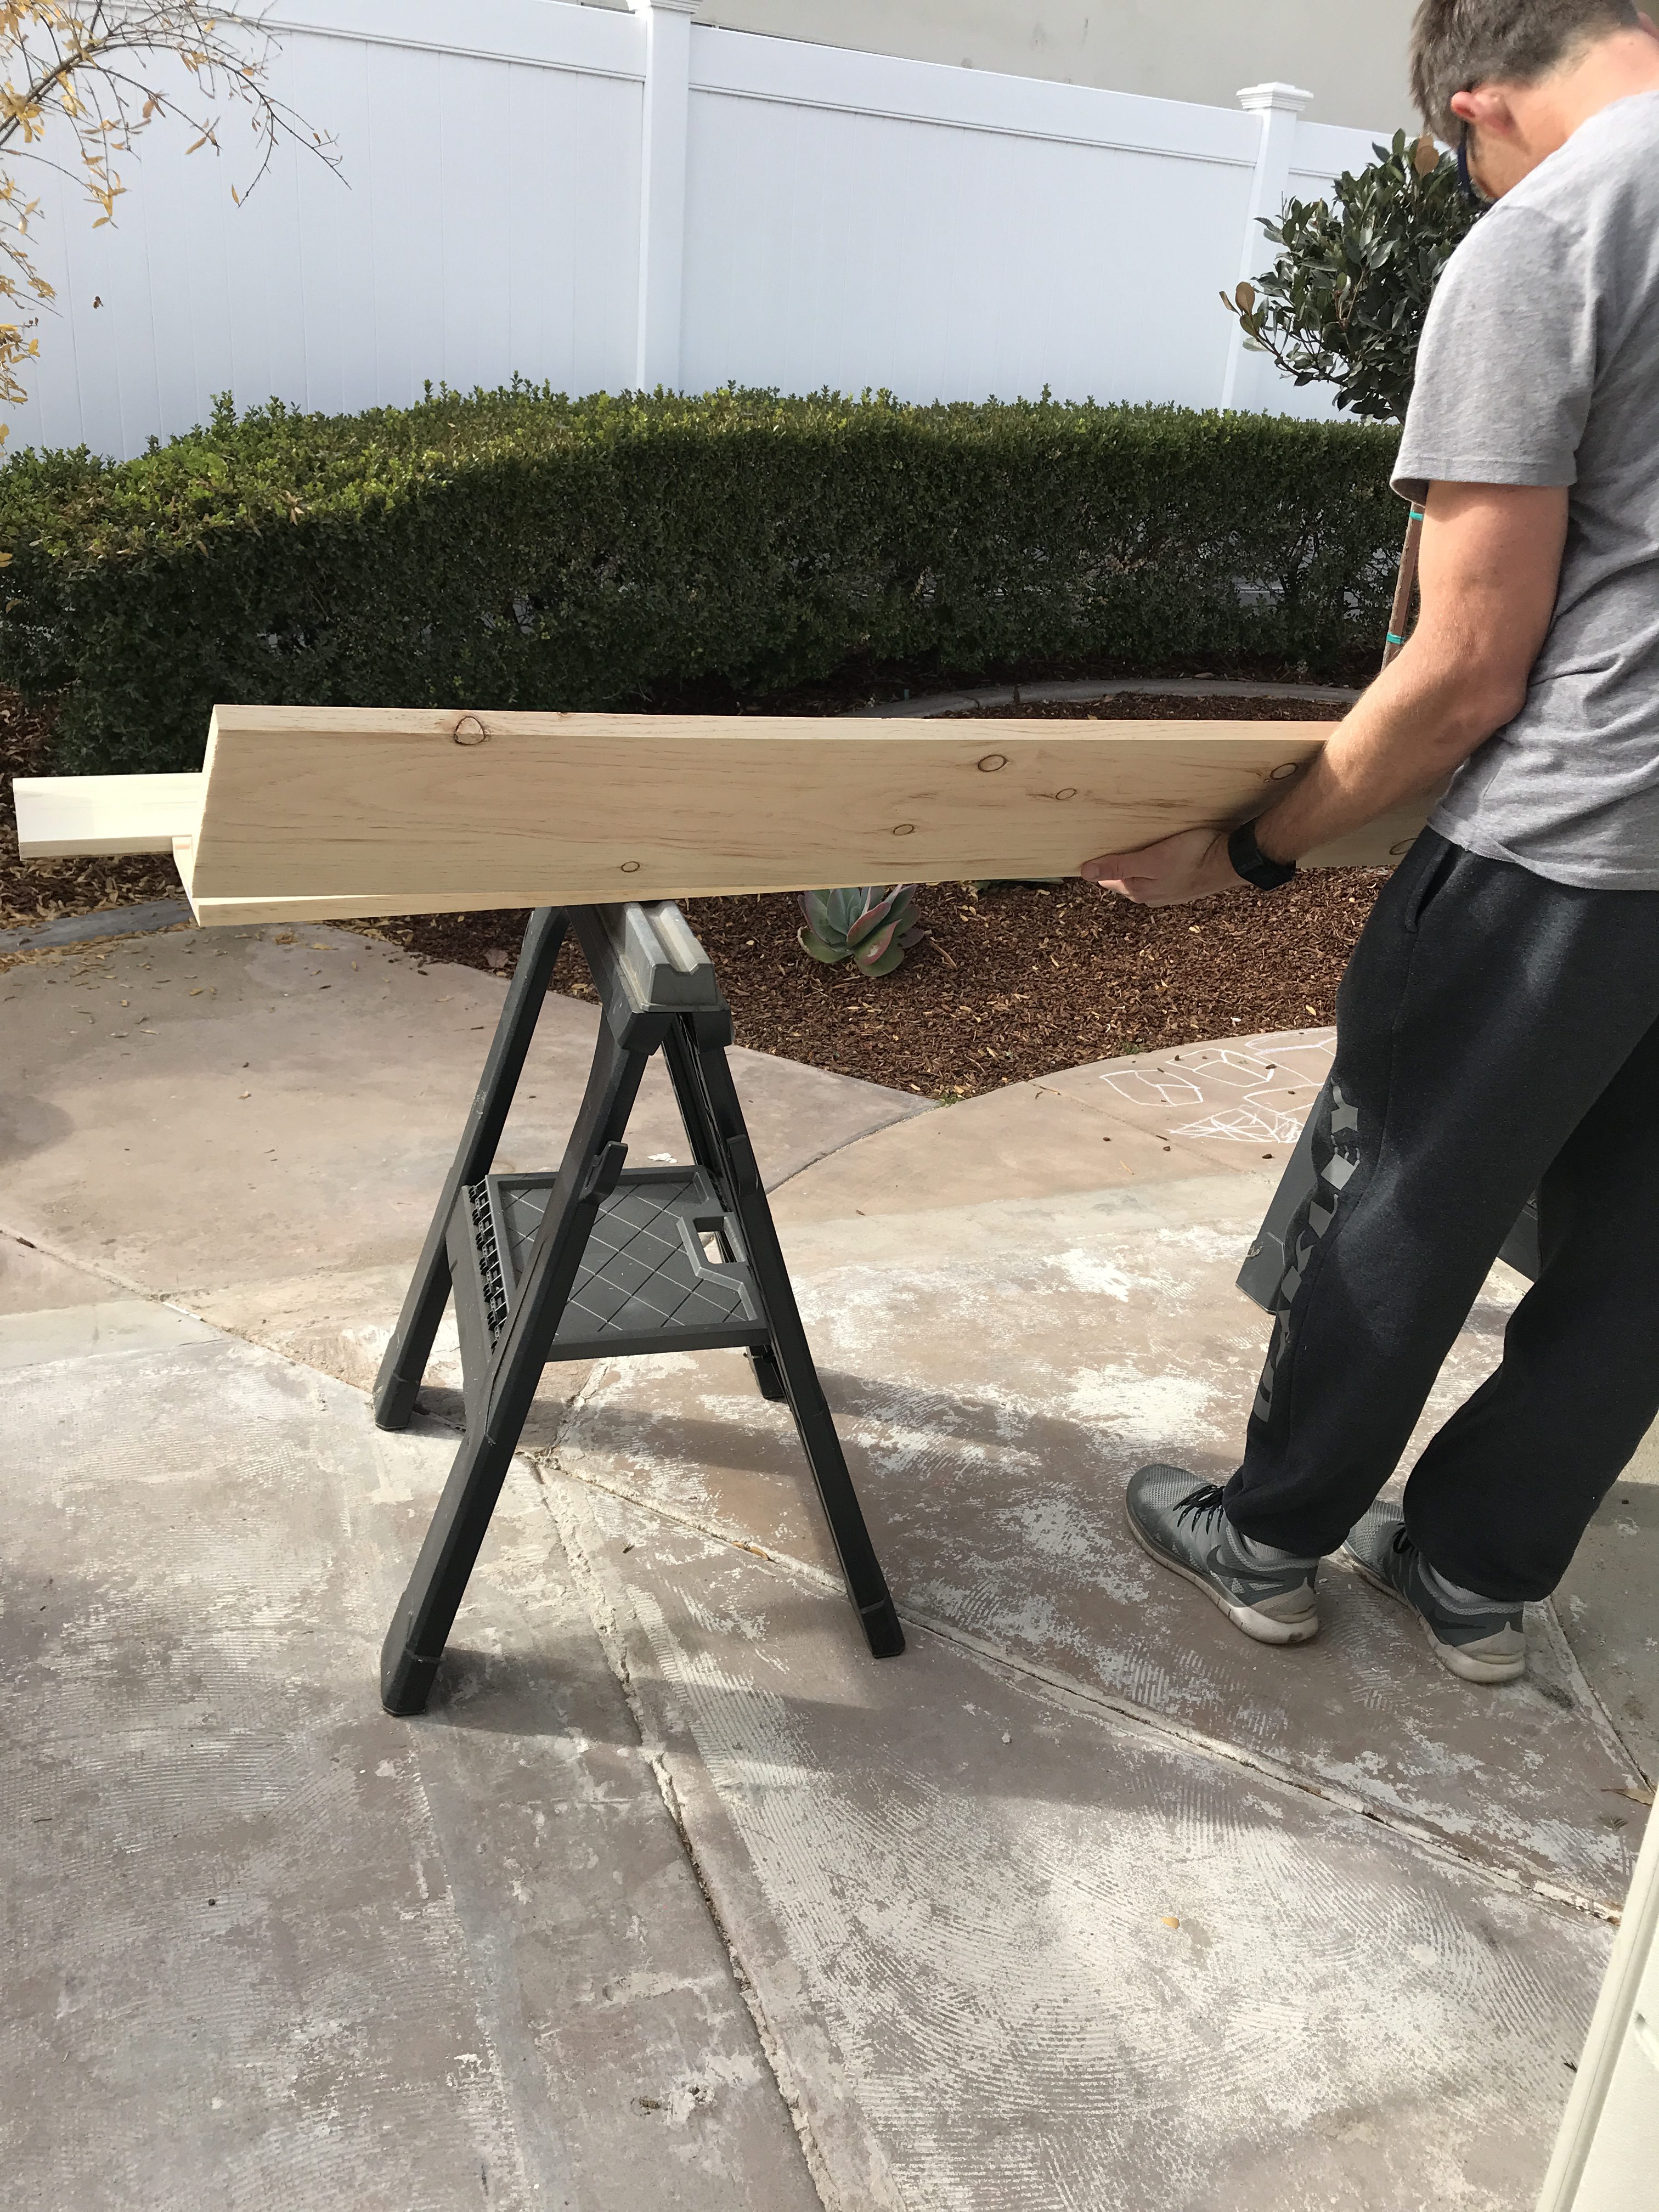
Dion cut the wood to our specific measurements and then nailed the pieces together to form the mantel. He used wood glue and his nail gun after making the 45 degree angled cuts. He then filled the nail holes with wood filler and sanded the filler so it was smooth.
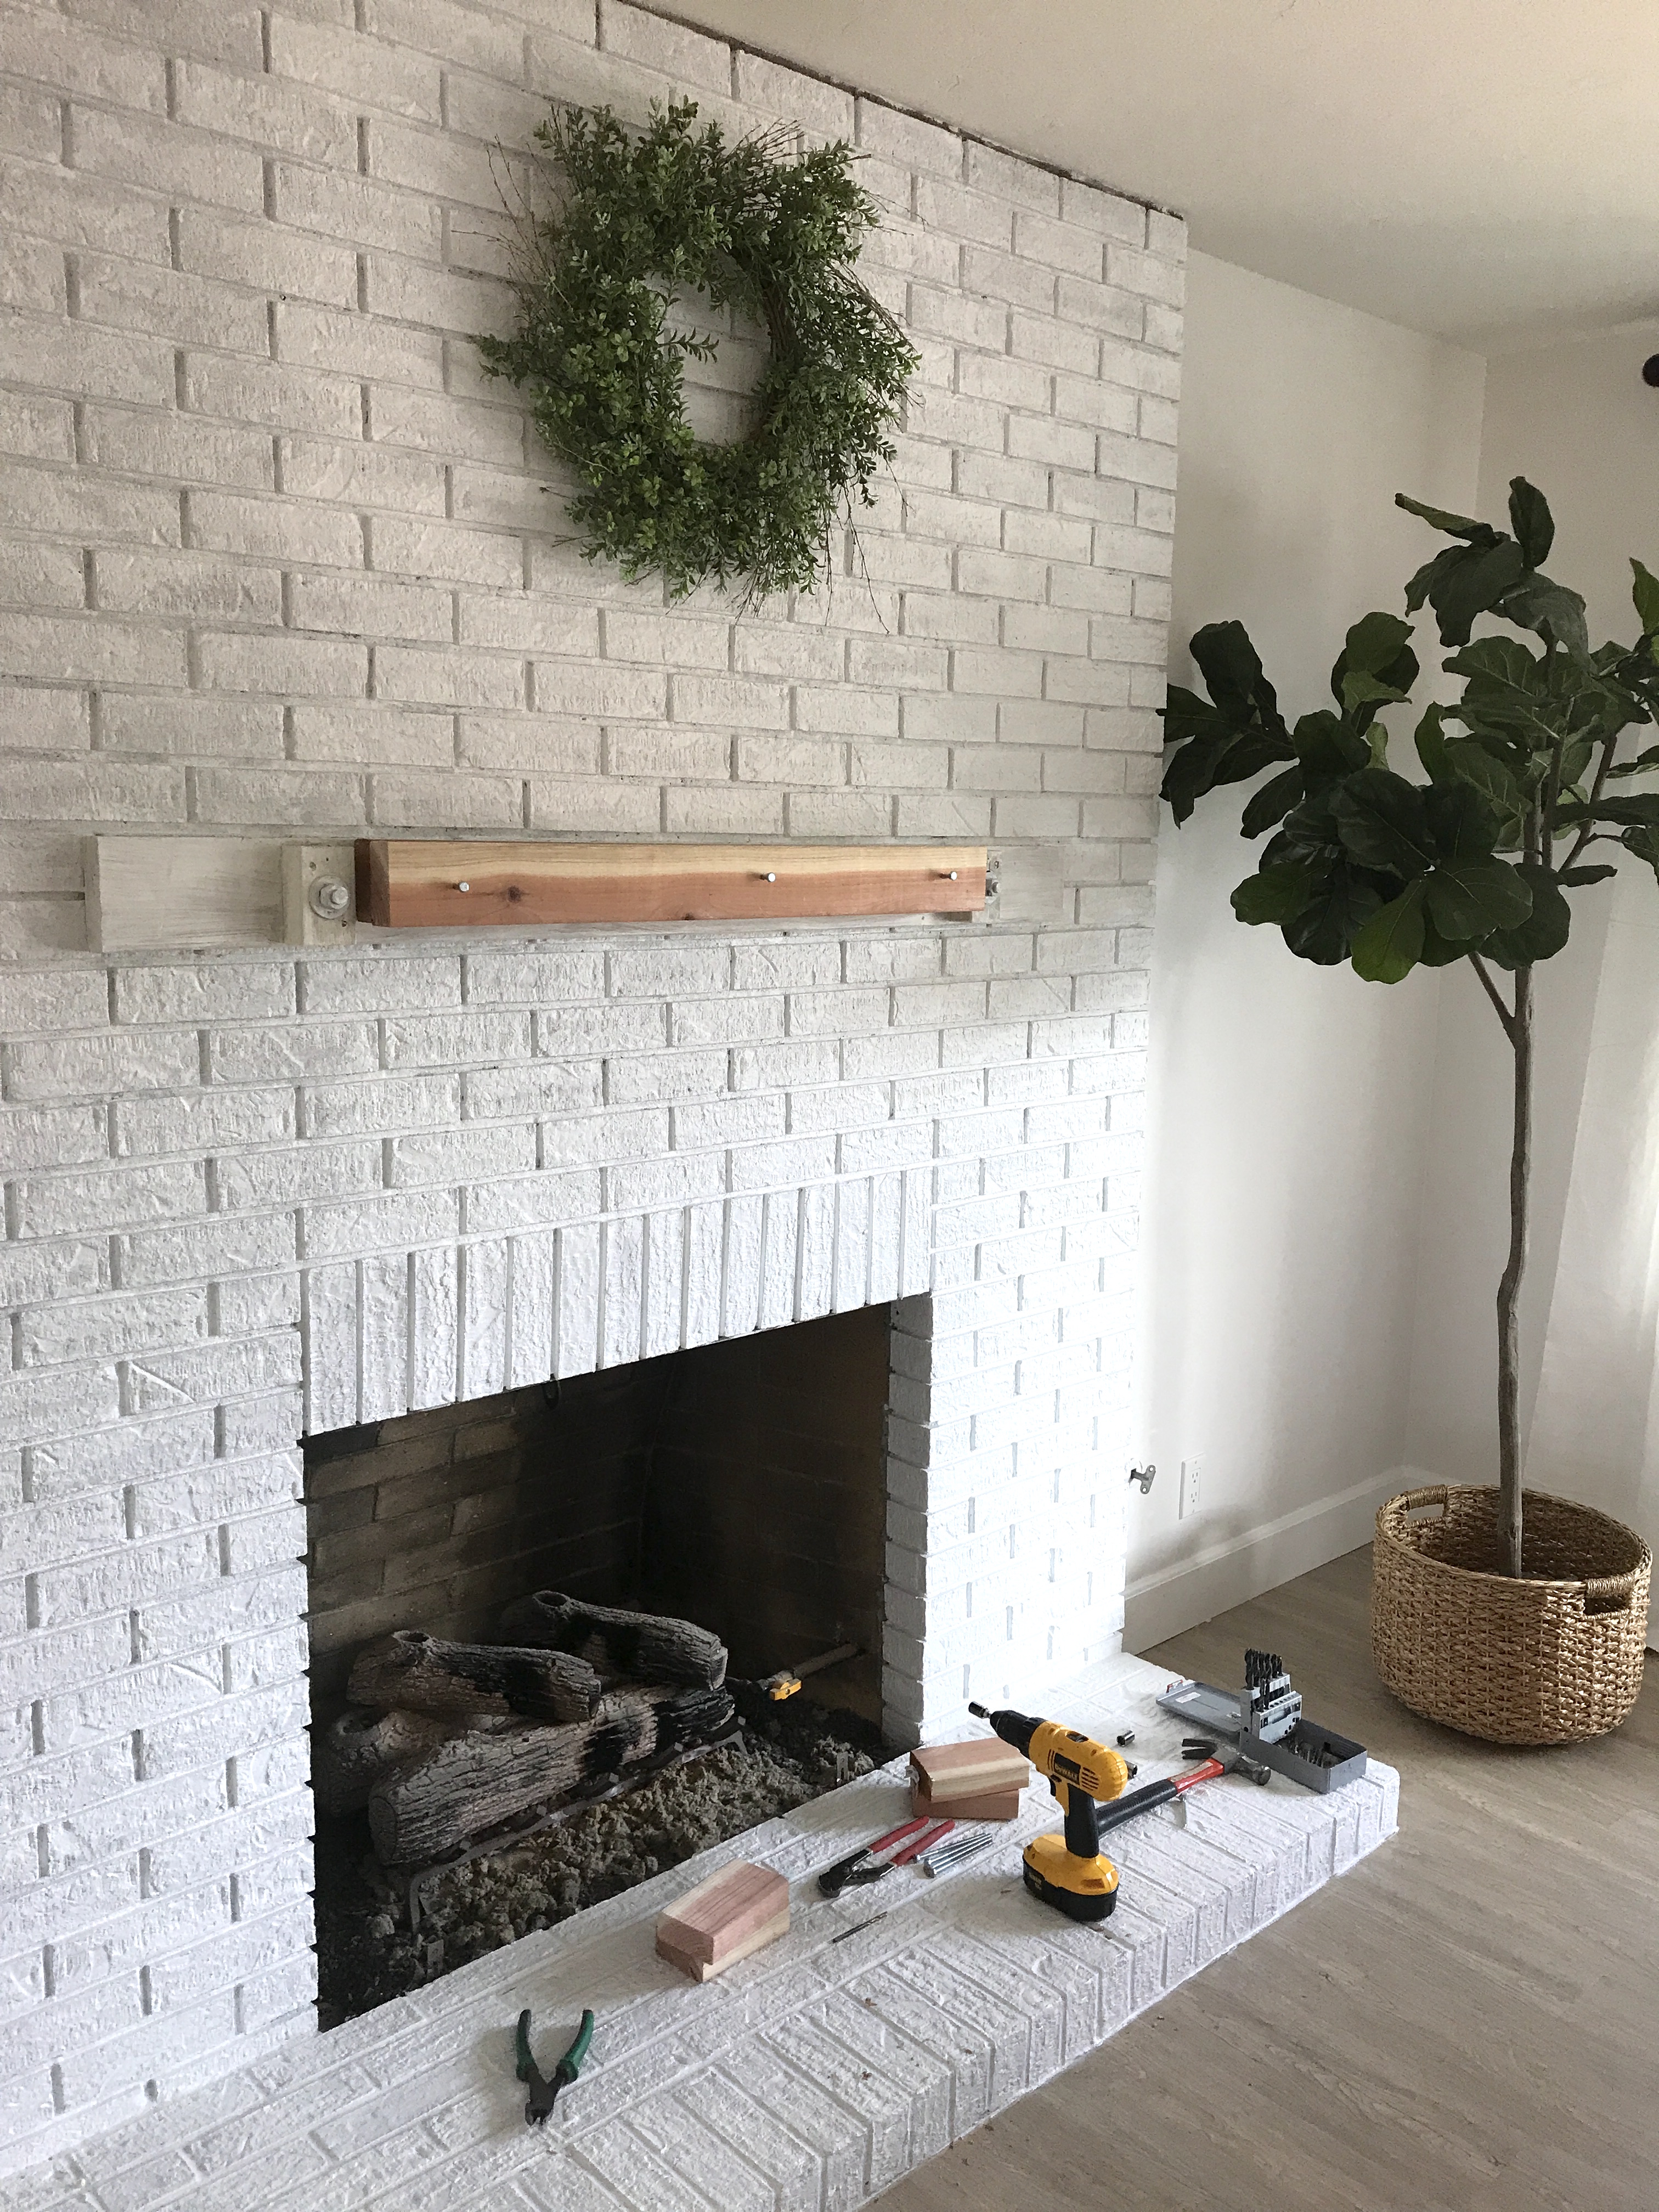
When Dion finished the mantel he reinforced the current mount or cleat on our fireplace. We had to reinforce ours with a 2 x 4 to accommodate the depth of our mantel. There was a tiny cleat before we reinforced ours and it definitely saved us having to use masonry screws since they were already there. If you need to create your own cleat to mount your mantel we have you covered with this video we referenced.

Dion then took a chisel to the edges of the wood mantel to give it a more rustic look. He took chains and hit the wood creating indentations. For sure his favorite part of the project :)! After distressing the mantel he sanded the mantel again and added 2 coats of wood stain (letting it dry properly between each coat of stain).
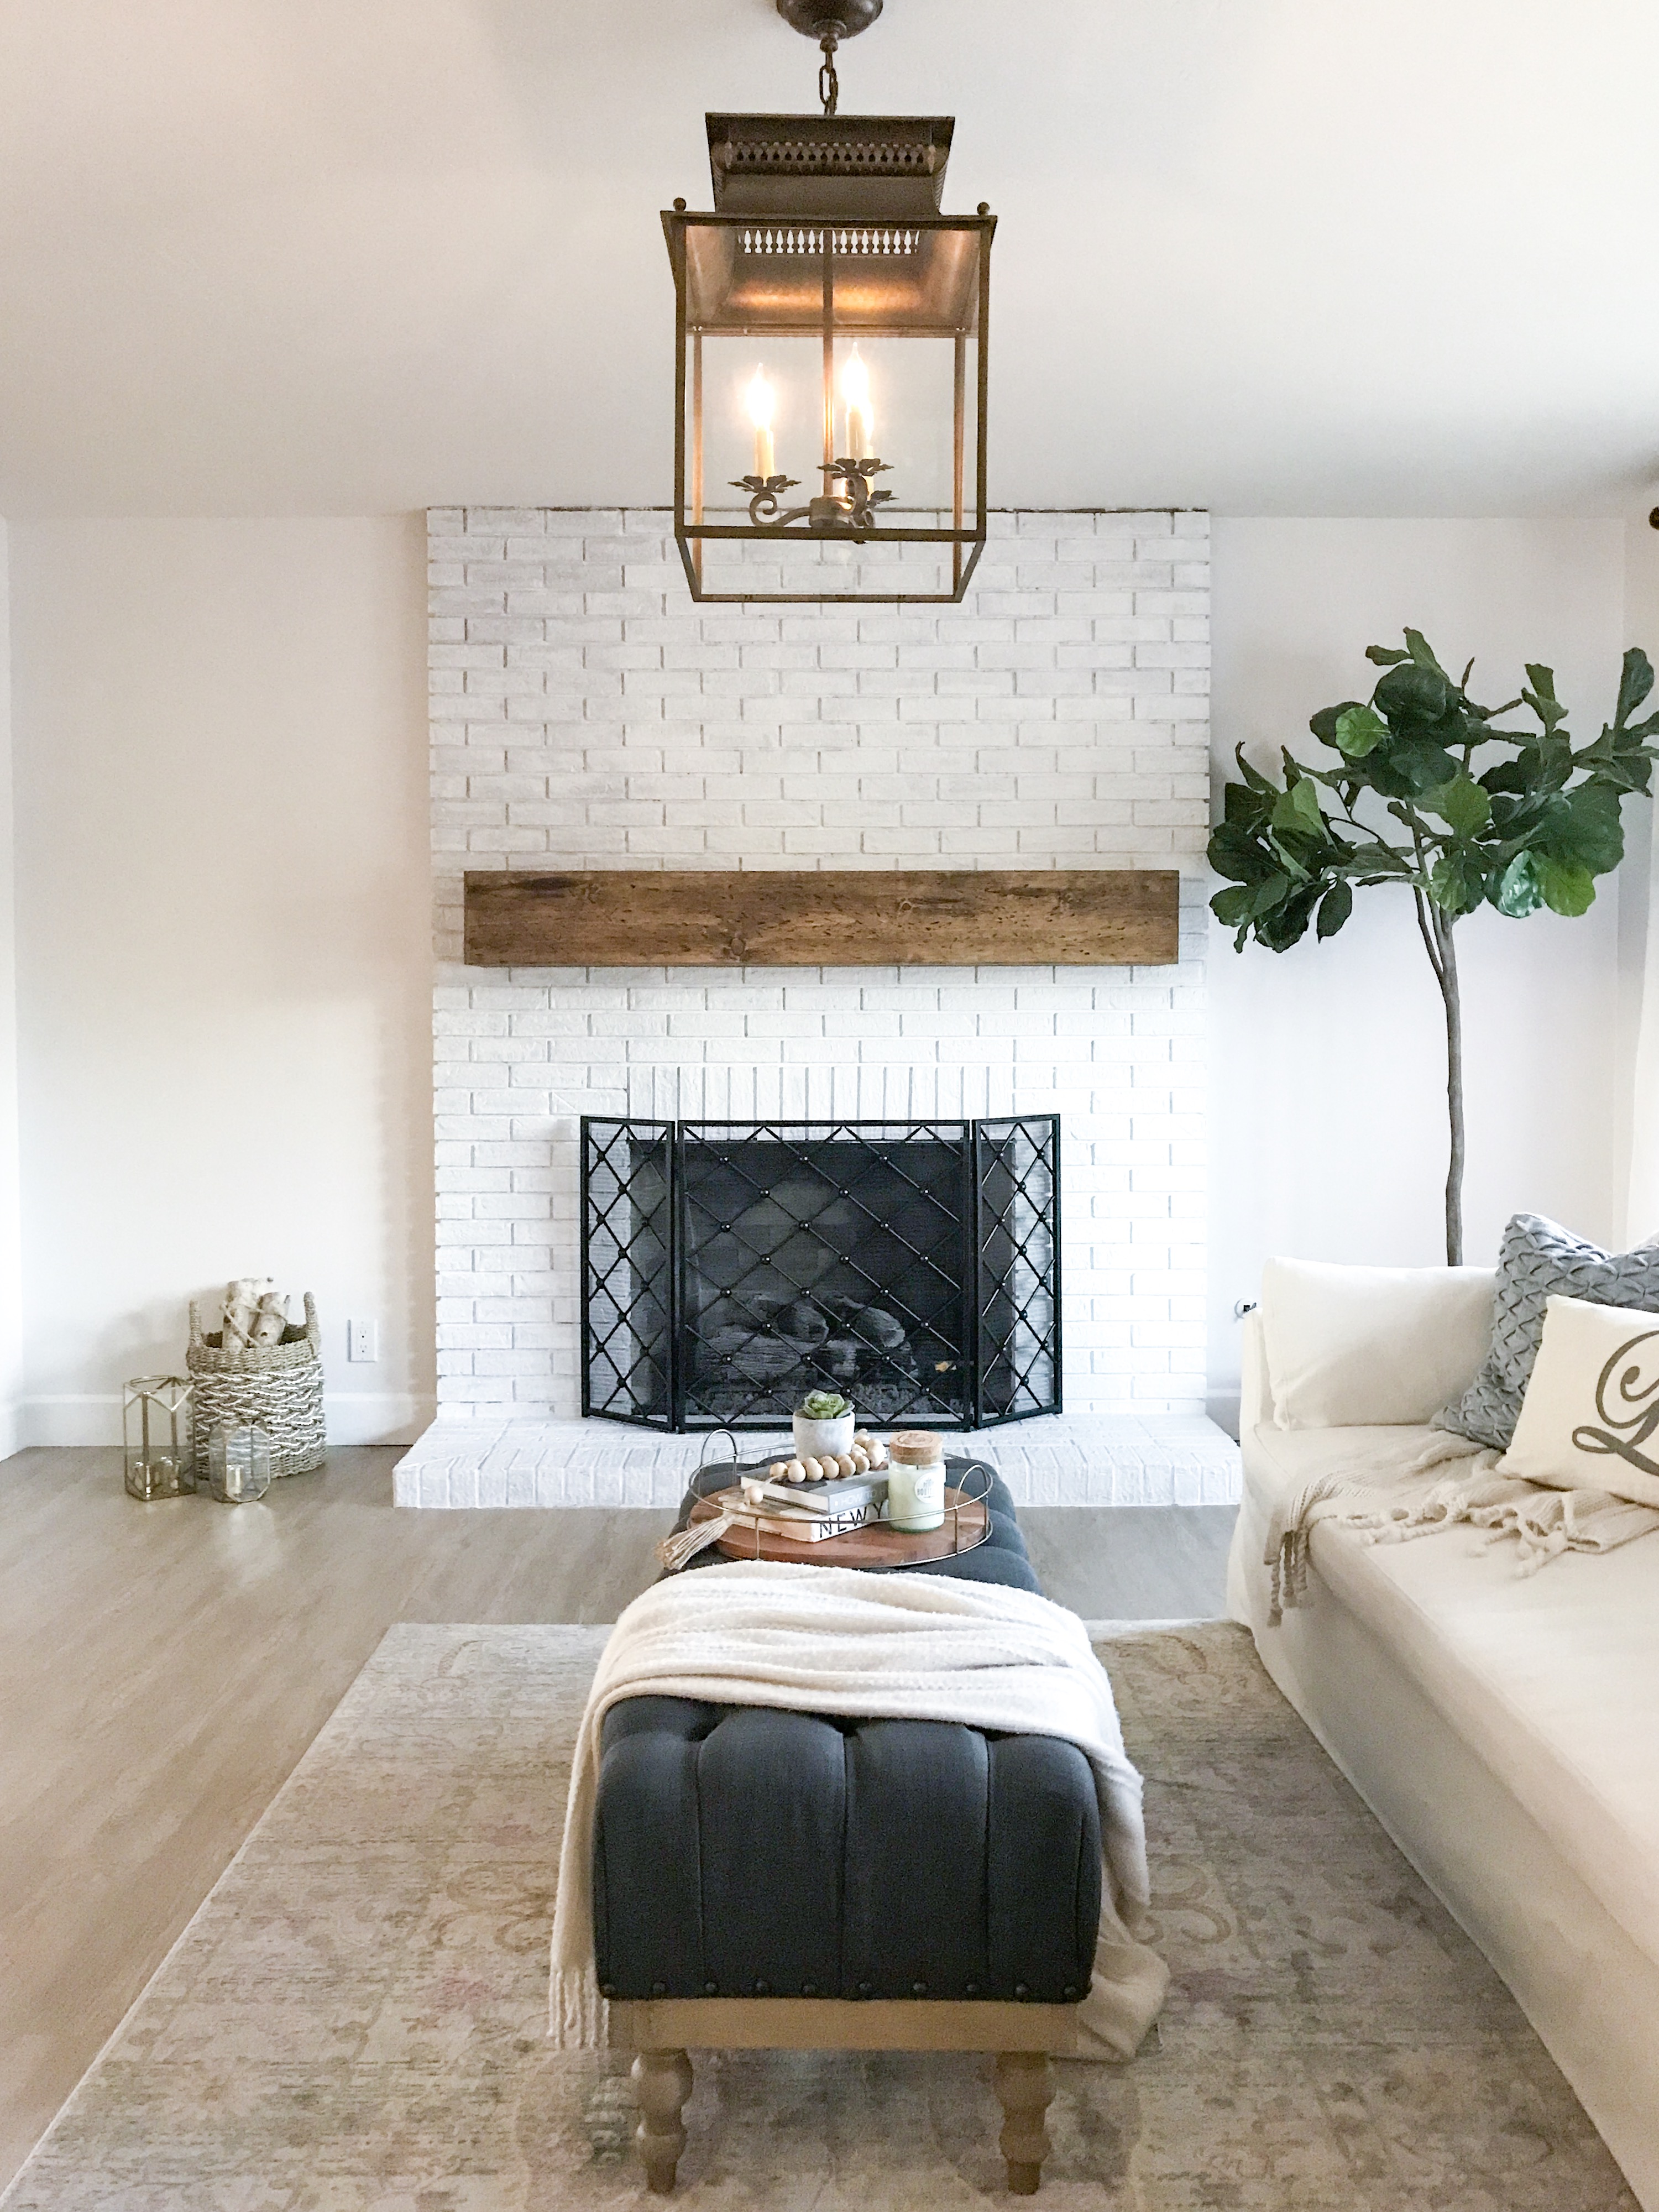
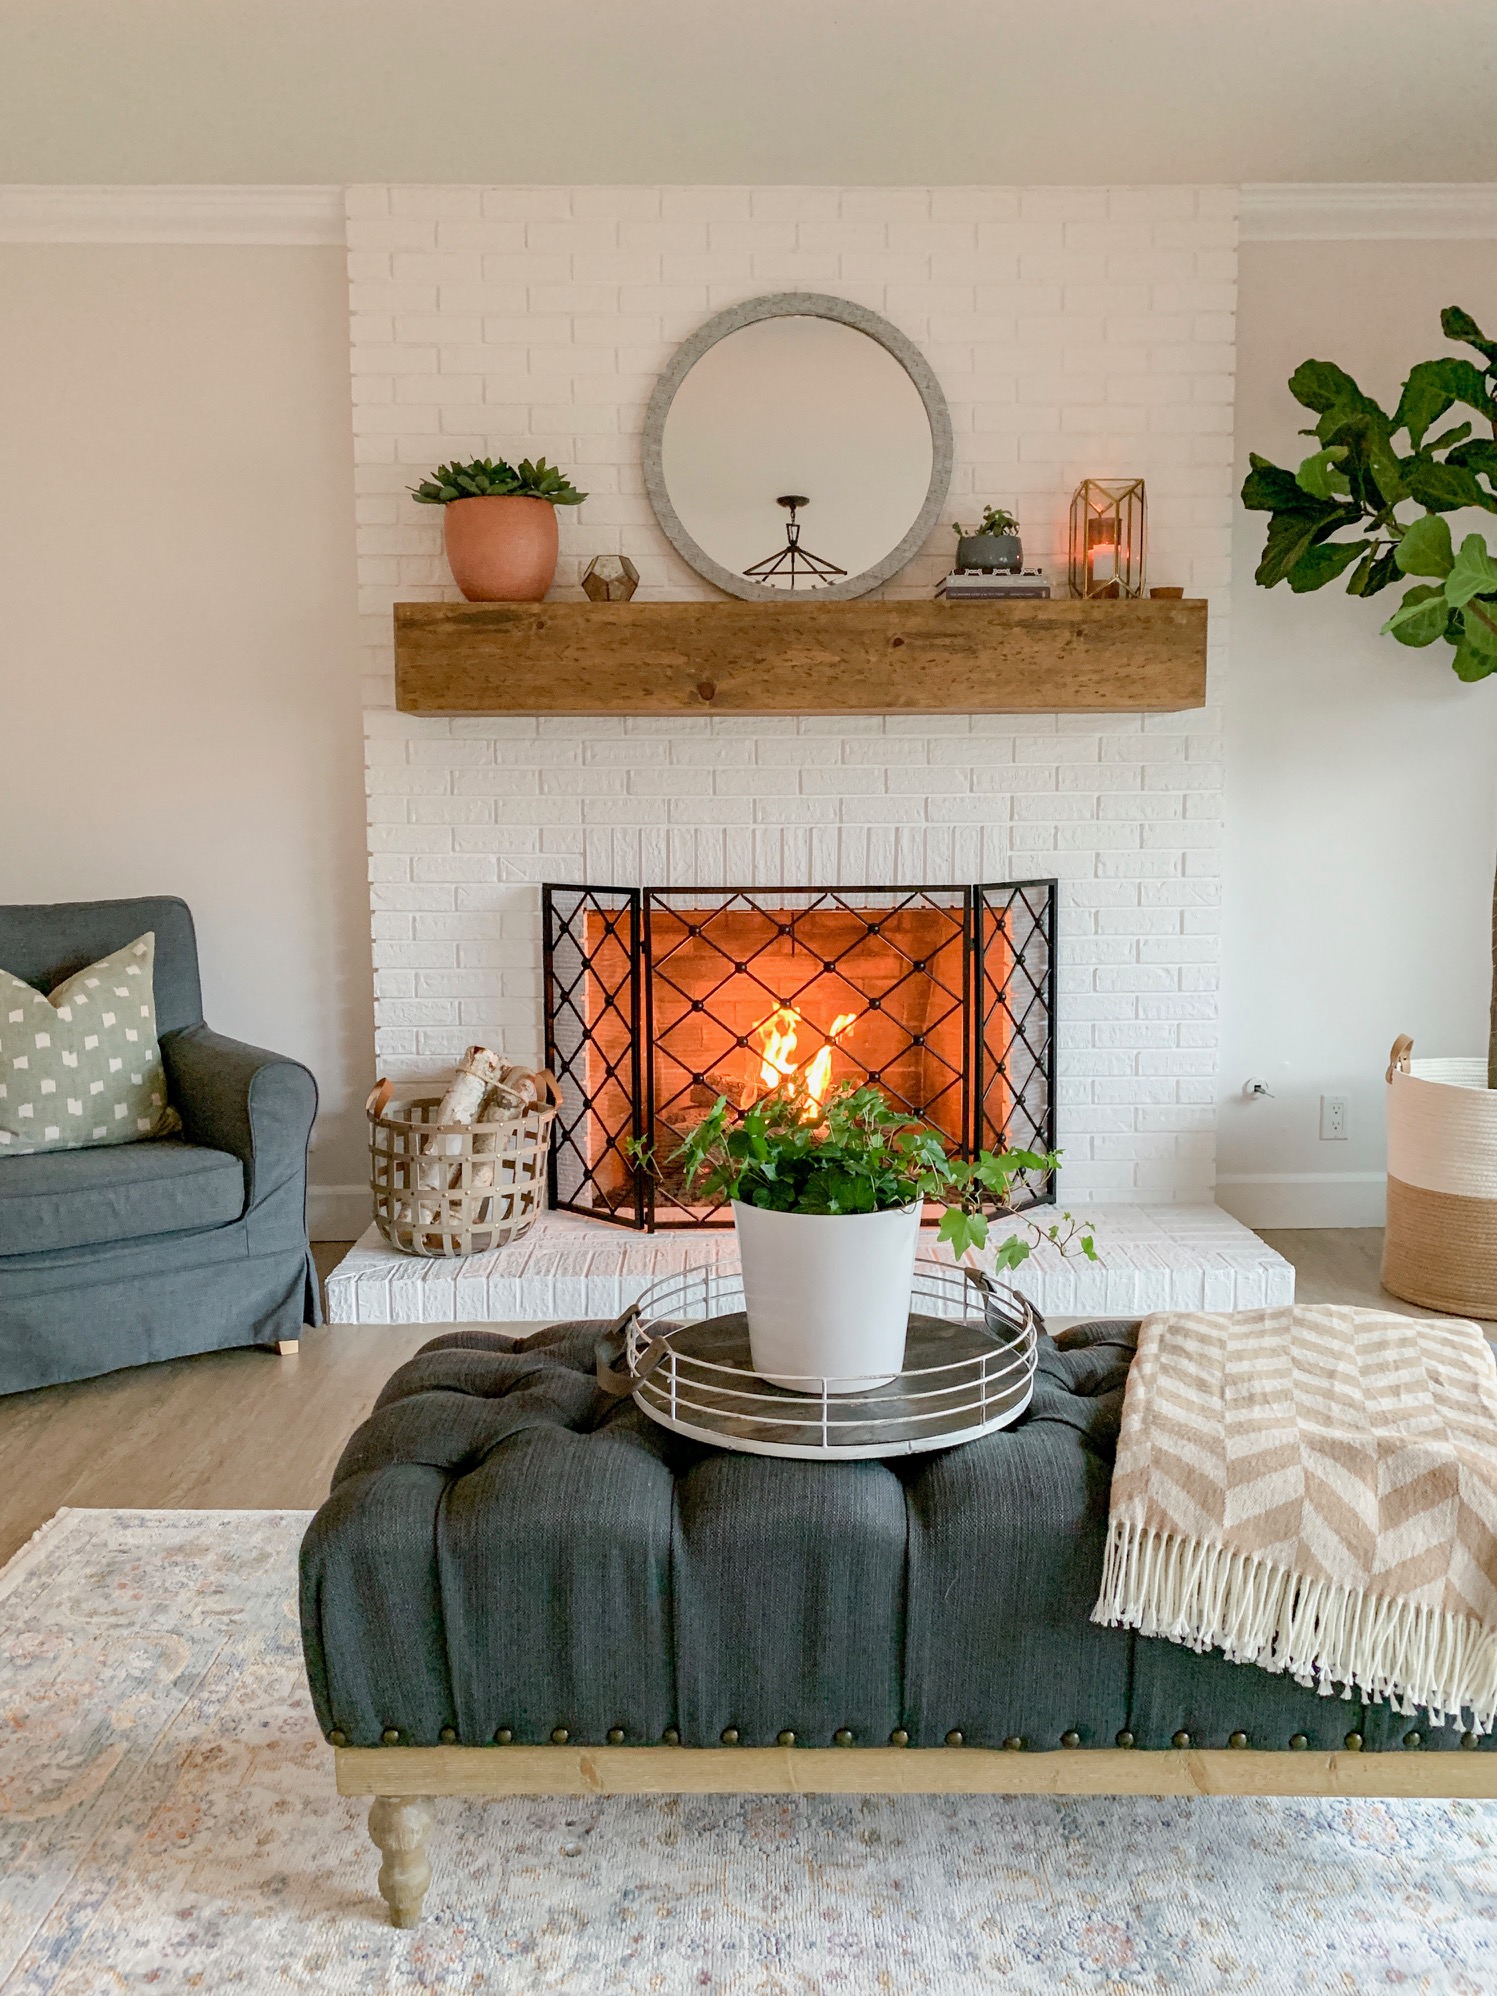
Here’s the after! Dion did such an amazing job with the staining and distressing – it looks so custom! We secured the mantel to cleat using wood screws. This allows us to easily remove it when we need to – like when we recently finished painting our brick. We were able to remove it and then able to easily put it back in place.
My DIY Tips
Find Inspiration
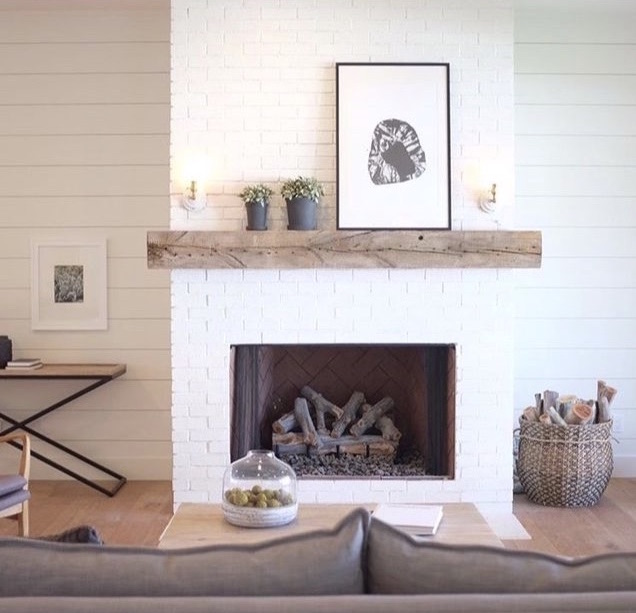
I searched Pinterest for mantels and fireplaces that I loved and came across so many inspiring images. This one was one of my favorites – and need to credit the designer if anyone knows – please let me know! Inspiration is very helpful in achieving success with your design. It gives you direction and something to refer to while figuring out what you like and don’t like!
Always Measure First
I always regretted that our last fireplace mantel wasn’t deep enough to set things on. It could barely hold items and this time around I knew I wanted something deep enough to decorate throughout the year. Make sure you take into account your desired depth when diy’ing your mantel. You don’t want to go through all the work of making it only to realize it isn’t the correct size.
Keep Scale & Height in Mind
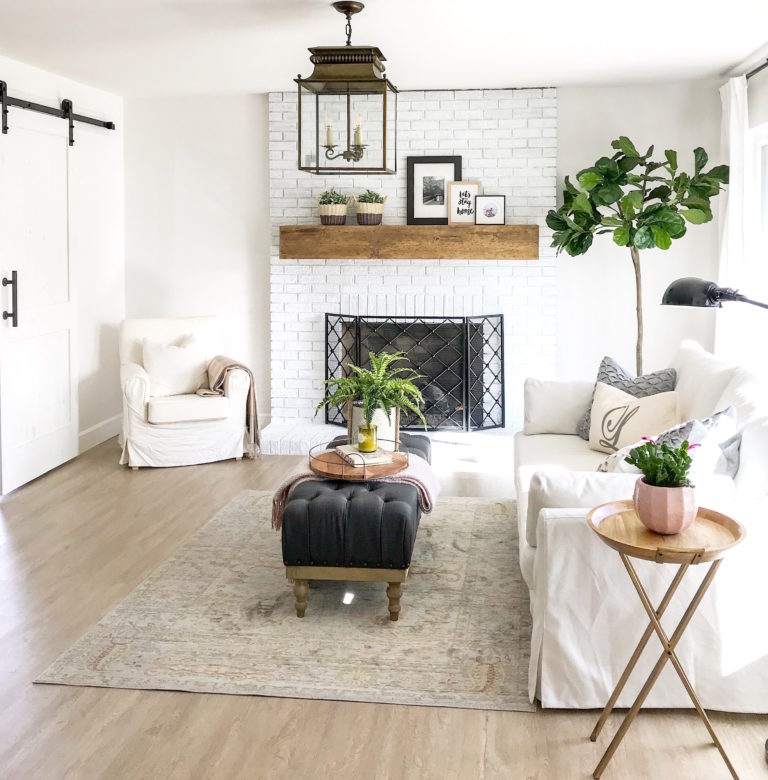
The scale and height of your mantel mounting make a huge difference in the overall look. Fortunately our cleat to hold our floating mantel was already in place and at a height we were ok with. Definitely not worth moving. However if it was too high or low we may have considered it. Think about the area above your mantel and make sure the space is sufficient. This can often be very subjective and a matter of preference with no hard or fast rules. Yet it is good to be aware of the size of your mantel in the relation to the rest of the space. You don’t want a small little mantel with a huge wall of brick or vice versa.
Rustic Wood Floating Mantel: Styled Throughout the Year
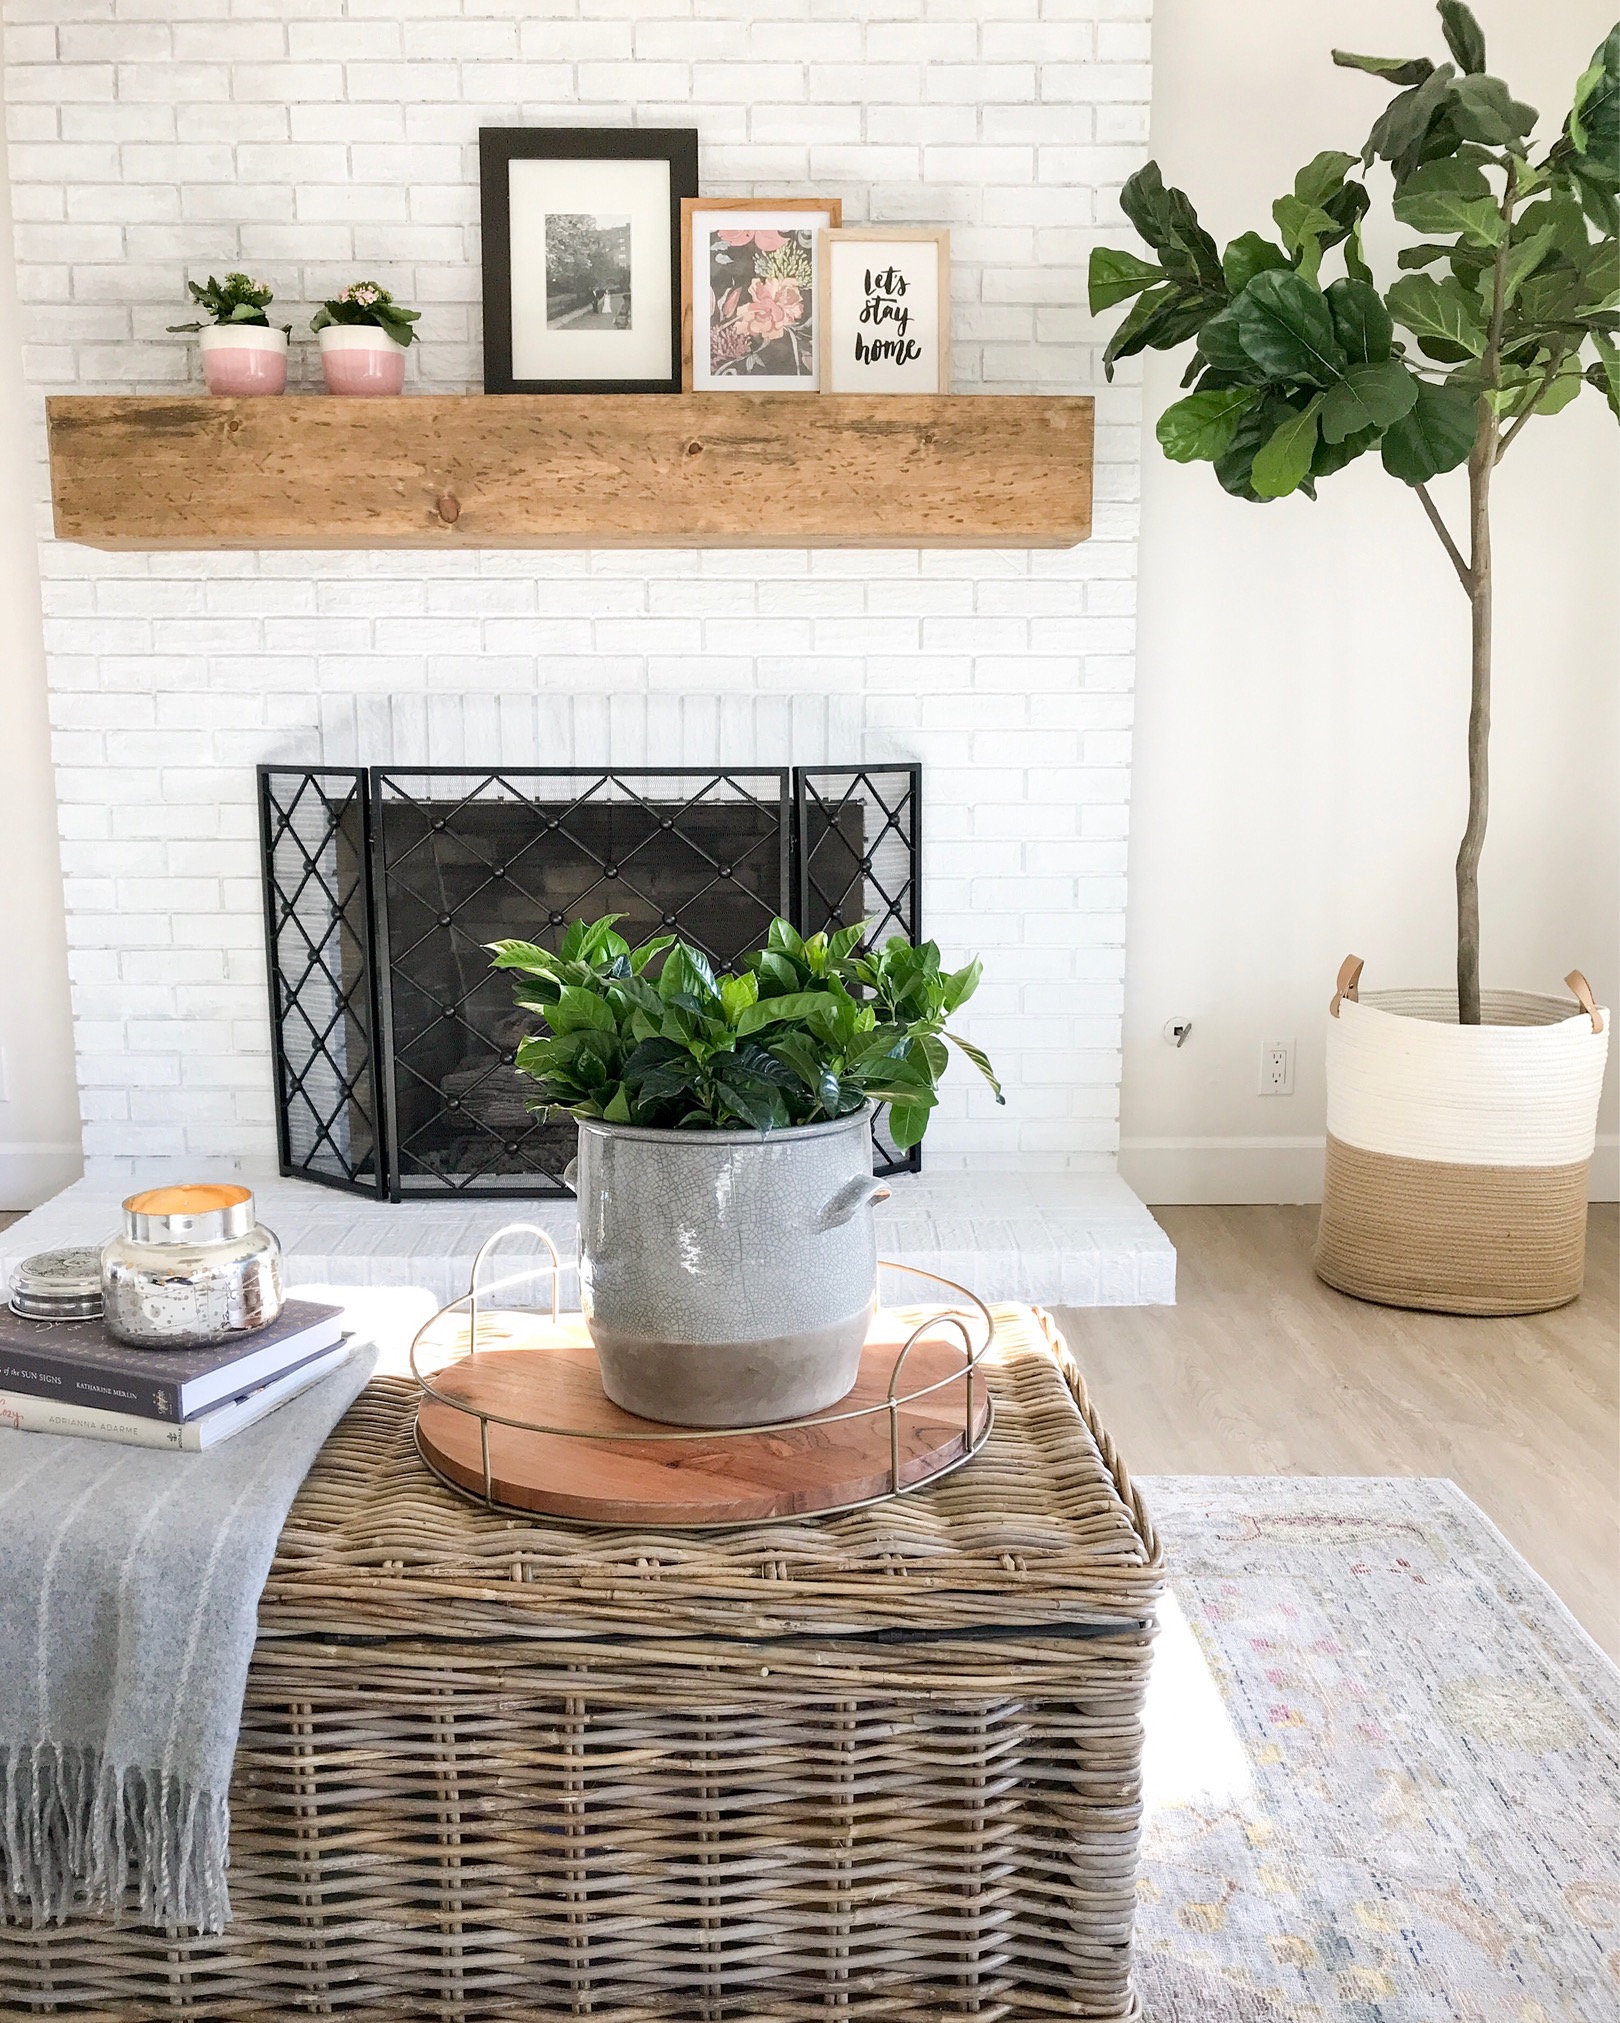
Our mantel in the spring.
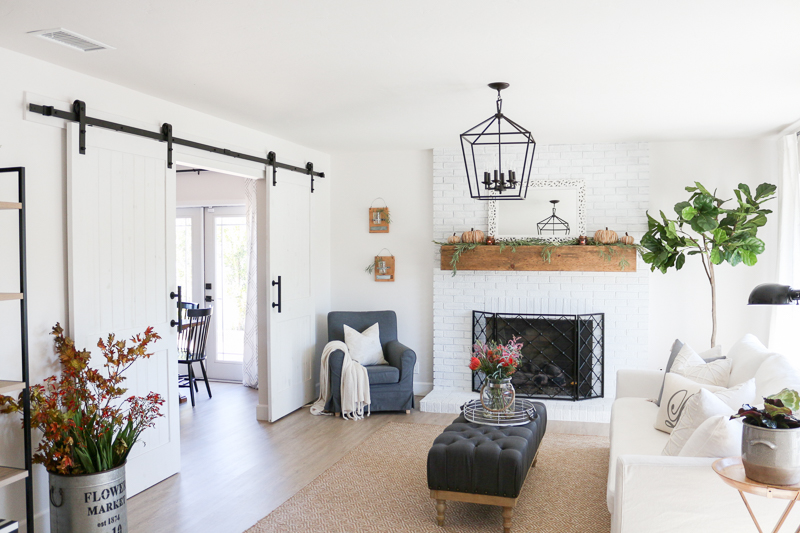
Decorated with pumpkins in the fall.
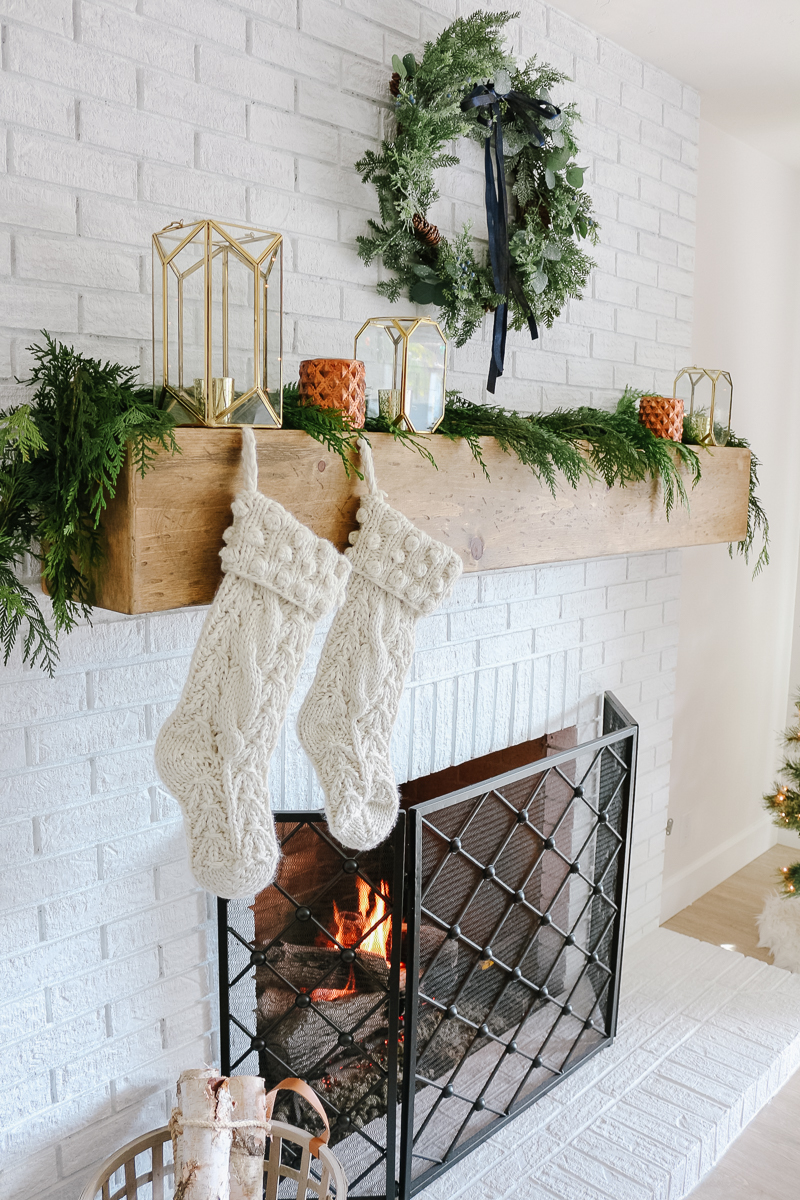
Our holiday mantel – so cozy and plenty of space for garland and room to hang stockings.
One last look at the before:
And the after – a shot of our winter mantel, so cozy!
I hope this easy + affordable diy rustic wood floating mantel post has been helpful and that you give it a try! This was the most affordable way for us to achieve the rustic beam mantel look and make the mantel to the exact specifications we desired. Tag us on Instagram and share your projects with us or leave a comment below. We are happy to answer any questions and make sure you refer to the videos we recommend. If you are looking for living room sources – they can be found here & here.
Pin this for later!
Shop the post here

Happy diy’ing!


Hey there! What did you use to paint the brick with? It looks beautiful!
Hi! Thank you so much! We used white primer by Kilz and then recently finished it with a coat of super white from Sherwin Williams in a matte finish.
Beautiful mantle! What color stain did you use?
Thank you so much!
Special Walnut 🙂 the exact one is linked in the post – if you click on the word stain it will take you to the link 🙂
Oh, I see! Thank you 🙂
My husband & I are tackling this project this weekend. Thank you for such detailed directions, I can’t wait to build our new mantle!
How exciting! I hope our post was helpful! xo, Beth