DIY Eucalyptus Flower Garland
Today I’m sharing how to DIY a eucalyptus flower garland. It’s such an easy way to add a beautiful touch to any tablescape when entertaining family and friends. Before you gather the essential items keep in mind that it’s all about grace not perfection! The more whimsical and less perfect the better!
{For all the source items head to my last post here and at the end of the post.}
DIY Eucalyptus Flower Garland
Step 1: Purchase Eucalyptus & Other Greenery
First head to your local grocery store or my favorite go-to for fresh greenery – Trader Joe’s! They always have amazing deals at $2.49 for a large bunch of a variety of greenery and eucalyptus. Gather different types of greenery and eucalyptus – for example silver dollar and seeded, and if you aren’t sure grab all of them like I did – lol! Make the eucalyptus your primary greenery – it needs to take center stage among the other greenery you choose. The other greenery you select will act as “filler” around the eucalyptus.
Step 2: Select & Purchase Flowers
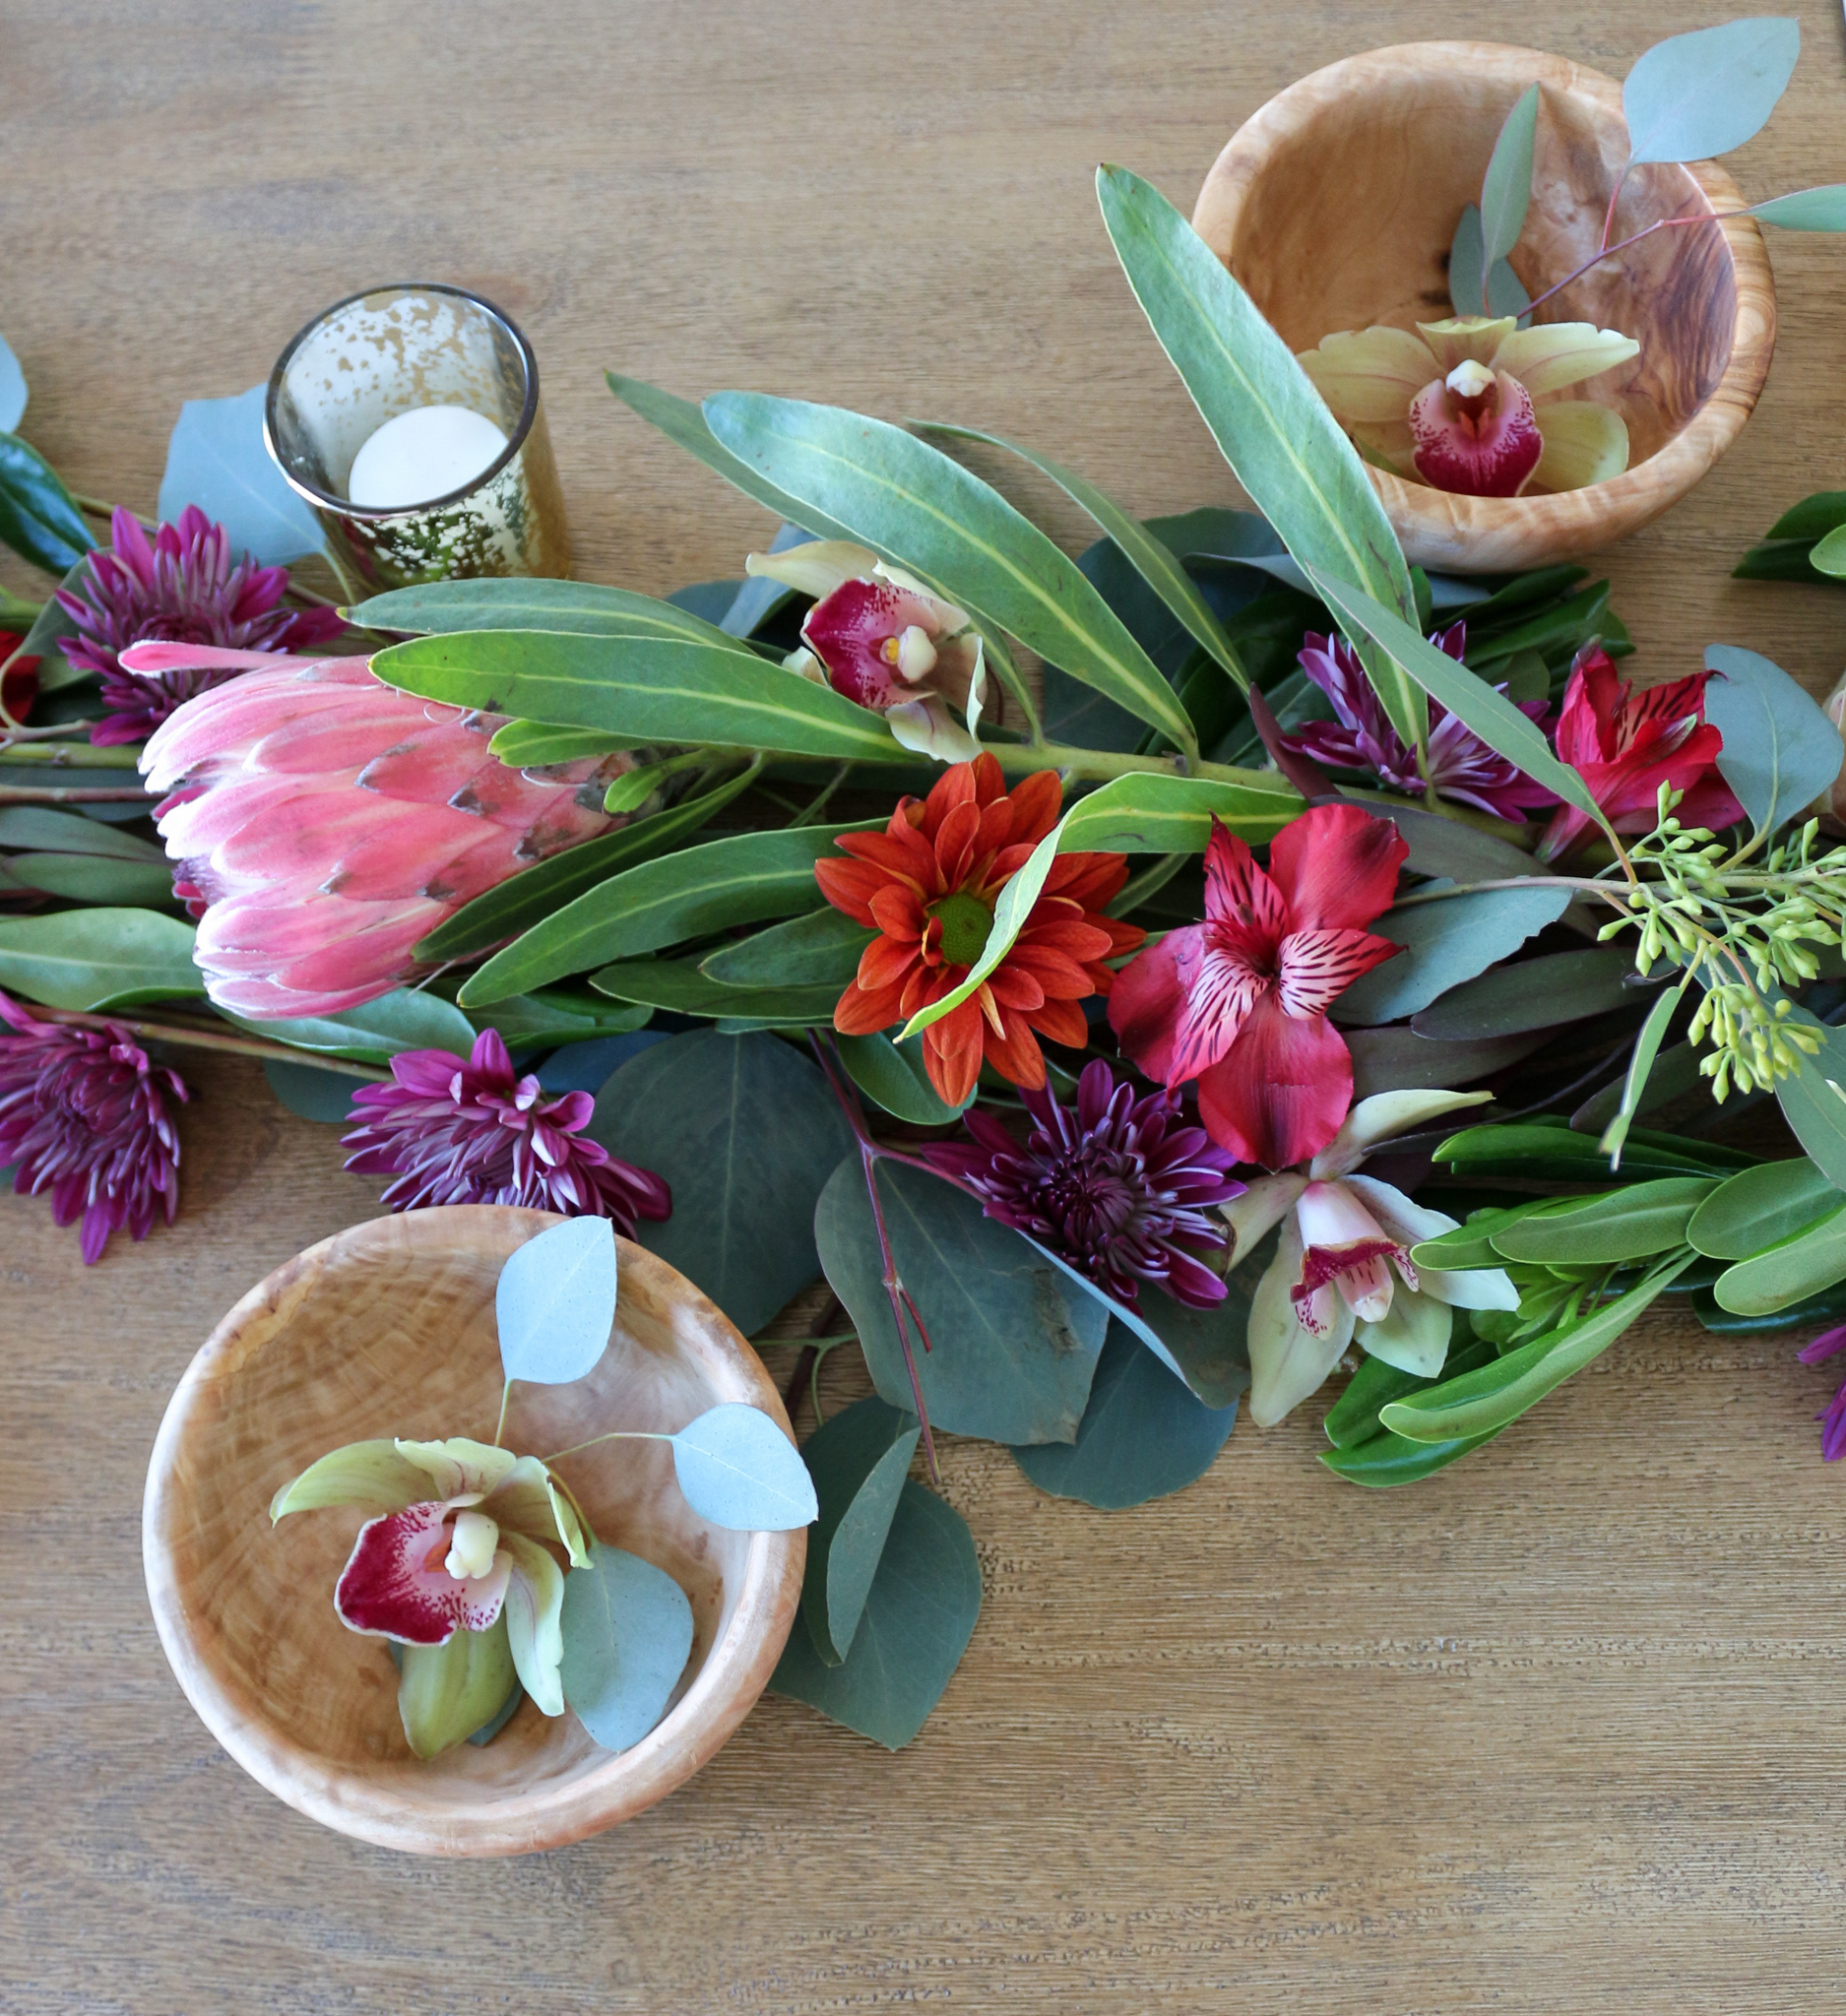
Along with the greenery you’ll want to snag a few flowers that are affordable because you are going to cut the top of the flower off – yes I said it – “off with their heads” – but for a very good reason! I selected mums, alstroemeria, and cymbidium orchids. I coordinated the flowers creating a jewel tone color palette – dark purples, orange and burgundy. You can select whichever flowers are appropriate for the occasion, holiday and are in season.
Step 3: Remove Excess Water from Stems & Lay Out on a Flat Surface
Remove the greenery from the packaging and lay out on a paper towel to remove the excess water. Snip off the tops of the flowers leaving a tiny stem that you can “tuck” into the greenery. Lay out all the greenery so you can easily grab it for layering.

Step 4: Layer the Greenery & Flowers:
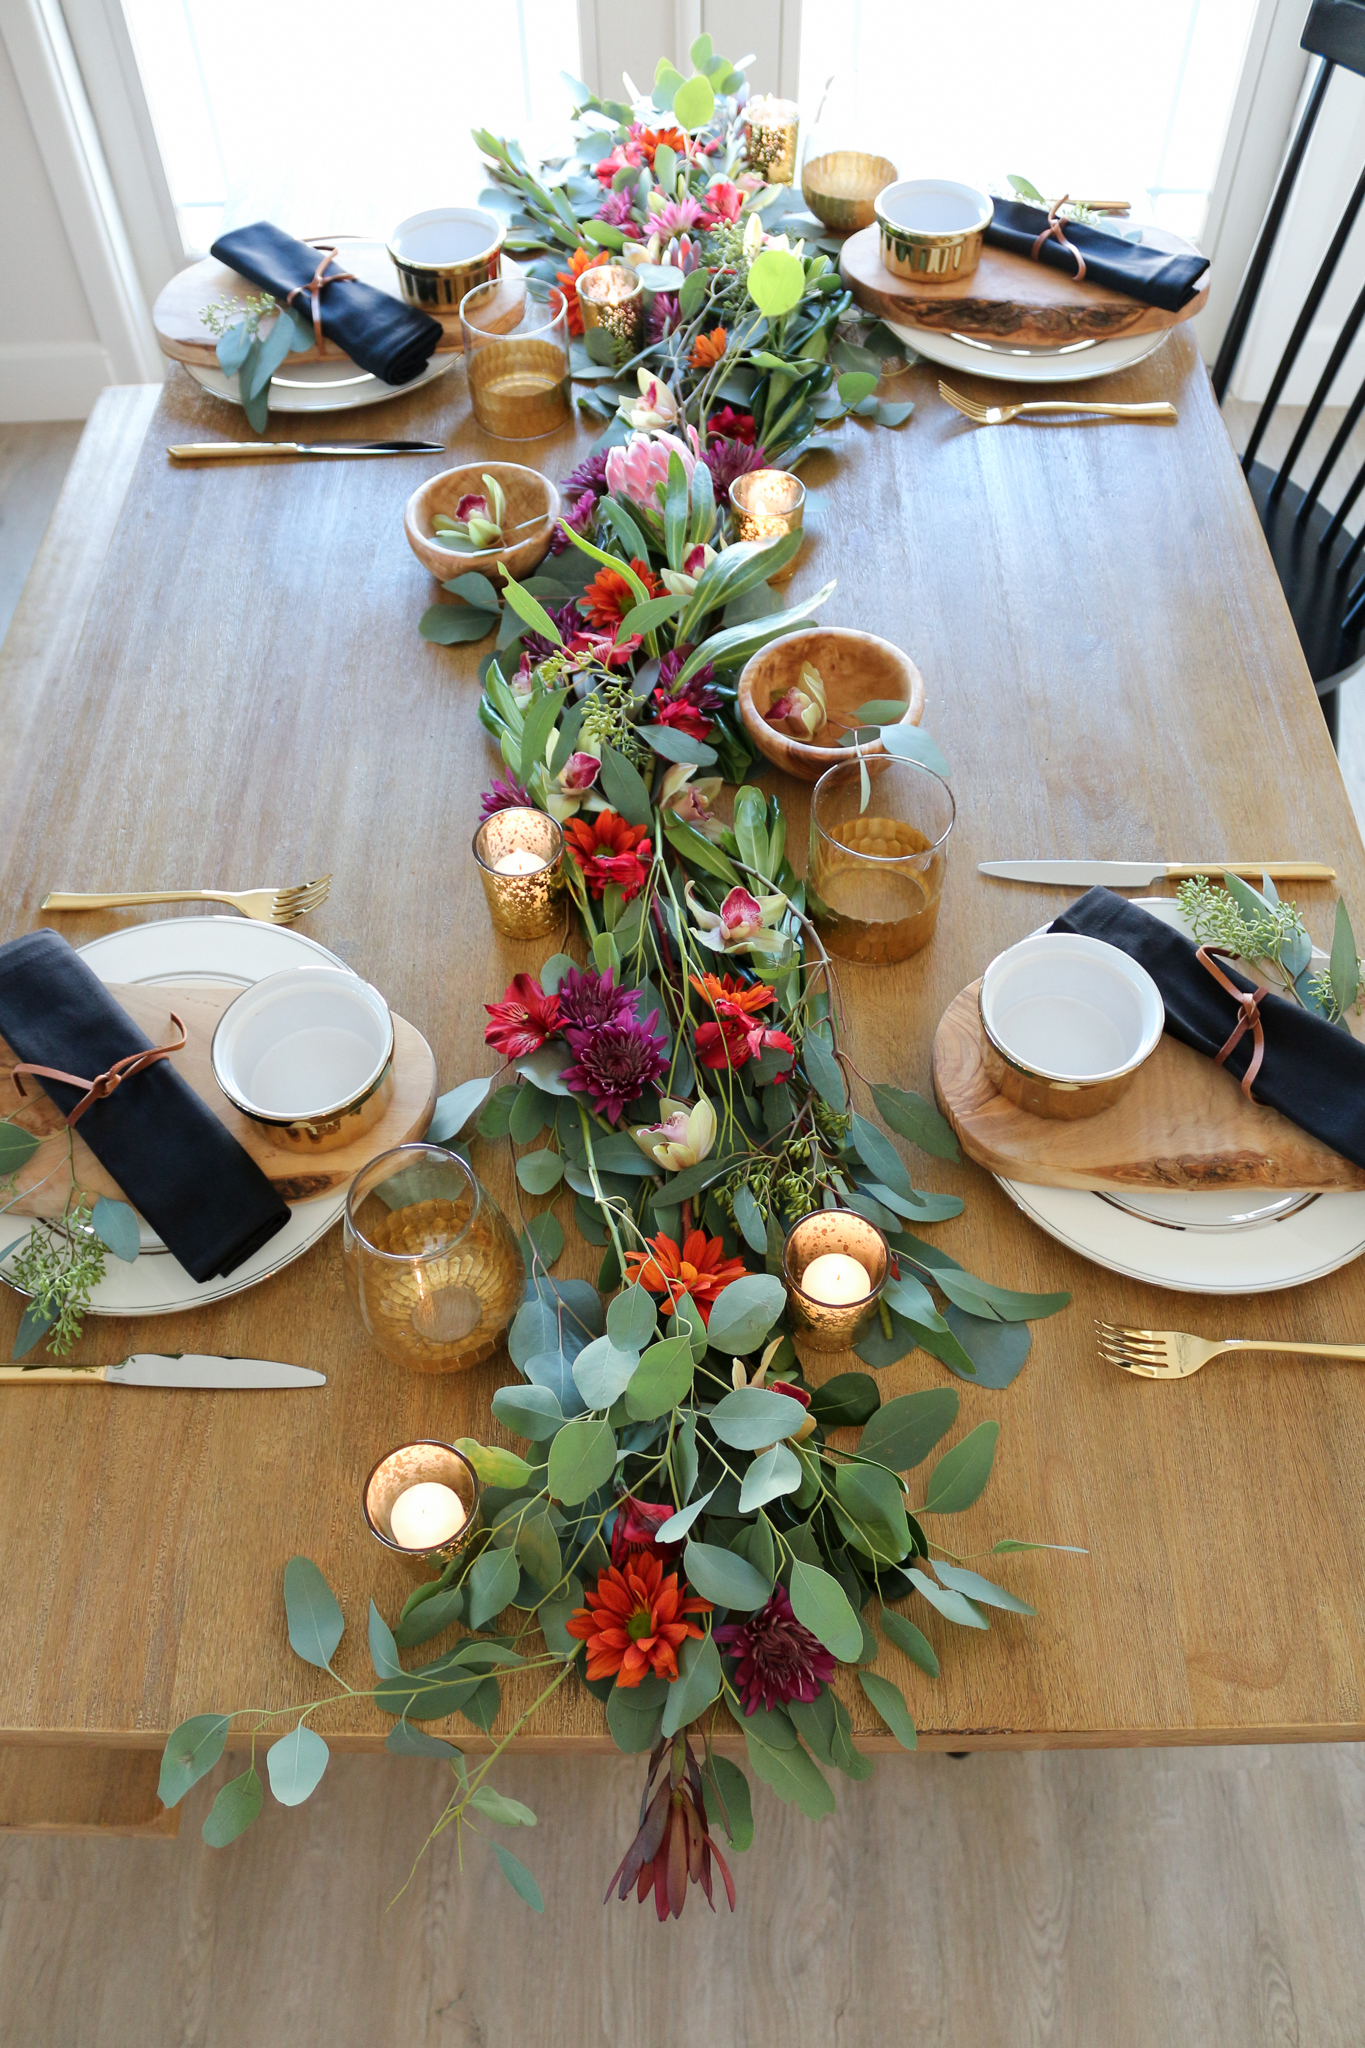
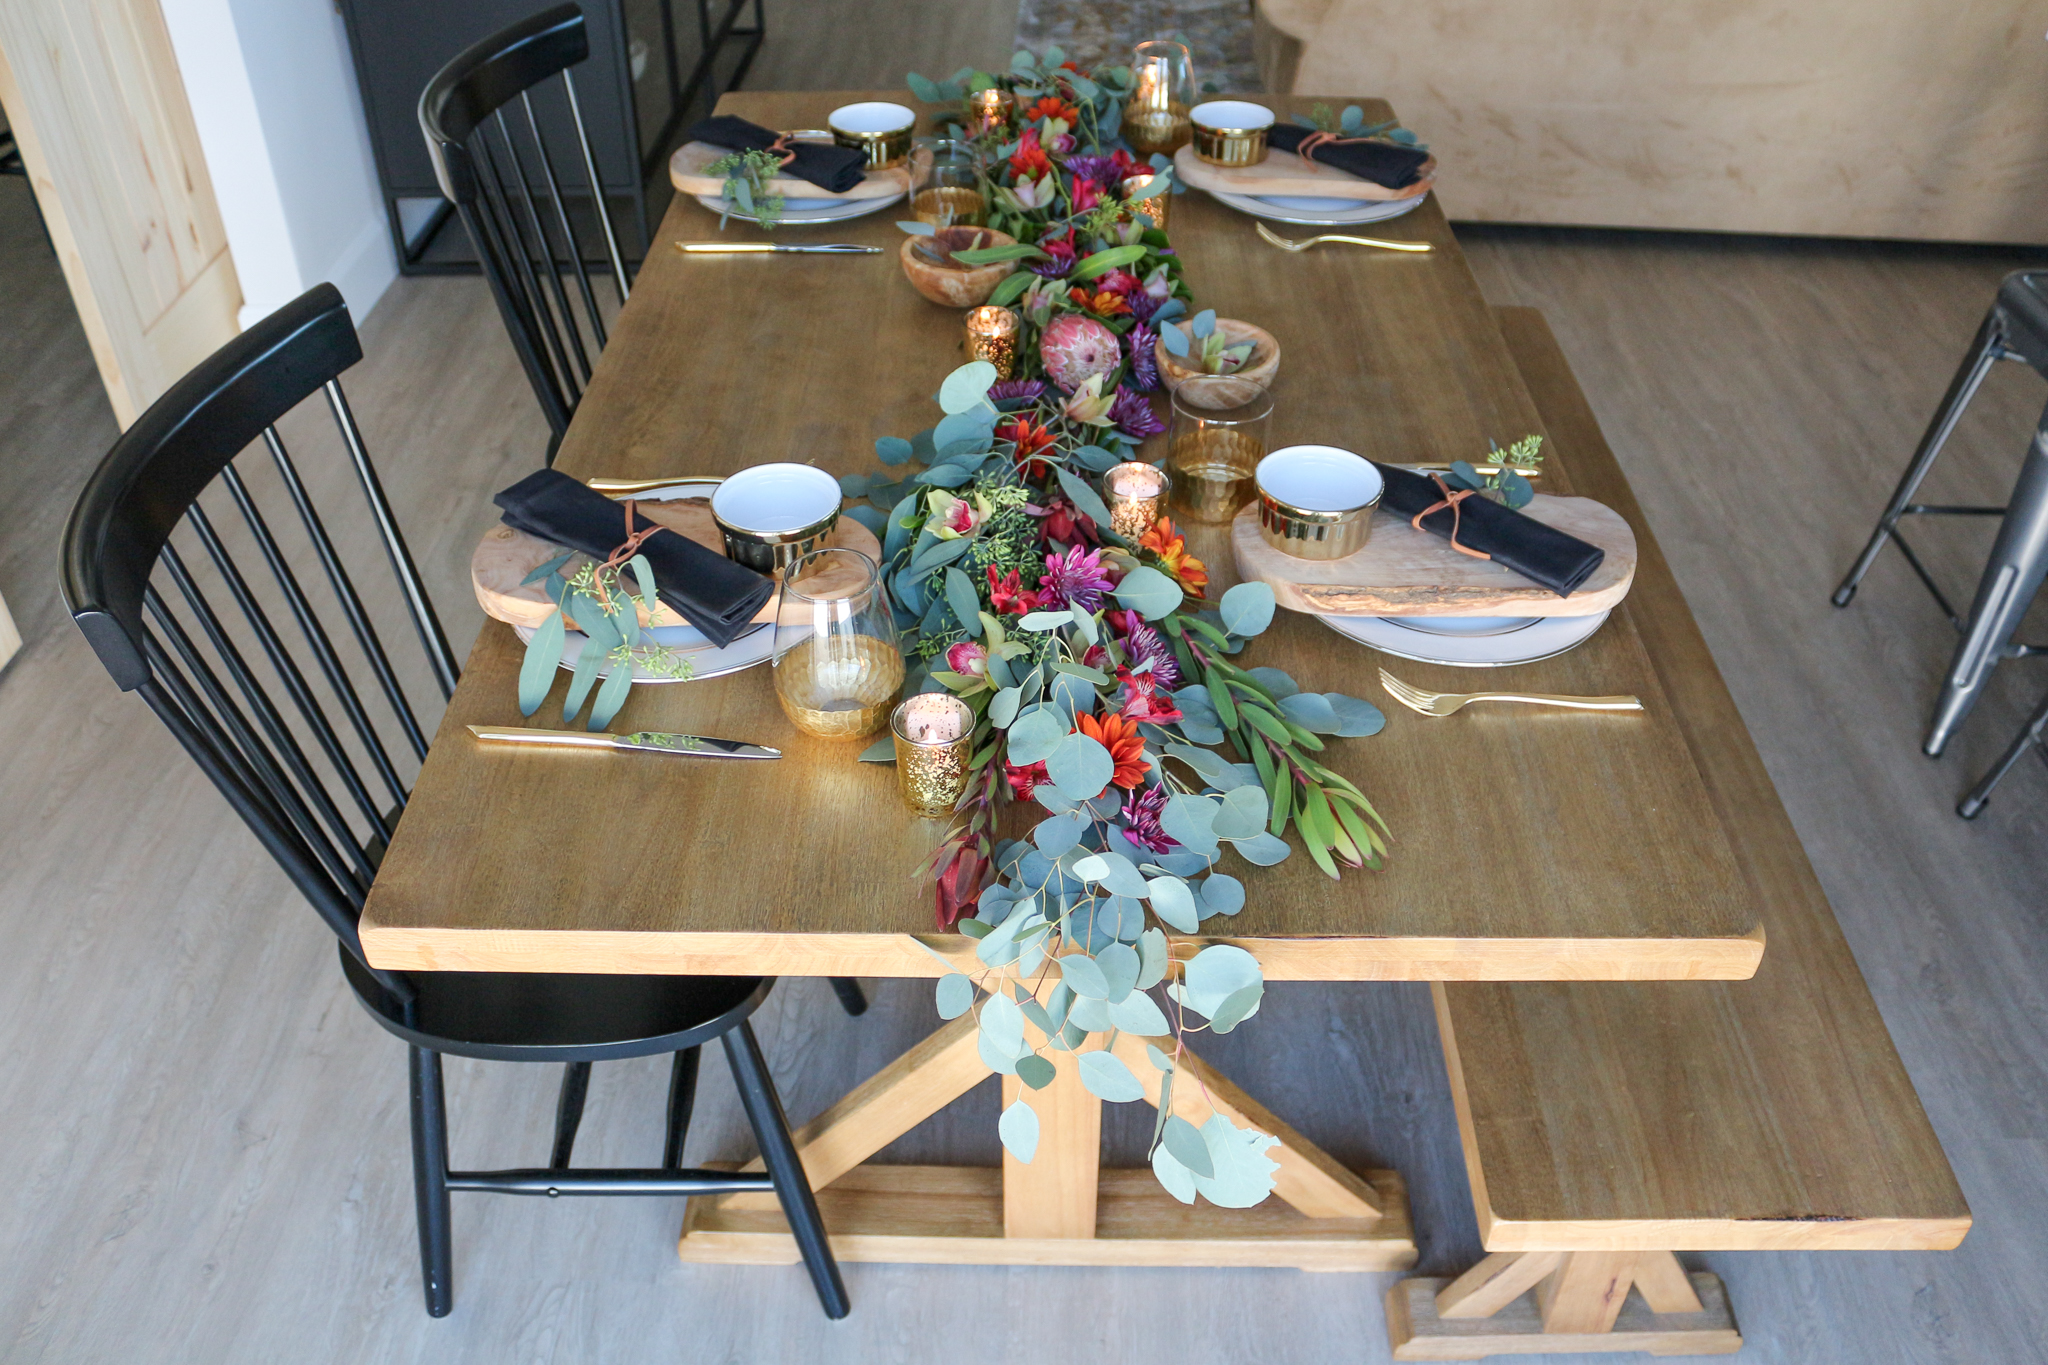
Now here is the fun and creative part! Place stems toward one another and stack each one making sure to use a variety of the greenery so it has different tones and textures. Tuck the stems into the layers of greenery. Continue to stack the greenery from one end of the table towards the middle keeping the middle section slightly thinner than the outer layers.
Place the flowers in different sections of the greenery creating patterns of color with flowers you choose. Cover any exposed stems with the flowers. You can use ties or string to secure the garland but I chose a more natural, whimsical look and opted not to secure the garland.
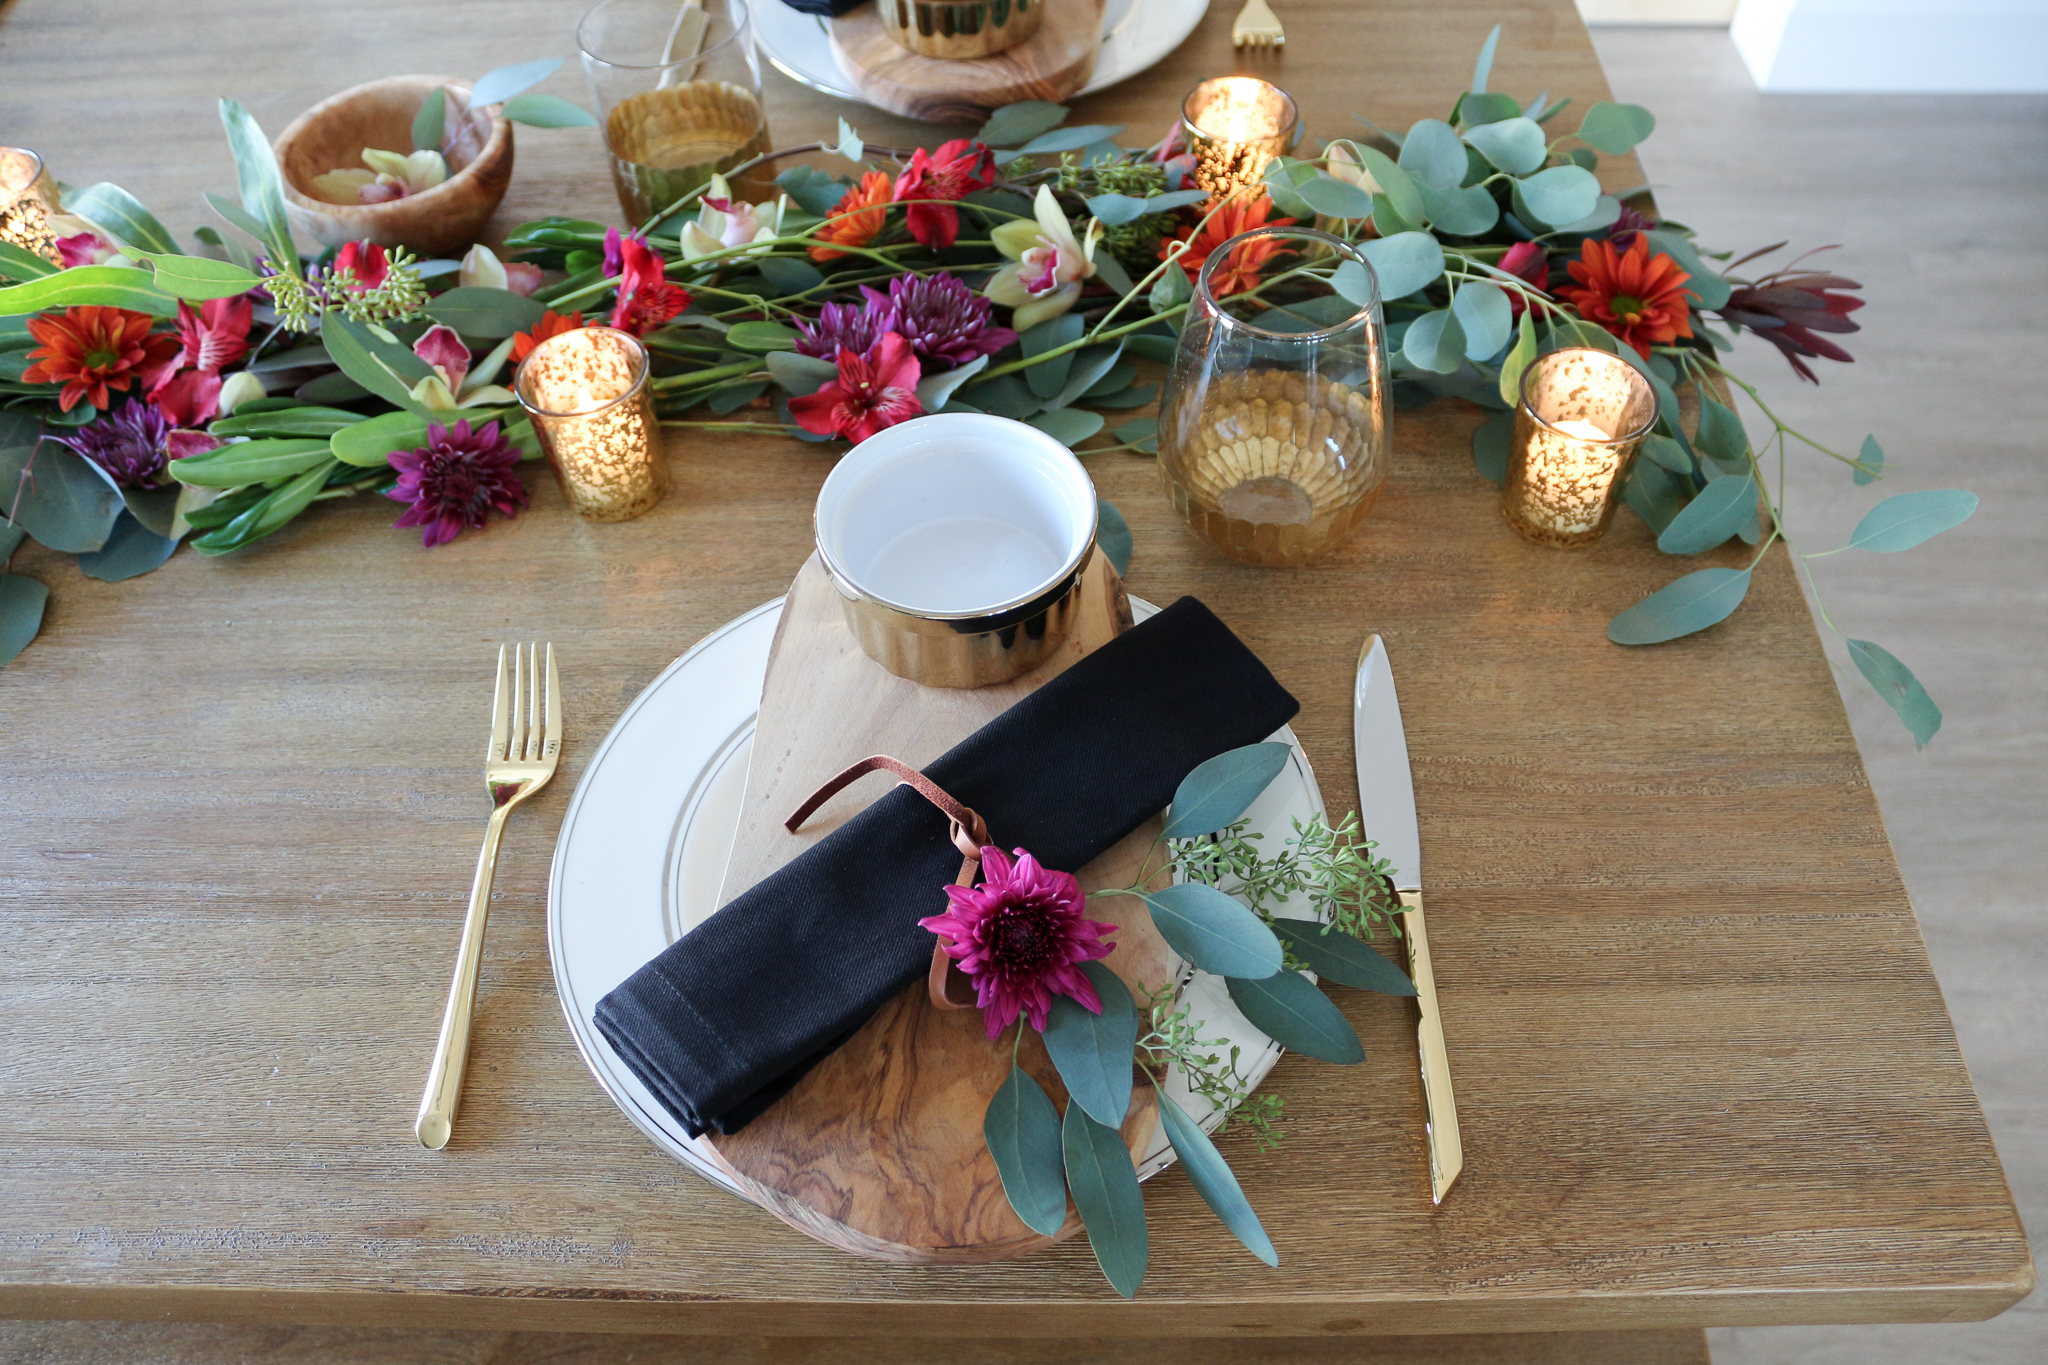
Step 5 (Optional): Add Candles
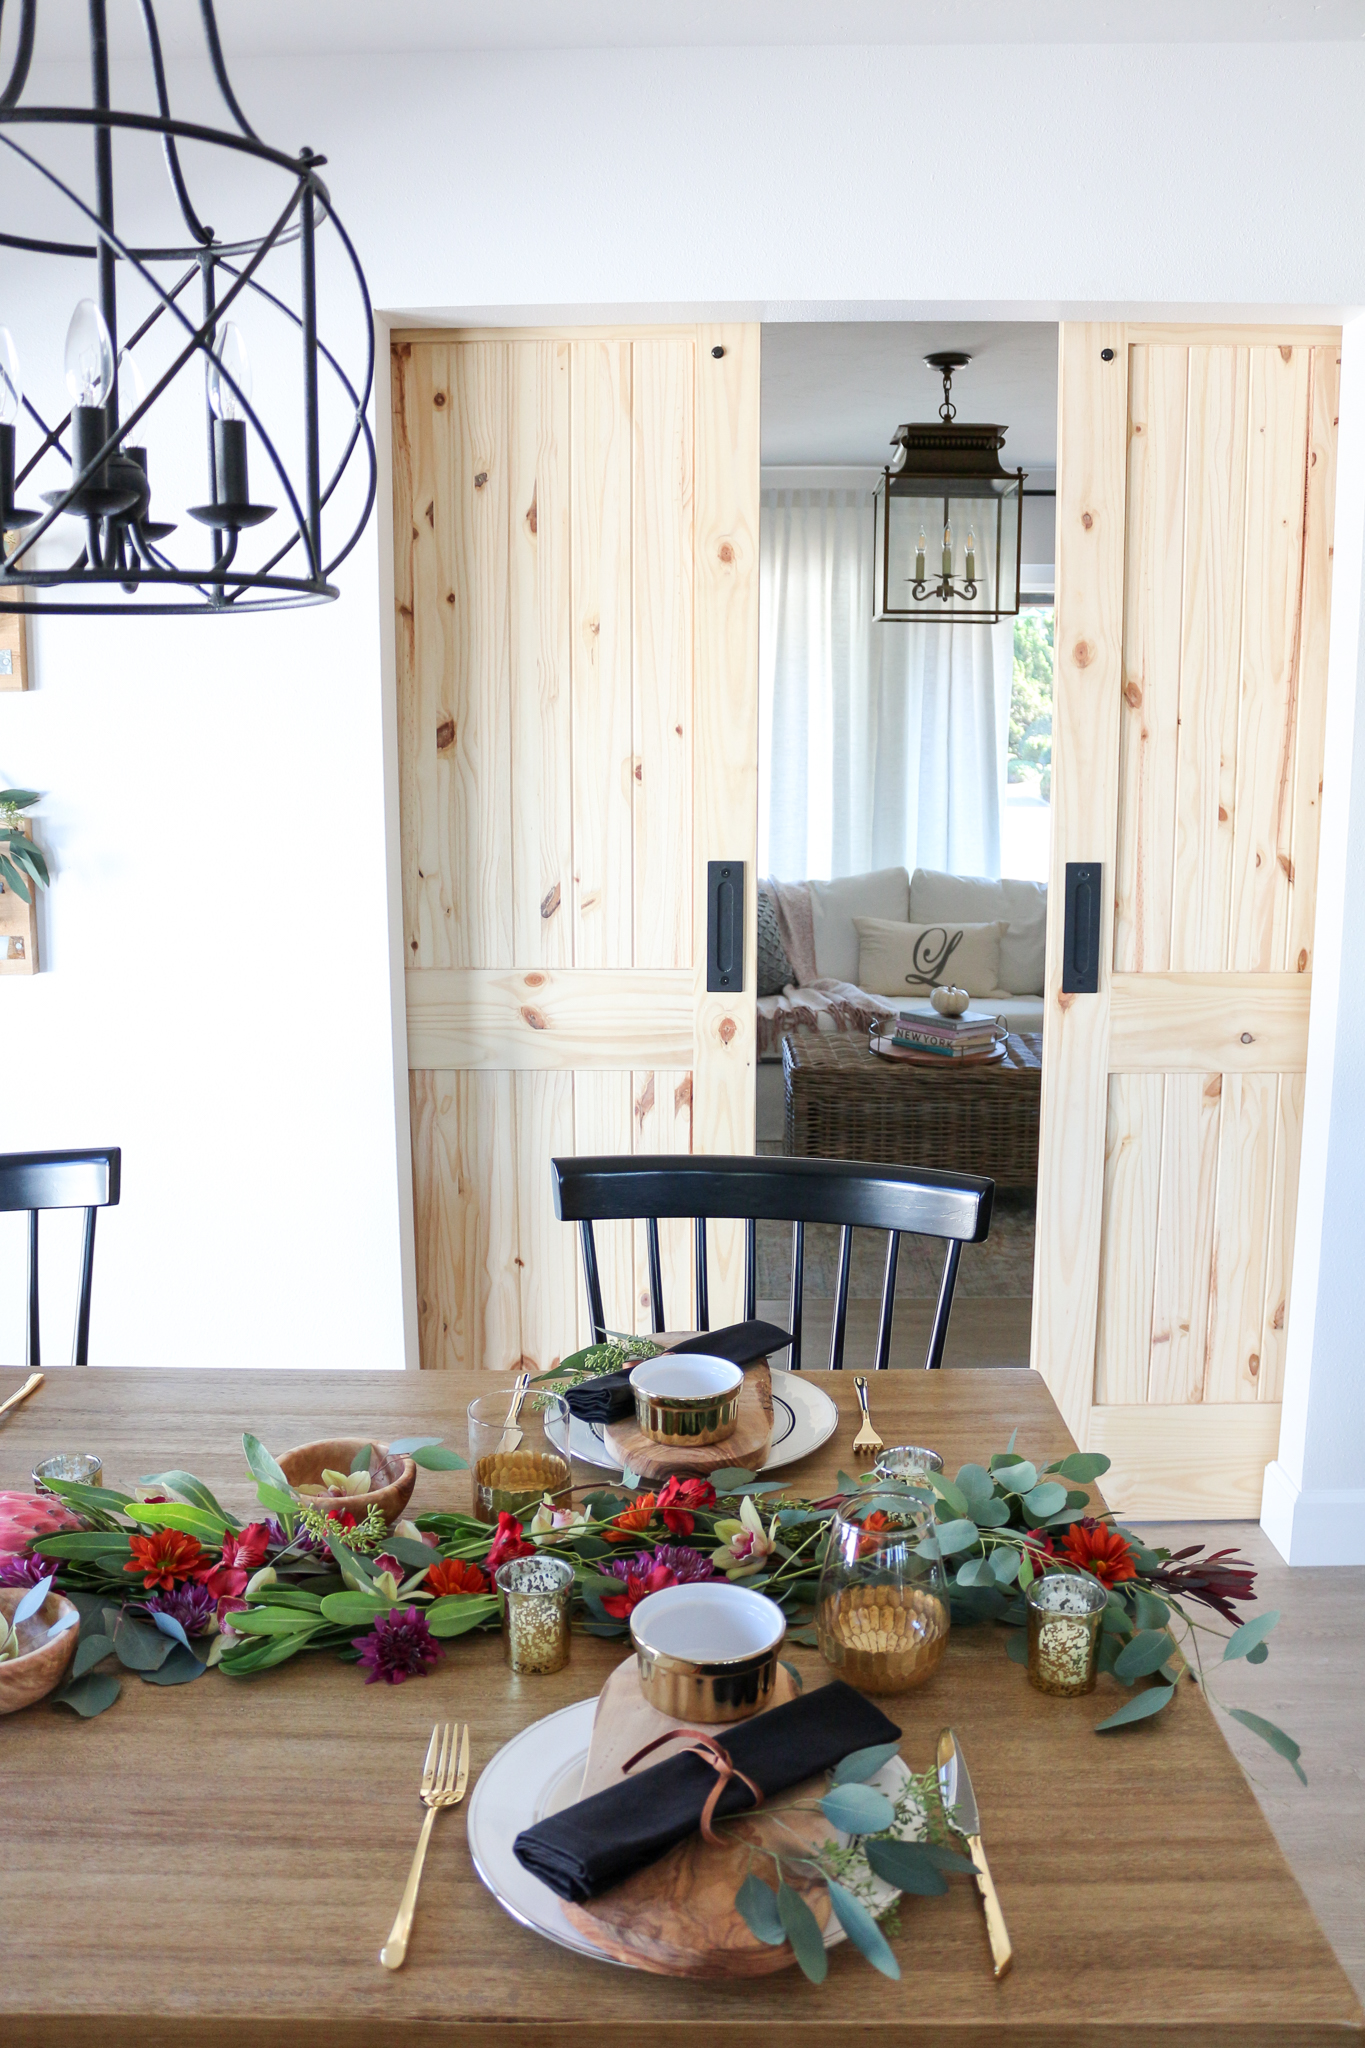
Candles will add extra ambiance! I used six small candles with gold votives, placing them in a sort of zig zag pattern along the garland. It makes the garland look extra pretty with the glow around it. It also provides structure and an anchoring effect around the garland.
Lastly, sit back and enjoy your beautiful work! Your eucalyptus garland should last a few days – the flowers won’t last as long. I’ll be sharing how I used my garland after 2 days so you can see how it looks – stay tuned for more on that soon!
I hope you enjoyed my steps on how to make a eucalyptus flower garland. I would love to know if you give it a try! If you do – share and tag me in your photos over on Instagram! To learn more on different types of eucalyptus and greenery head here.
Shop Sources Here:

Thanks for stopping by,

*Affiliate links used, all opinions my own.

5 Comments