Bright White Chic Bathroom Renovation
Today I’m sharing my bright white chic bathroom renovation.
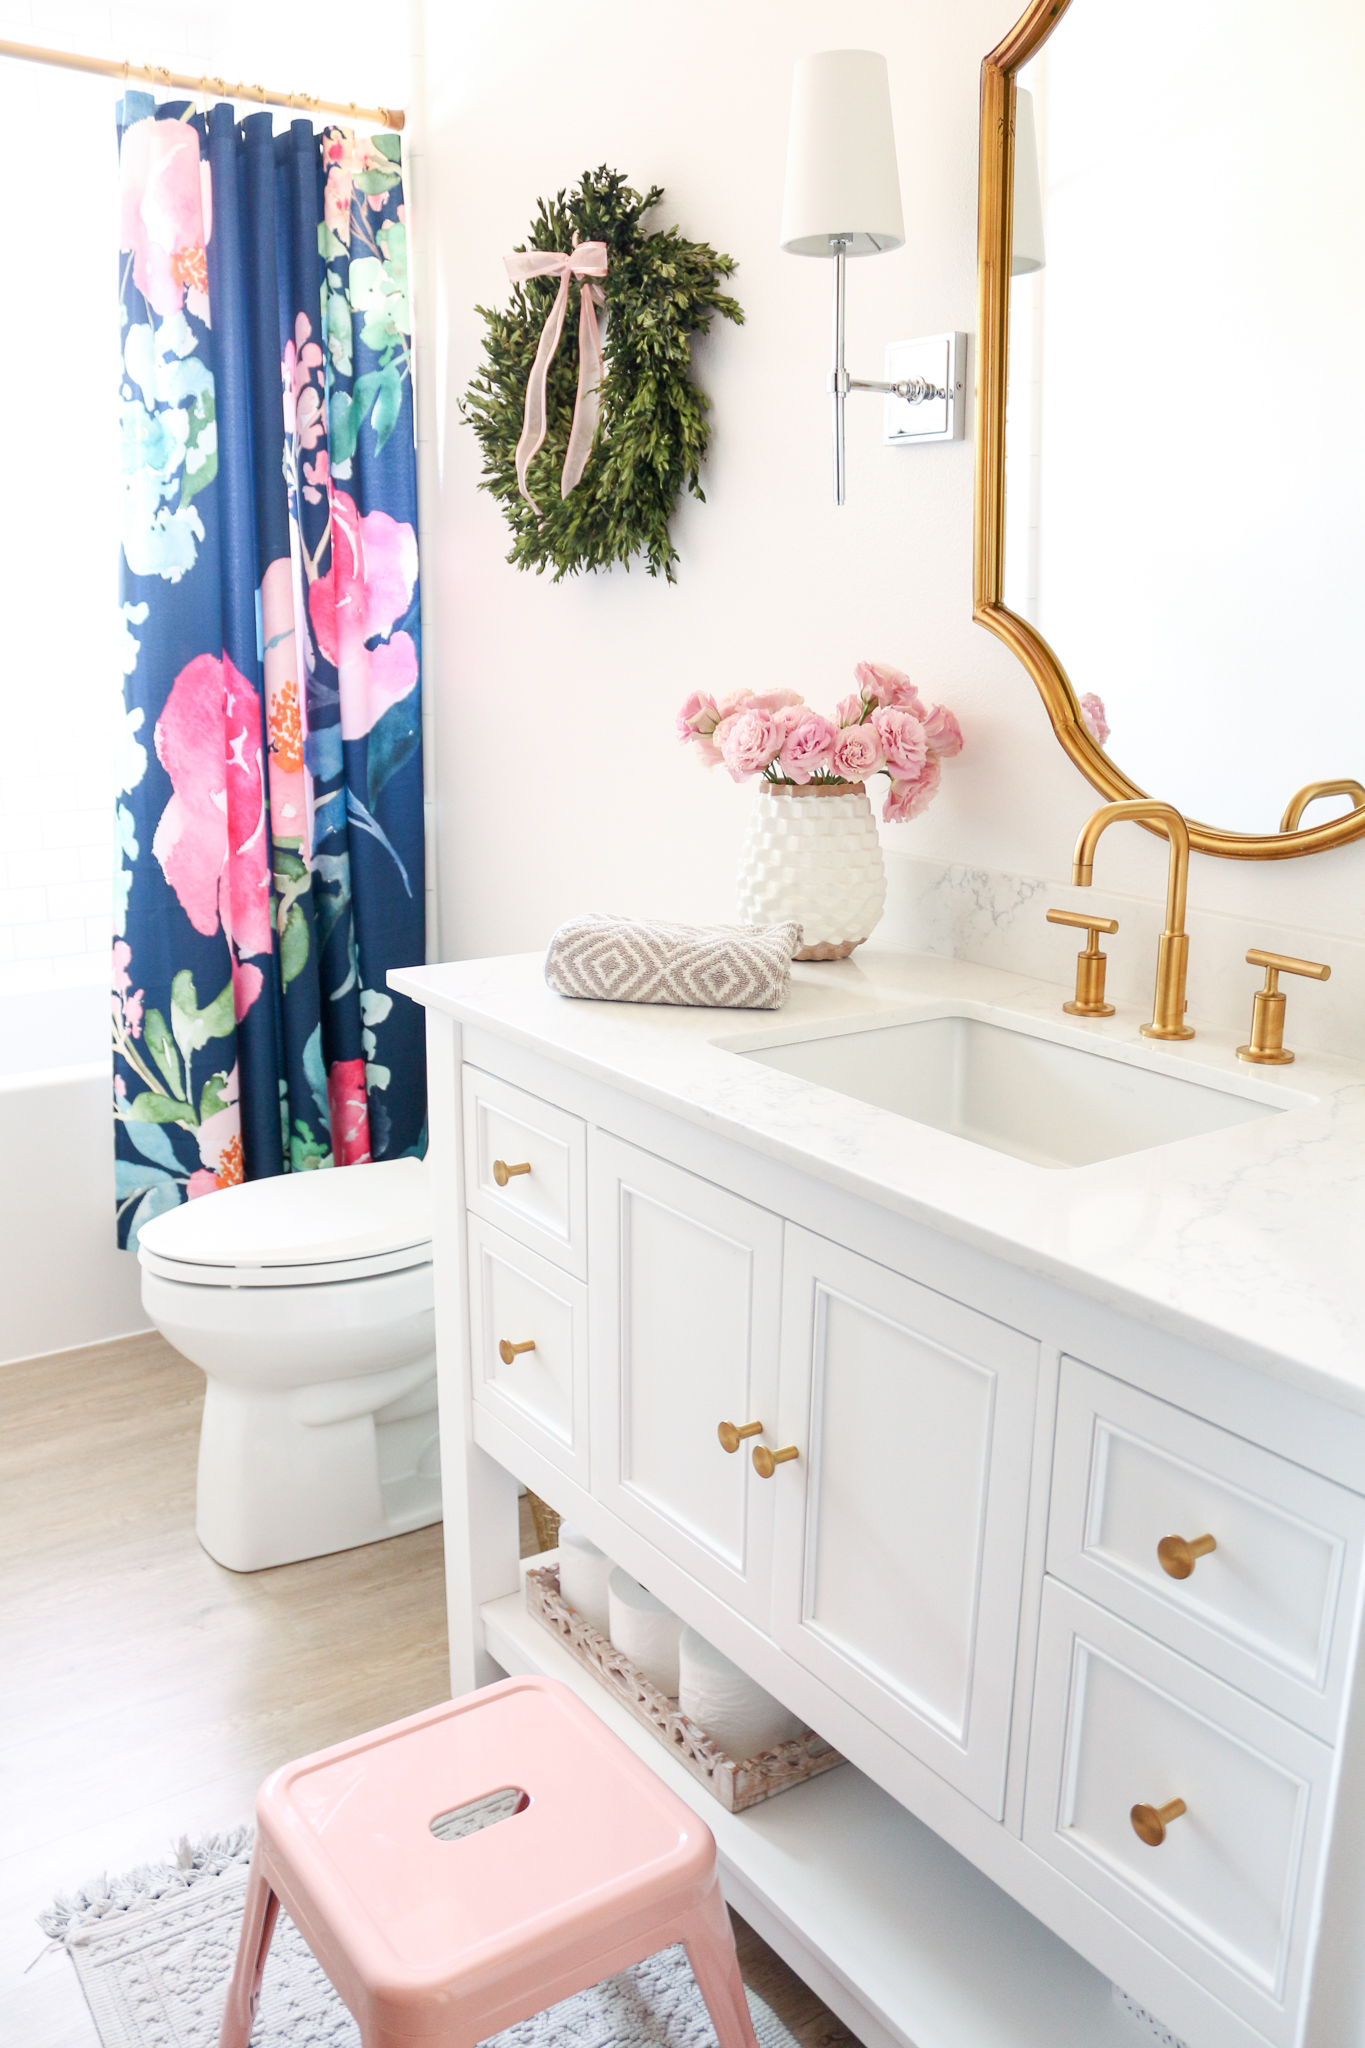
Vanity//Knobs//Sconces//Faucet//Similar Mirror//Similar Shower Curtain//Quartz//Vase
Let’s take a look back in time first to see how far we’ve come…and if you want to refresh or you are new here head to this post to see my bathroom inspiration post for our new house.
Before the Renovation
Here are the before pictures…
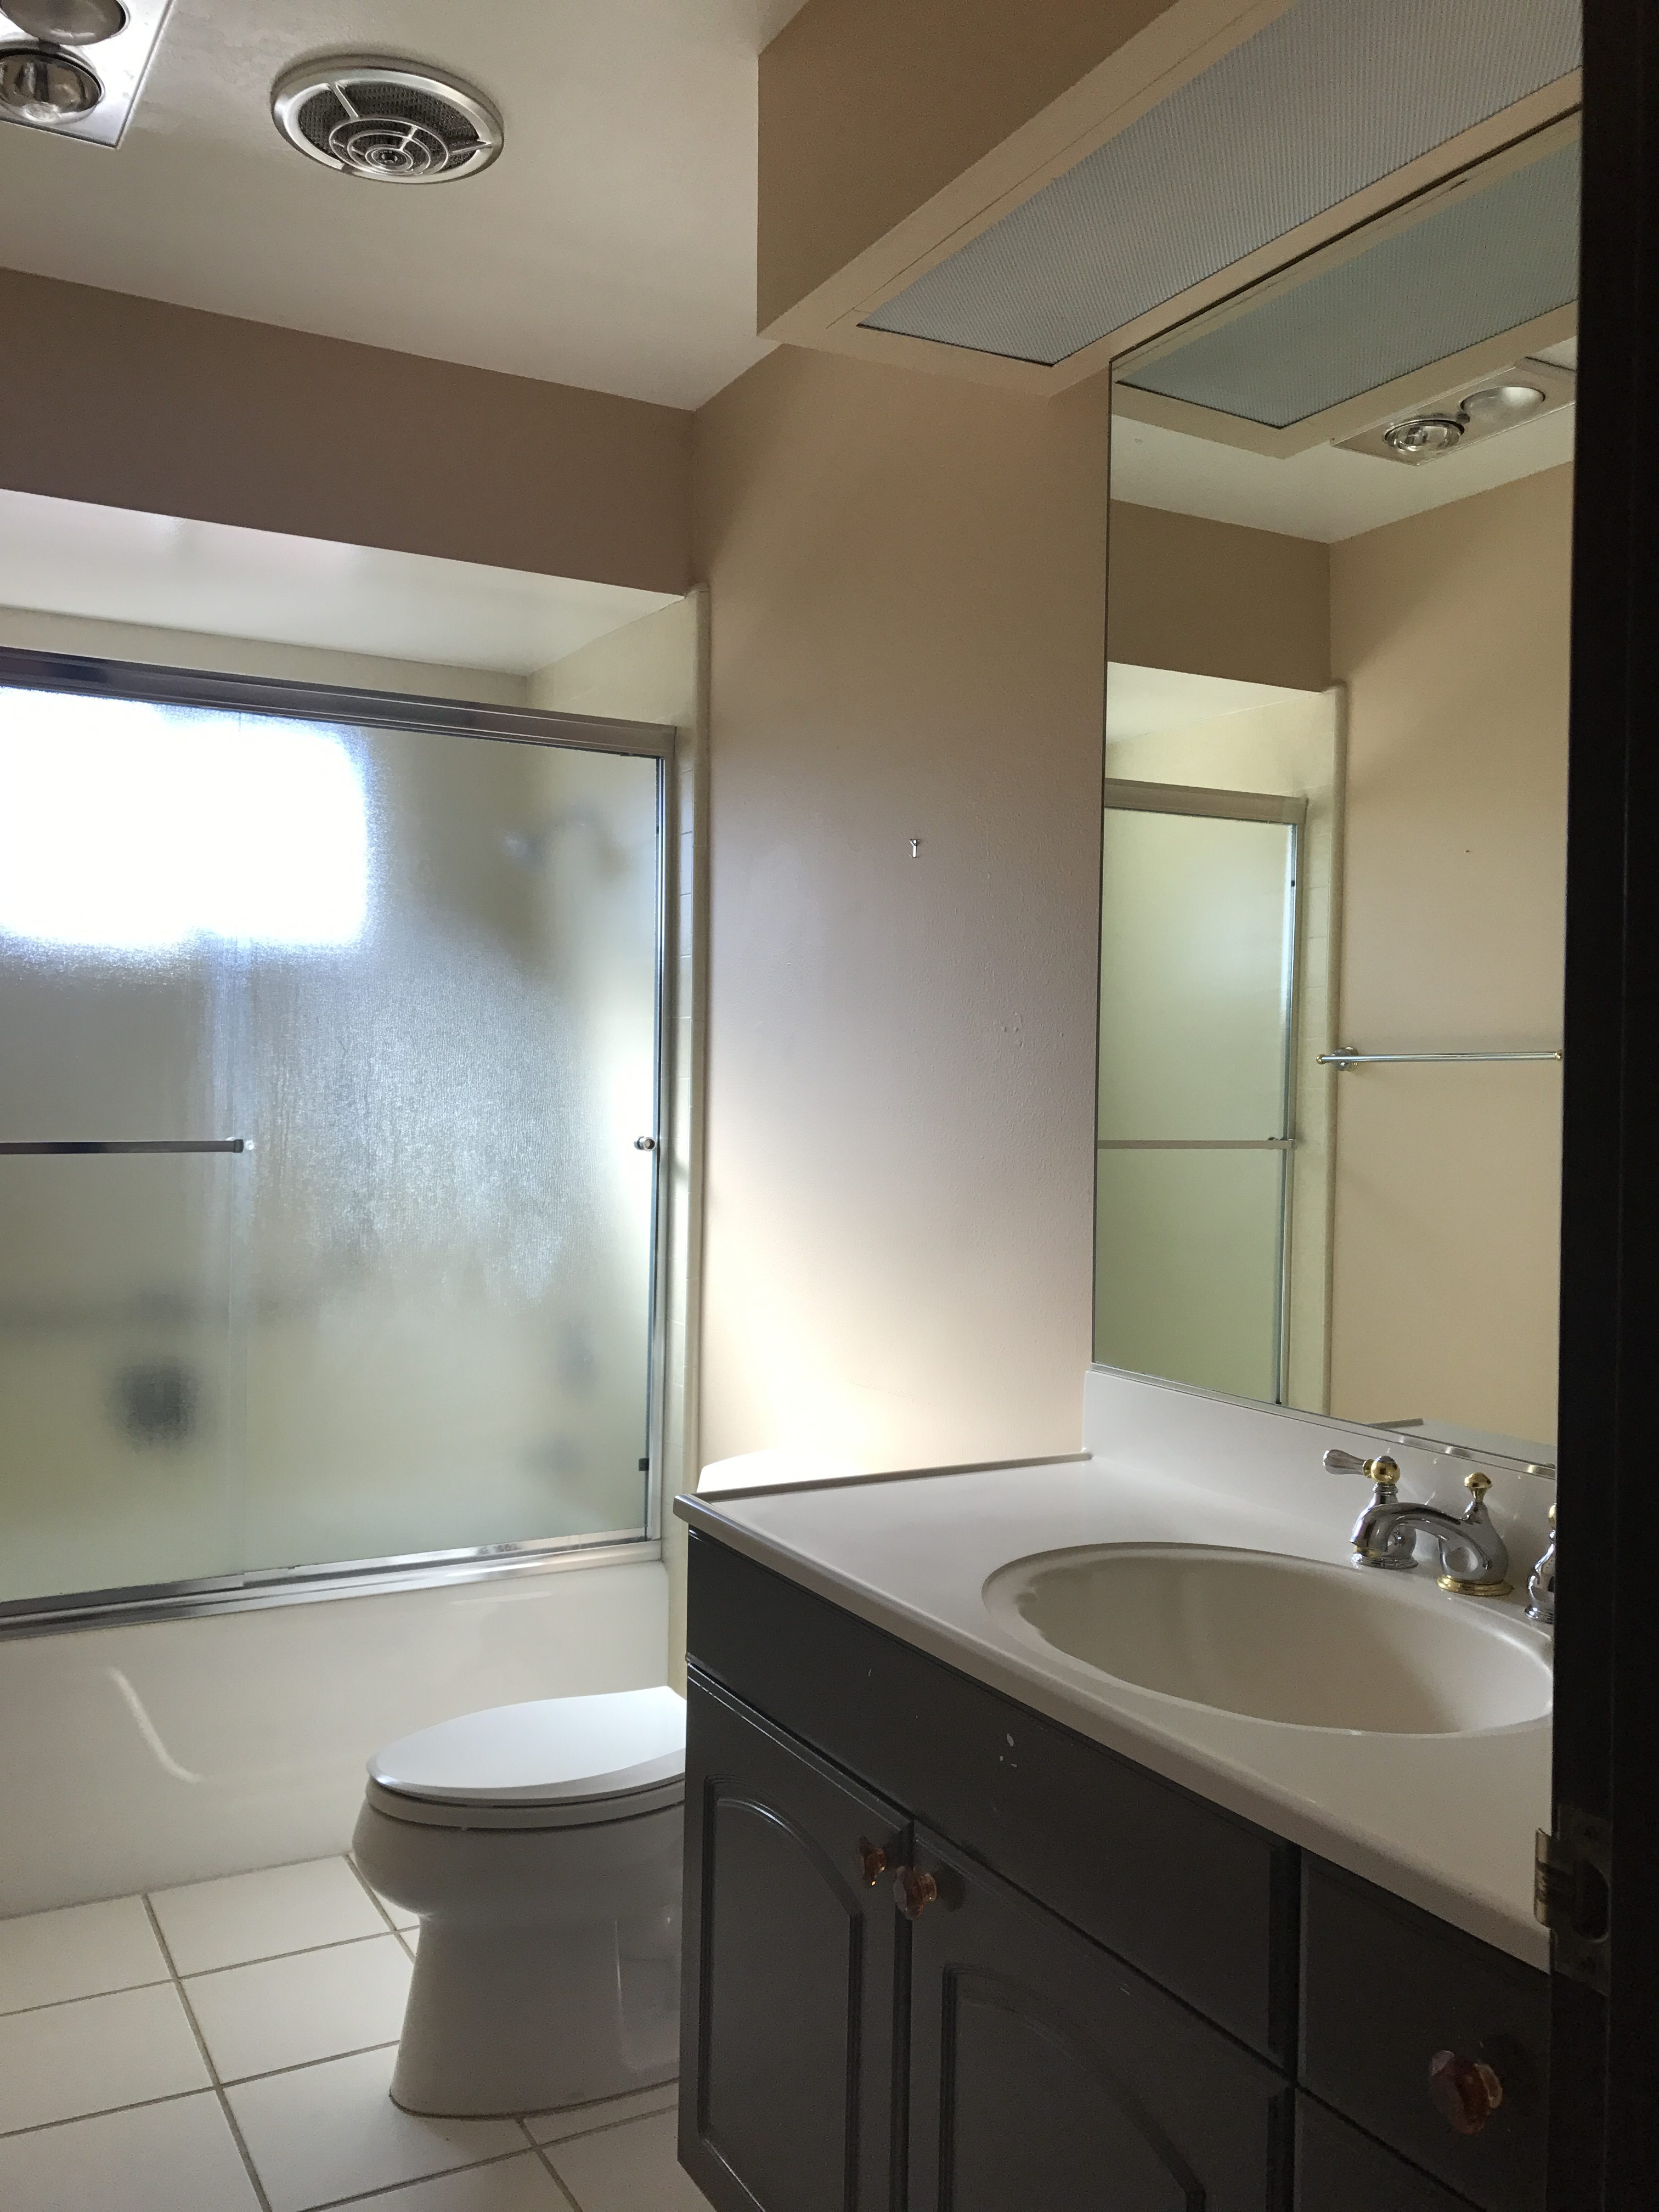
It was dark and dreary and in need of a serious overhaul! Peach colored walls and a dark chocolate brown trim. The vanity was the opposite of what I envisioned for this space. Having the vision is important or else you would completely walk away and think – no way! I said to myself – no problem – let’s do this! The more challenging the better!
The Renovation Process
We completely gutted the entire bathroom. One of the biggest changes that we made was removing the drop ceiling areas and outdated lighting. Making the ceiling one height made a huge difference! Let’s take a look at the renovation details below.
Renovation Details
Demo included the following:
- Tile Demo (floor & shower)
- Demo Vanity, Mirror, Shower Doors, Toilet
- Remove existing drop ceilings & sofits
- Remove existing electrical (including an old heat lamp – eek!)
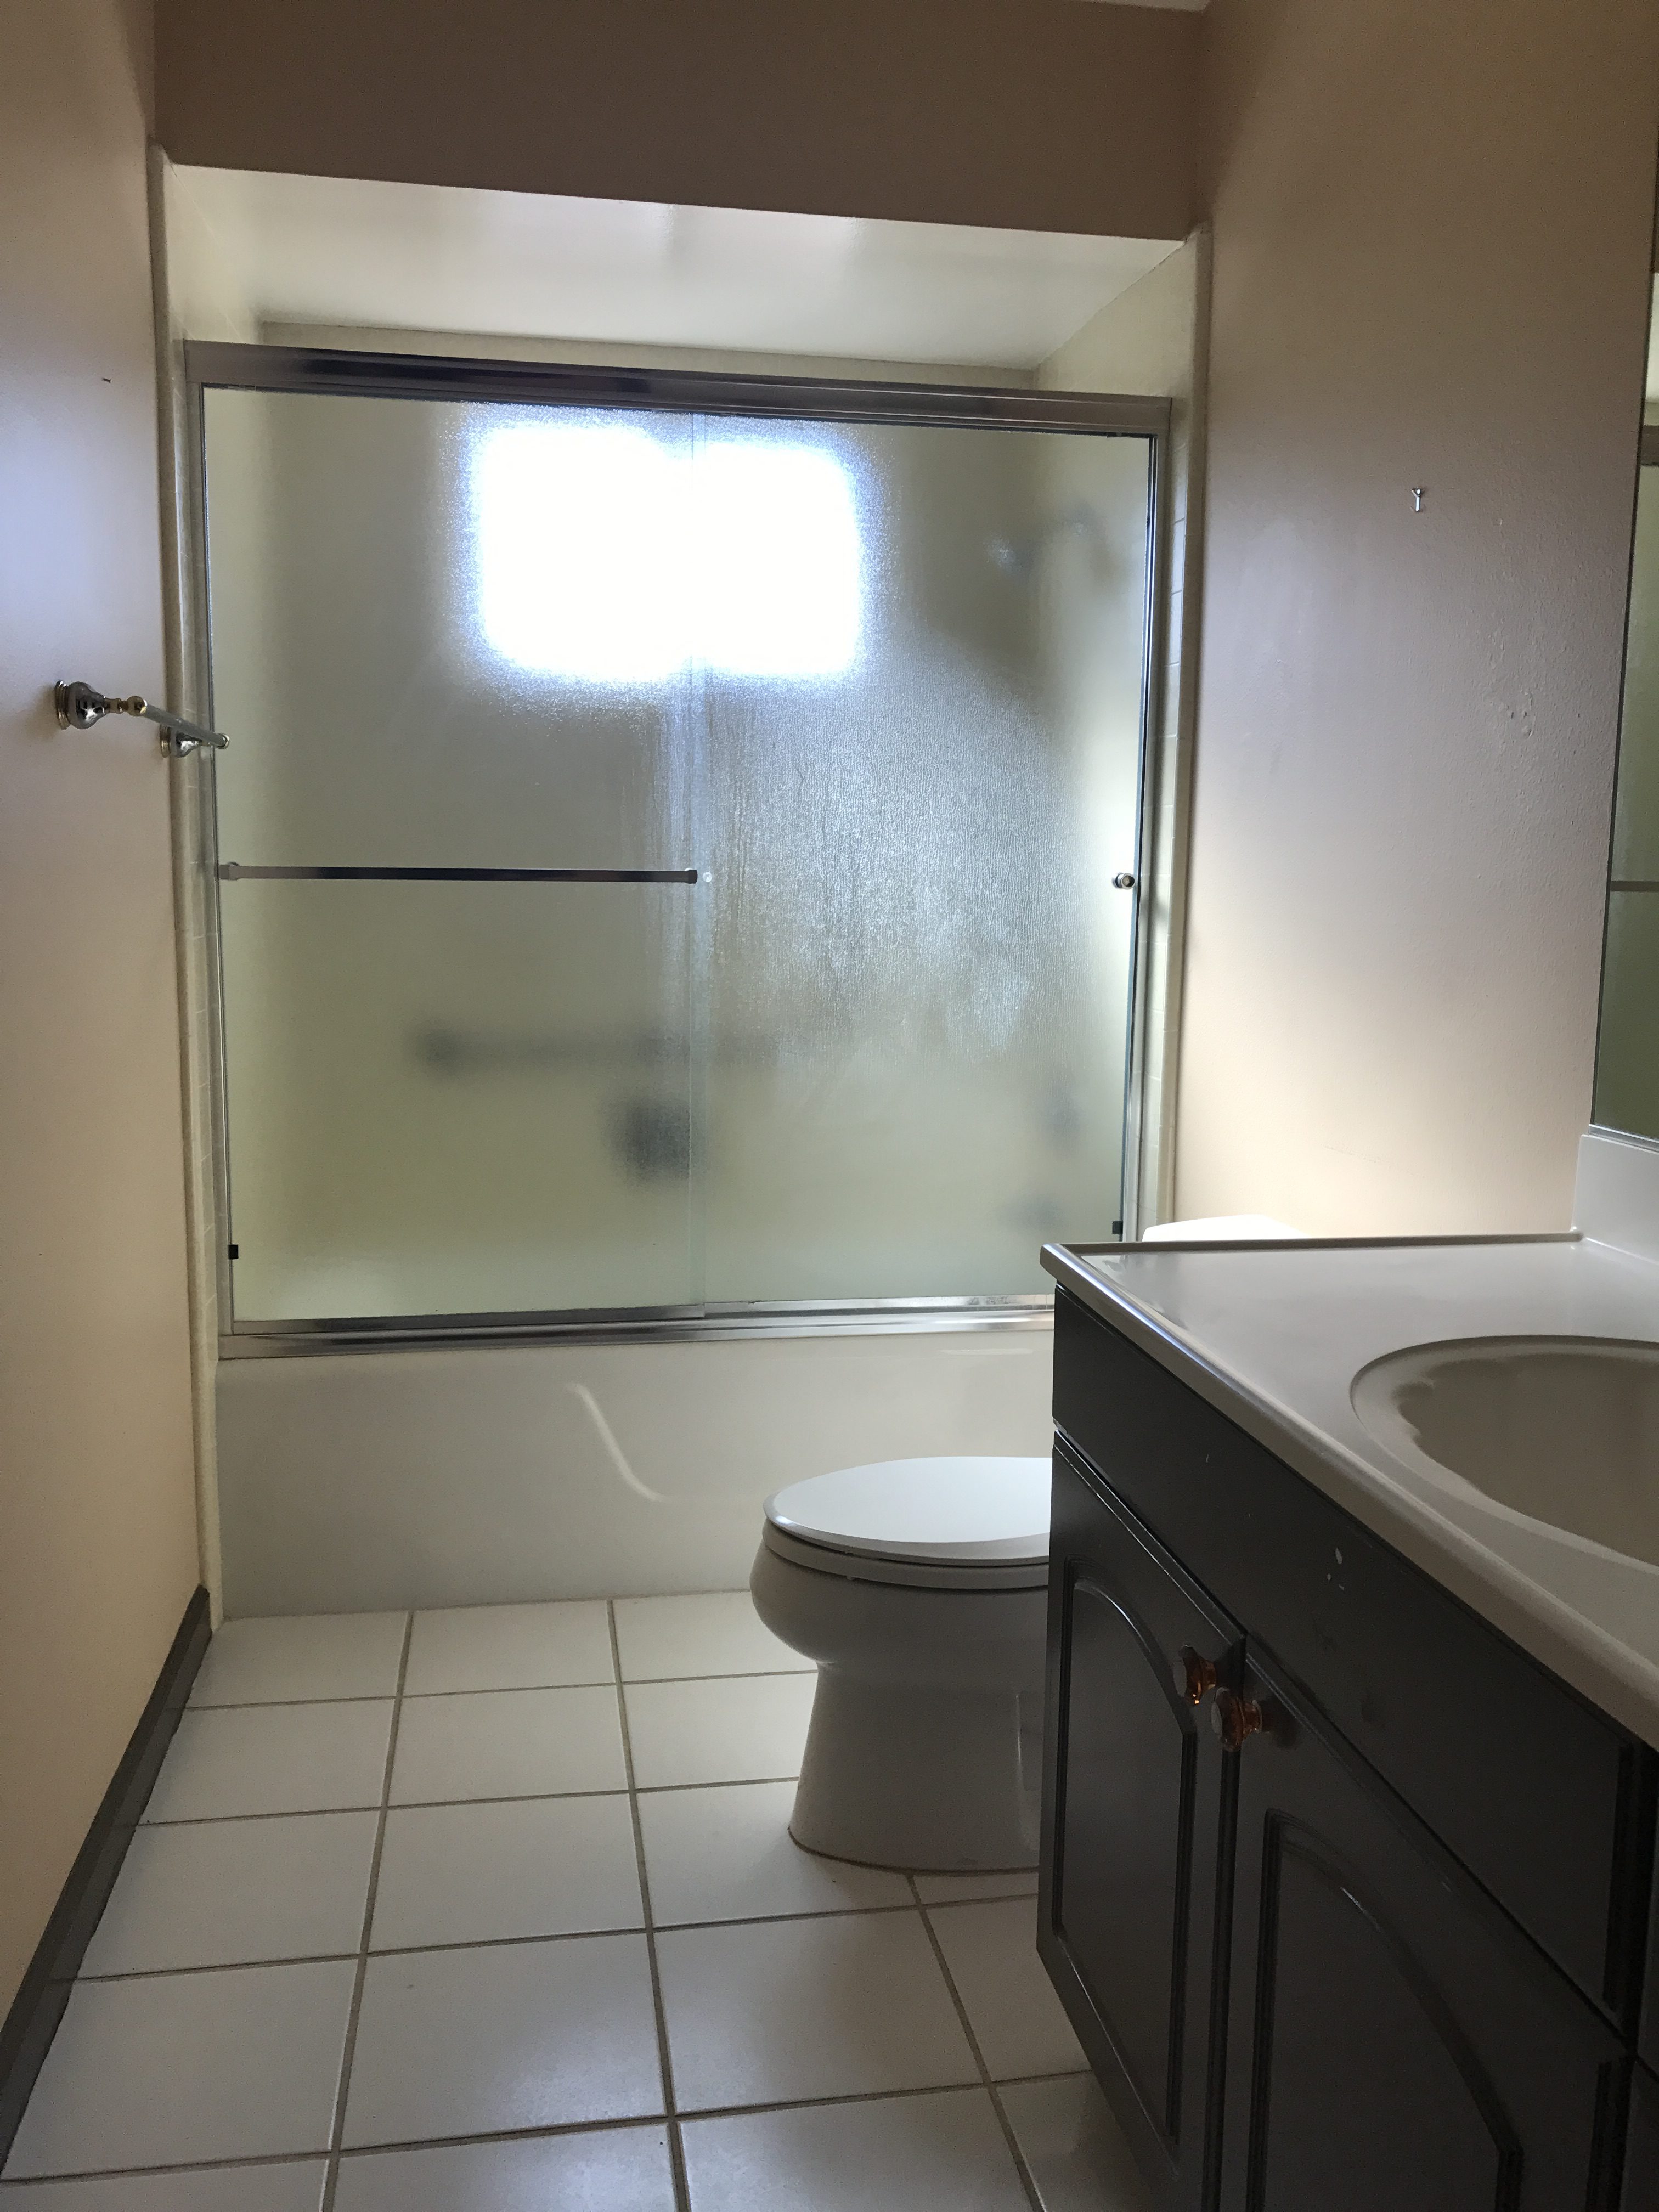
This bathroom was gutted down to the studs and I knew it needed bright and white to make it feel open and airy. I love having a small window in the shower area – it brings in natural light and a wonderful air flow. It’s hidden in the before picture by those ugly shower doors.
Renovation Details
Install/Changes:
- Install luxury vinyl wood plank flooring (super durable and waterproof)
- Install subway tile for shower area with 2 niches & shower fixtures
- Install new tub & fixtures
- Install new toilet
- Install new vanity, sink, countertop, faucet, and vanity hardware
- Install new mirror
- Install new lighting & new bathroom fan
Bright White Design Vision
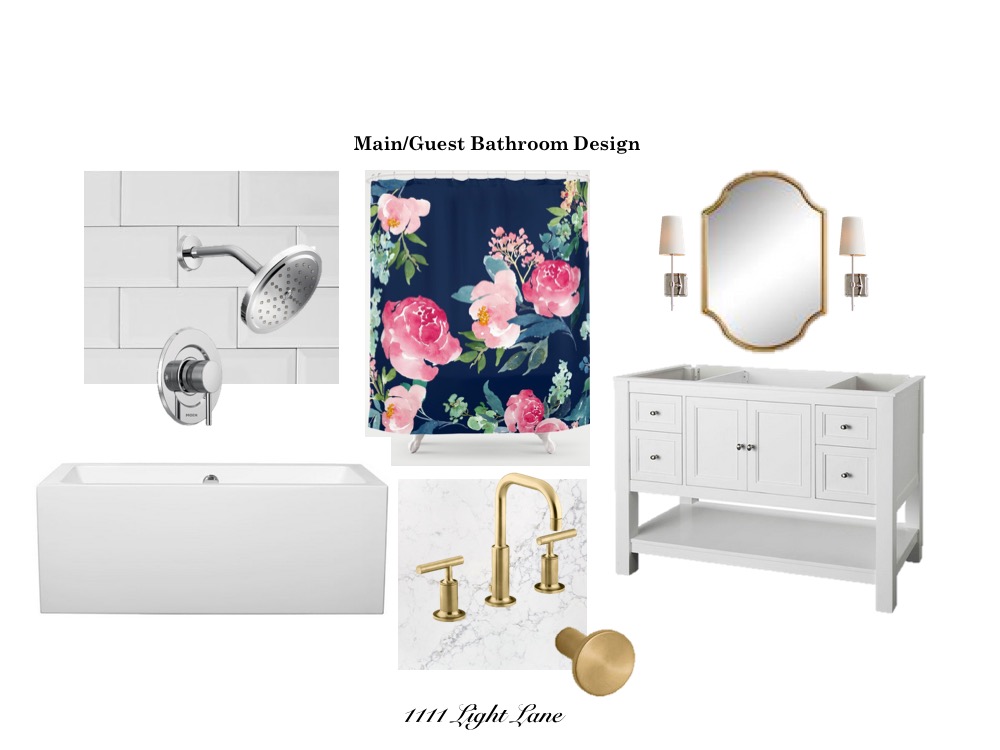
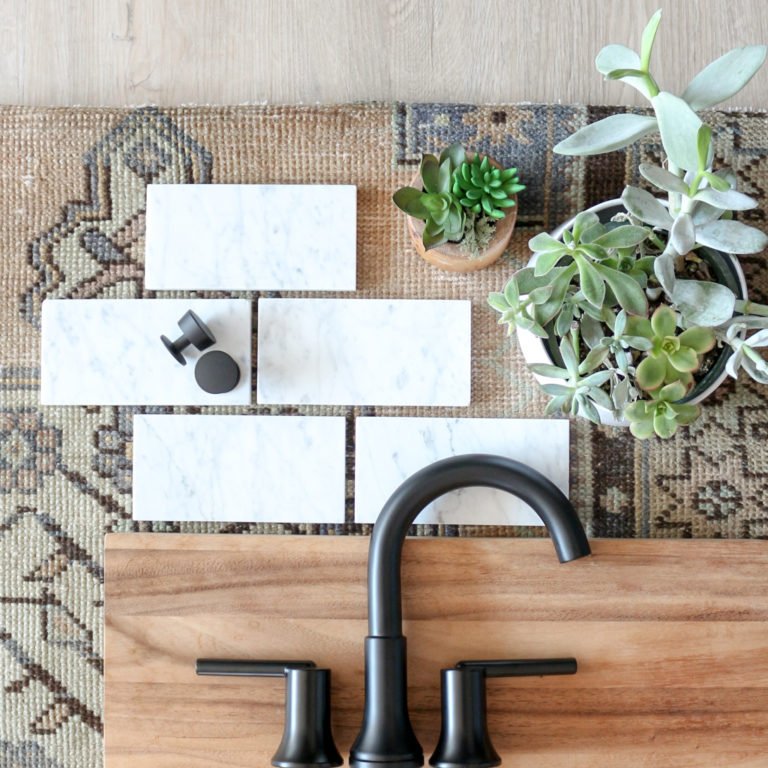
Here was my vision for my bright white chic bathroom. I put together this design board so I could have a visual of how everything would look together in one space. It was so helpful!
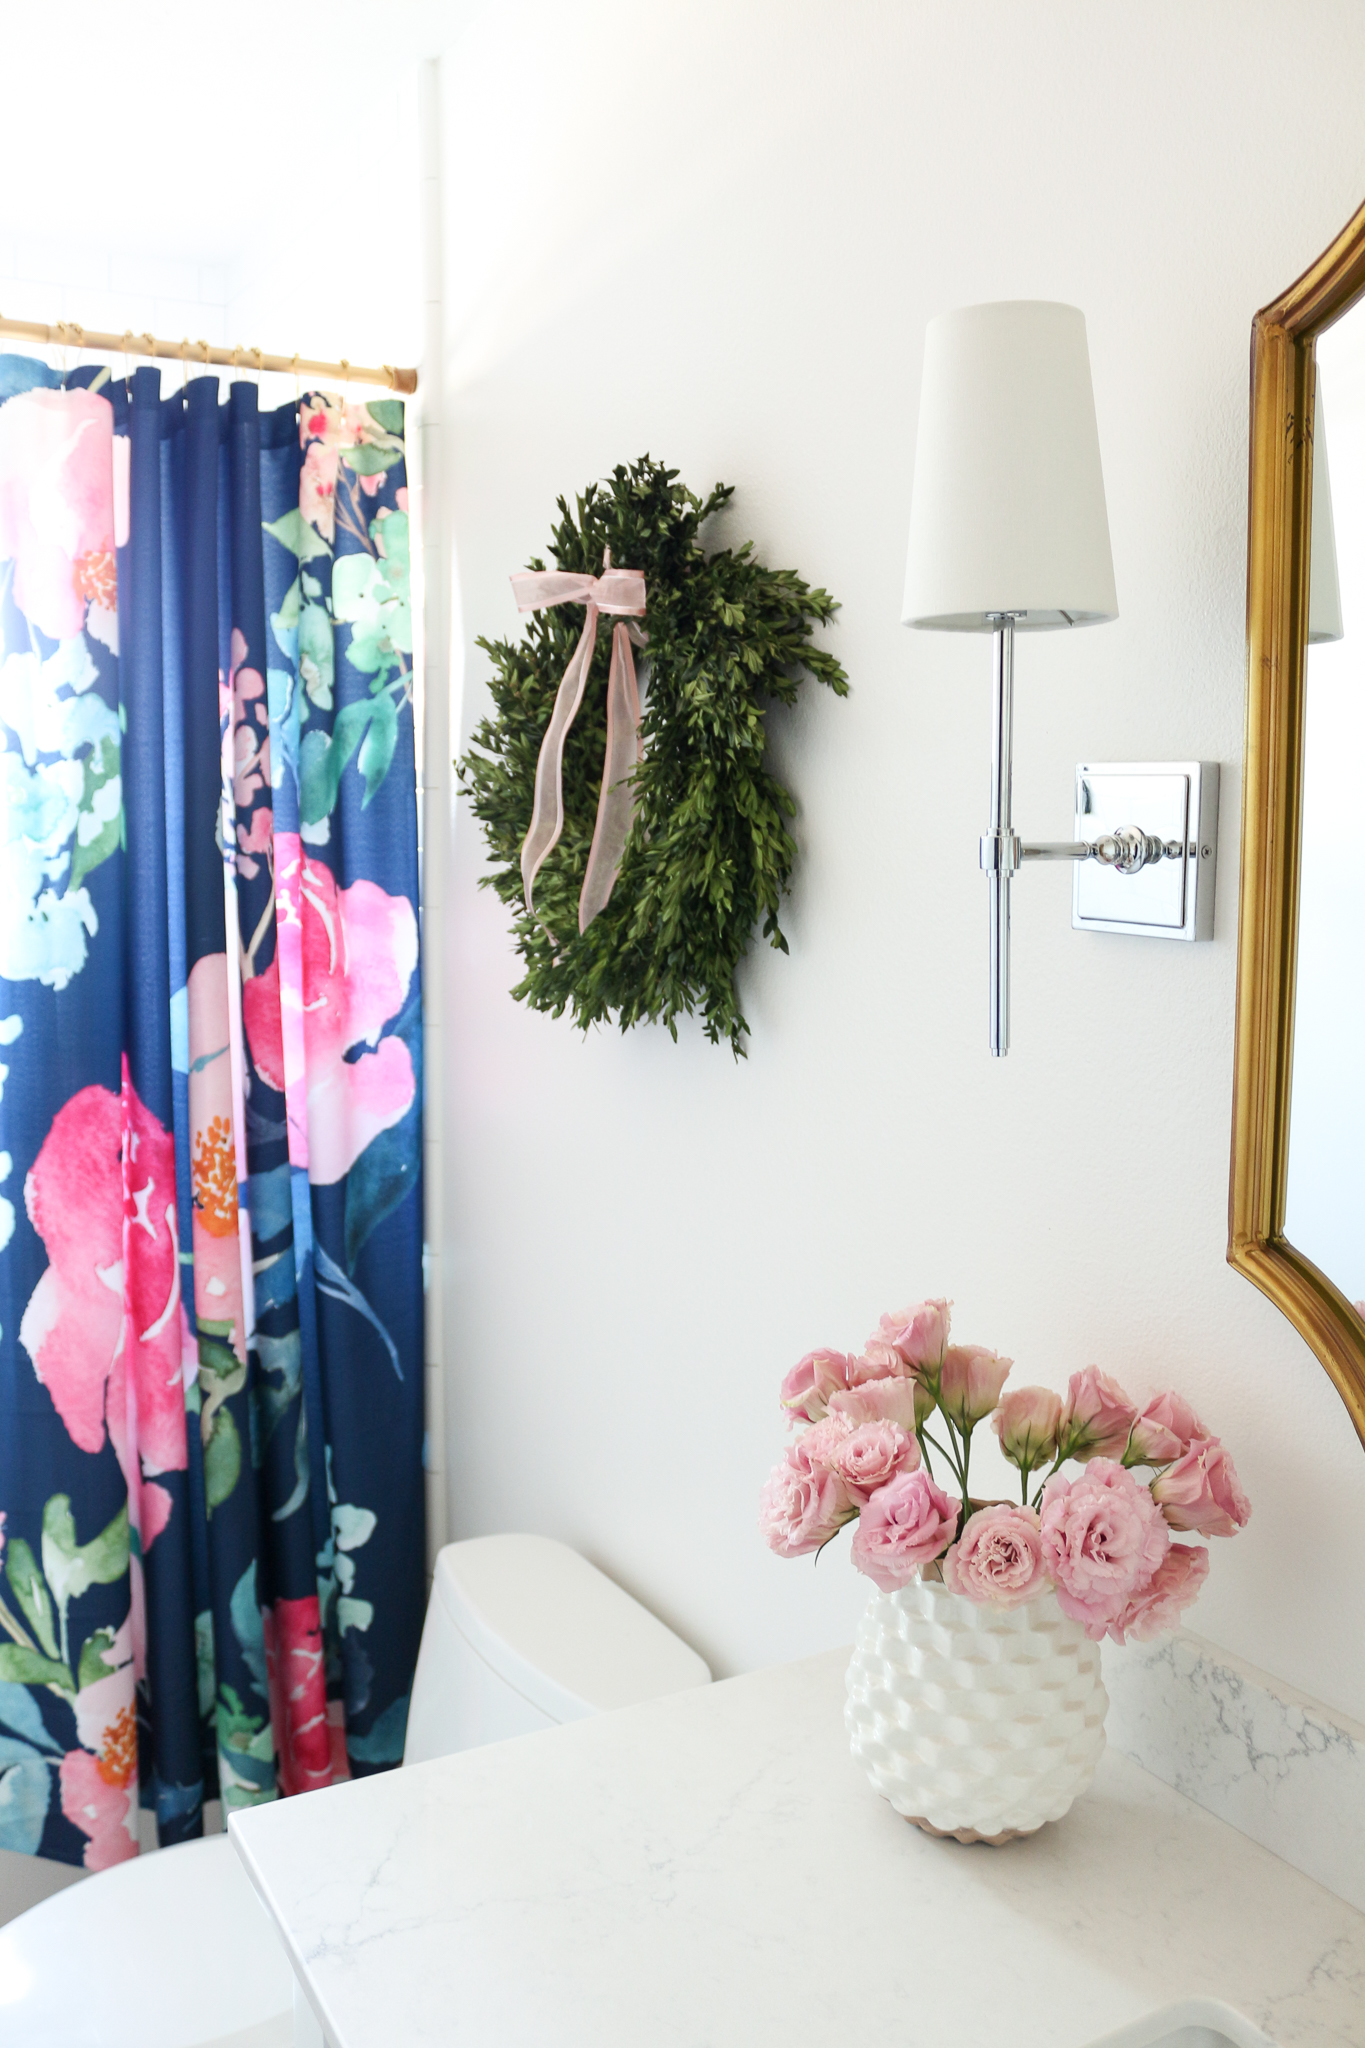
The shower curtain was one of my favorite finds. Since this bathroom is used mostly for guests and our 2 little girls I wanted it to be pretty and chic. The floral pattern in the shower curtain adds contrast and compliments the rest of the finishes. I added this pretty boxwood wreath for the holidays and it gives it the perfect subtle holiday touch!
Splurges & Budget Friendly Items
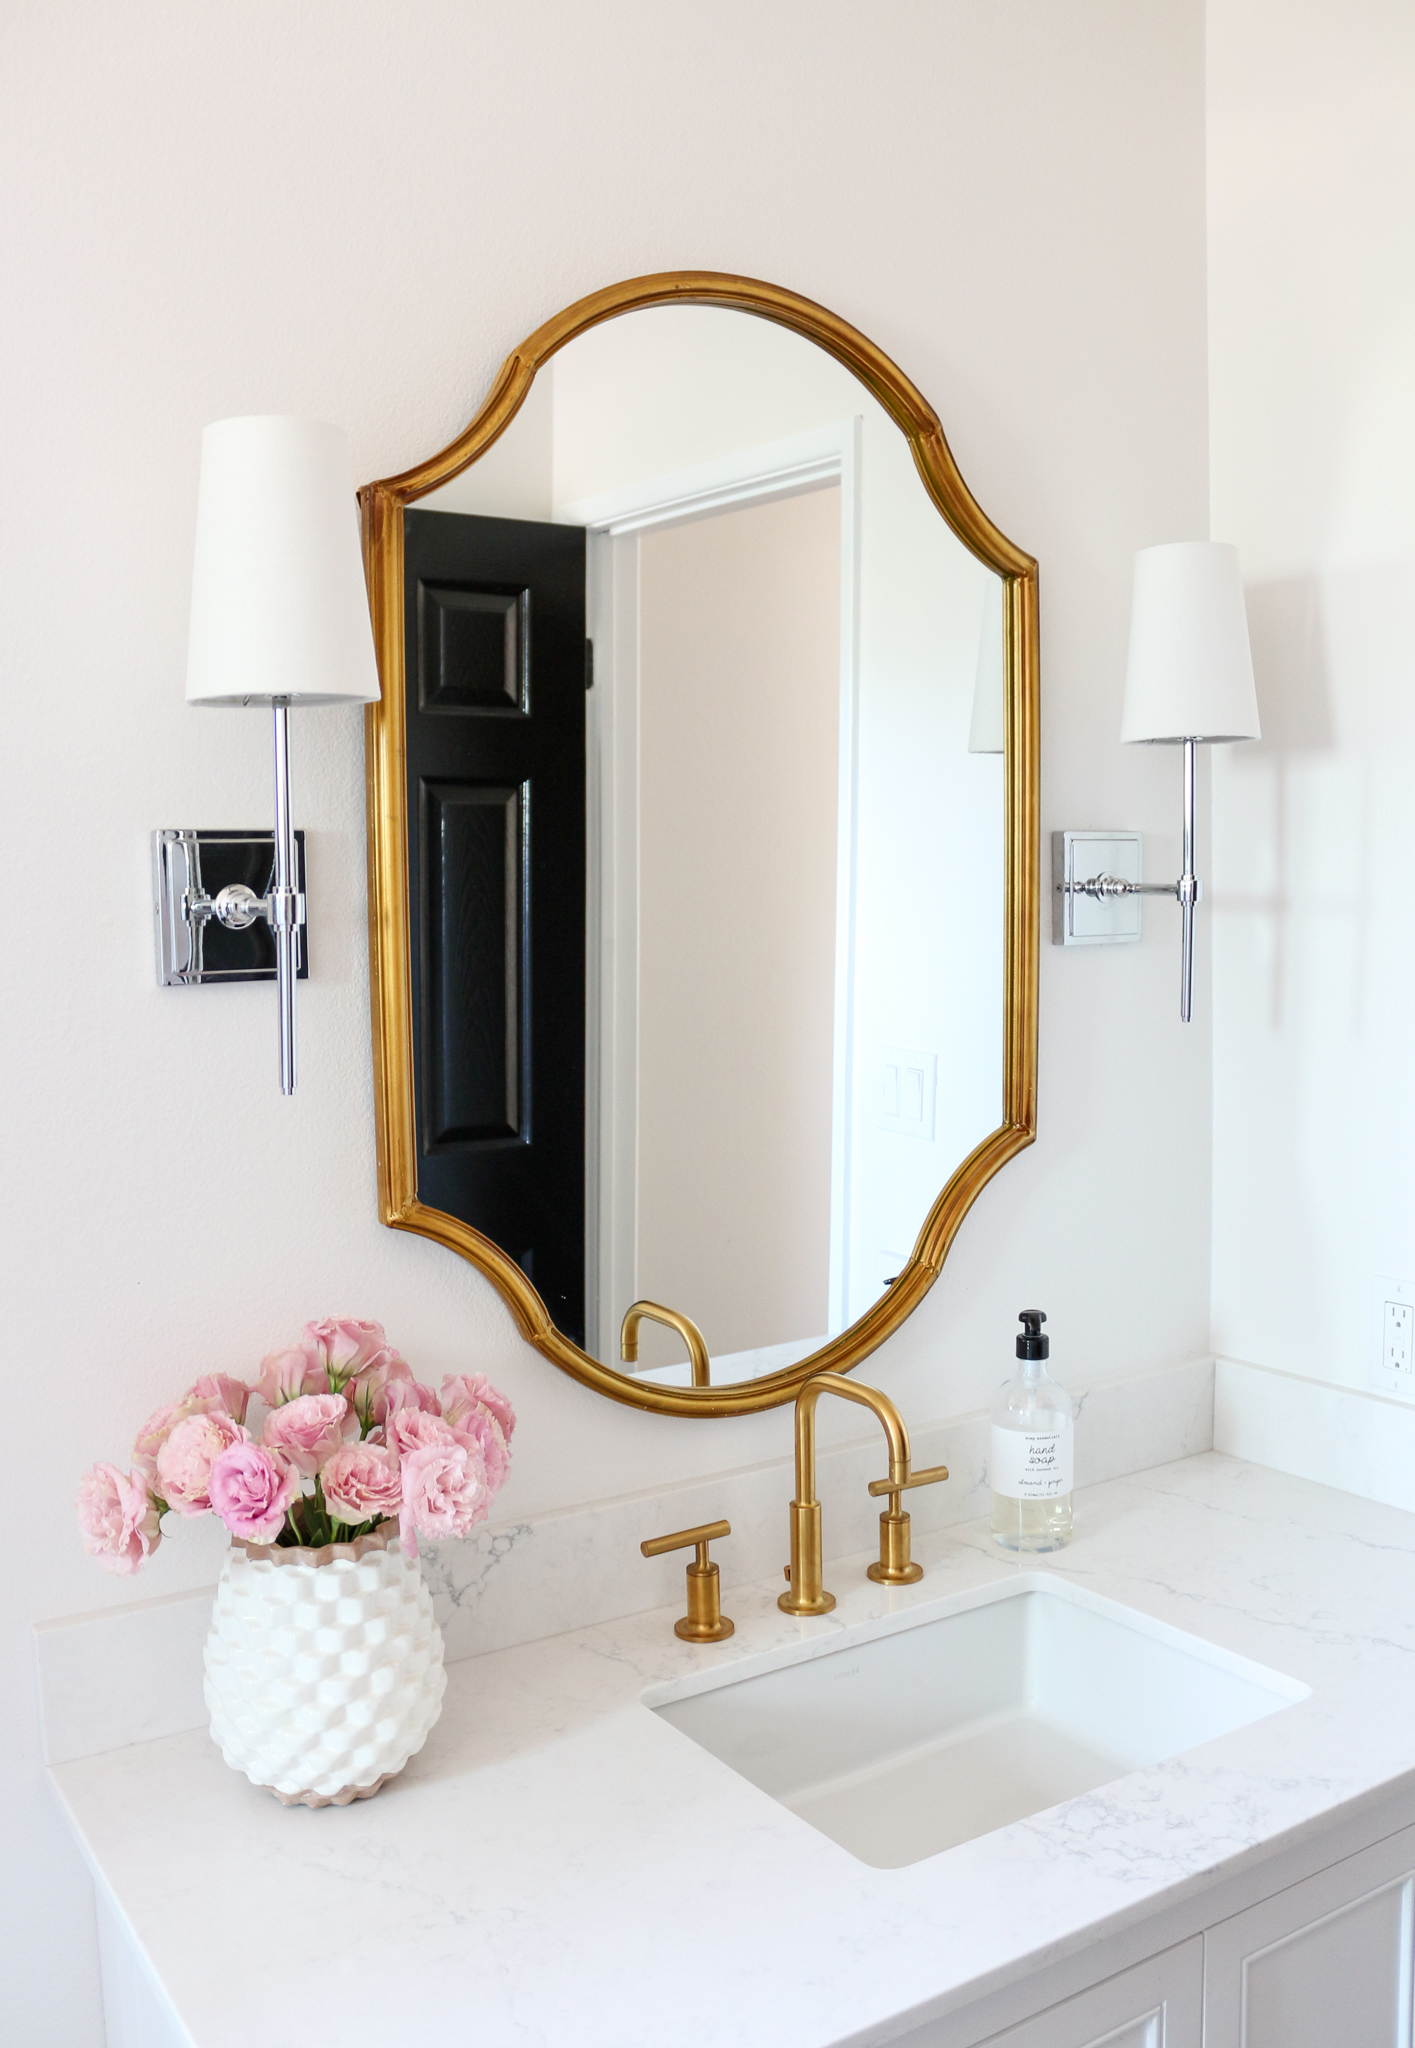
I splurged on the sconces because I was obsessed with them! I was able to get them on sale which was helpful but they were one of the more expensive items in my renovation budget. My other splurge was the faucet – totally worth it! The brass in the faucet matches the mirror perfectly. I scored the mirror via a sale and it is also another one of my favorites! I swapped out the hardware that came with the vanity for this pretty brass hardware to keep the brass consistent in that area of the bathroom. The vanity was budget friendly item while looking higher end and I love how much I can store in the drawers.
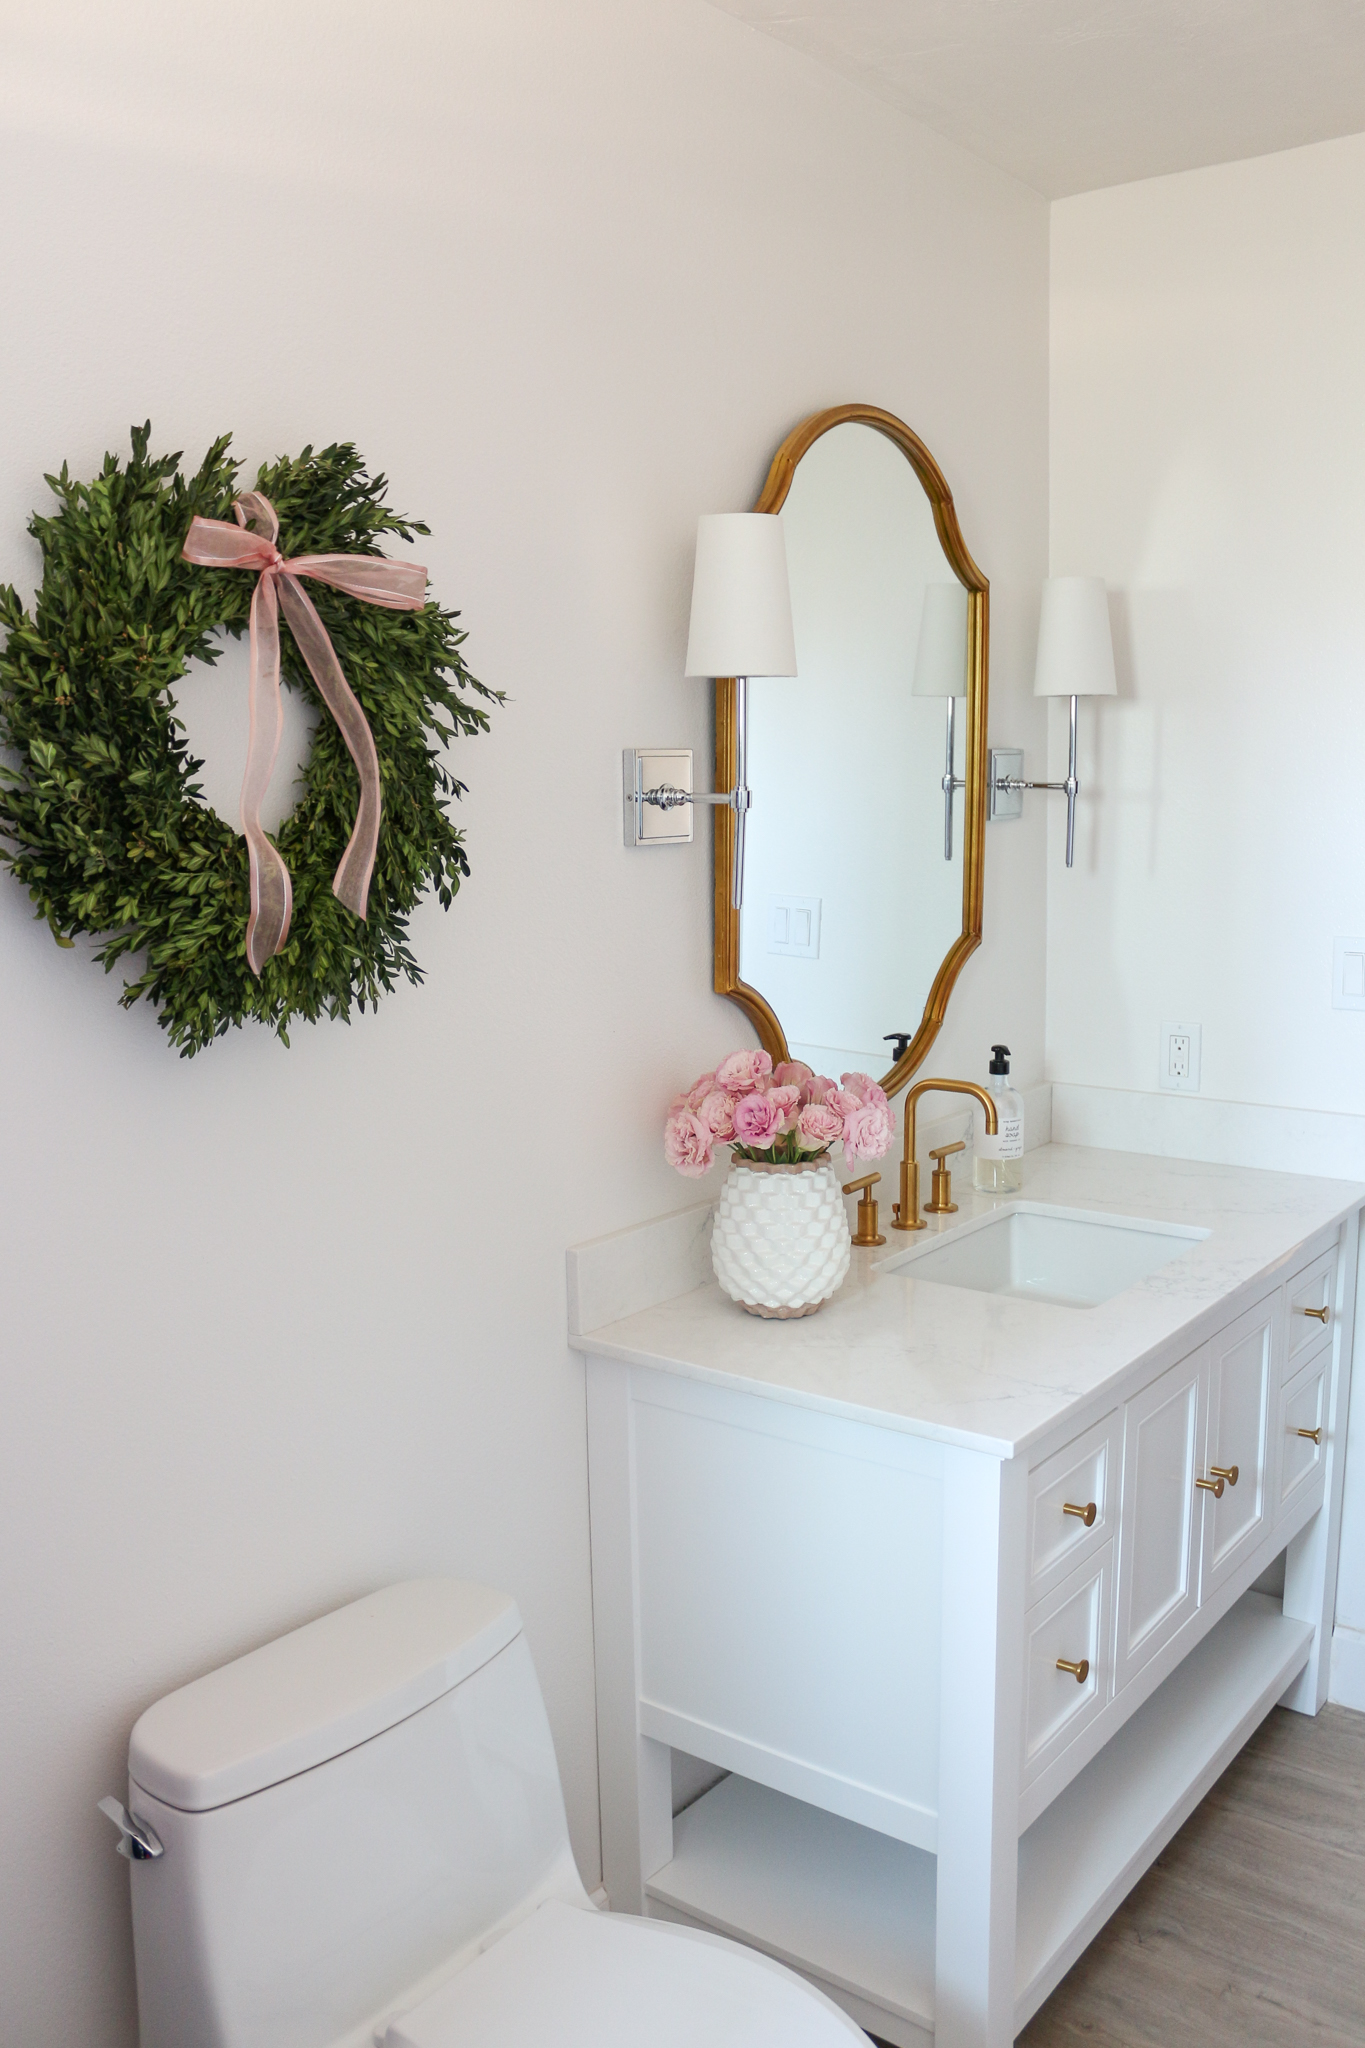
We were fortunate to have leftover quartz from our kitchen and so we fabricated the counter for our bathroom vanity. The vanity is so perfect for the space. We store everything in the drawers and that cute open shelf on the bottom is perfect for storing toilet paper and other items in cute baskets or trays.
The subway tile is so clean and classic. Subway tile is also budget friendly! We chose a grey grout and I love the mixed metal look with the fixtures. We also snagged a tub that is super deep and roomy an occasional relaxing soak in the tub!
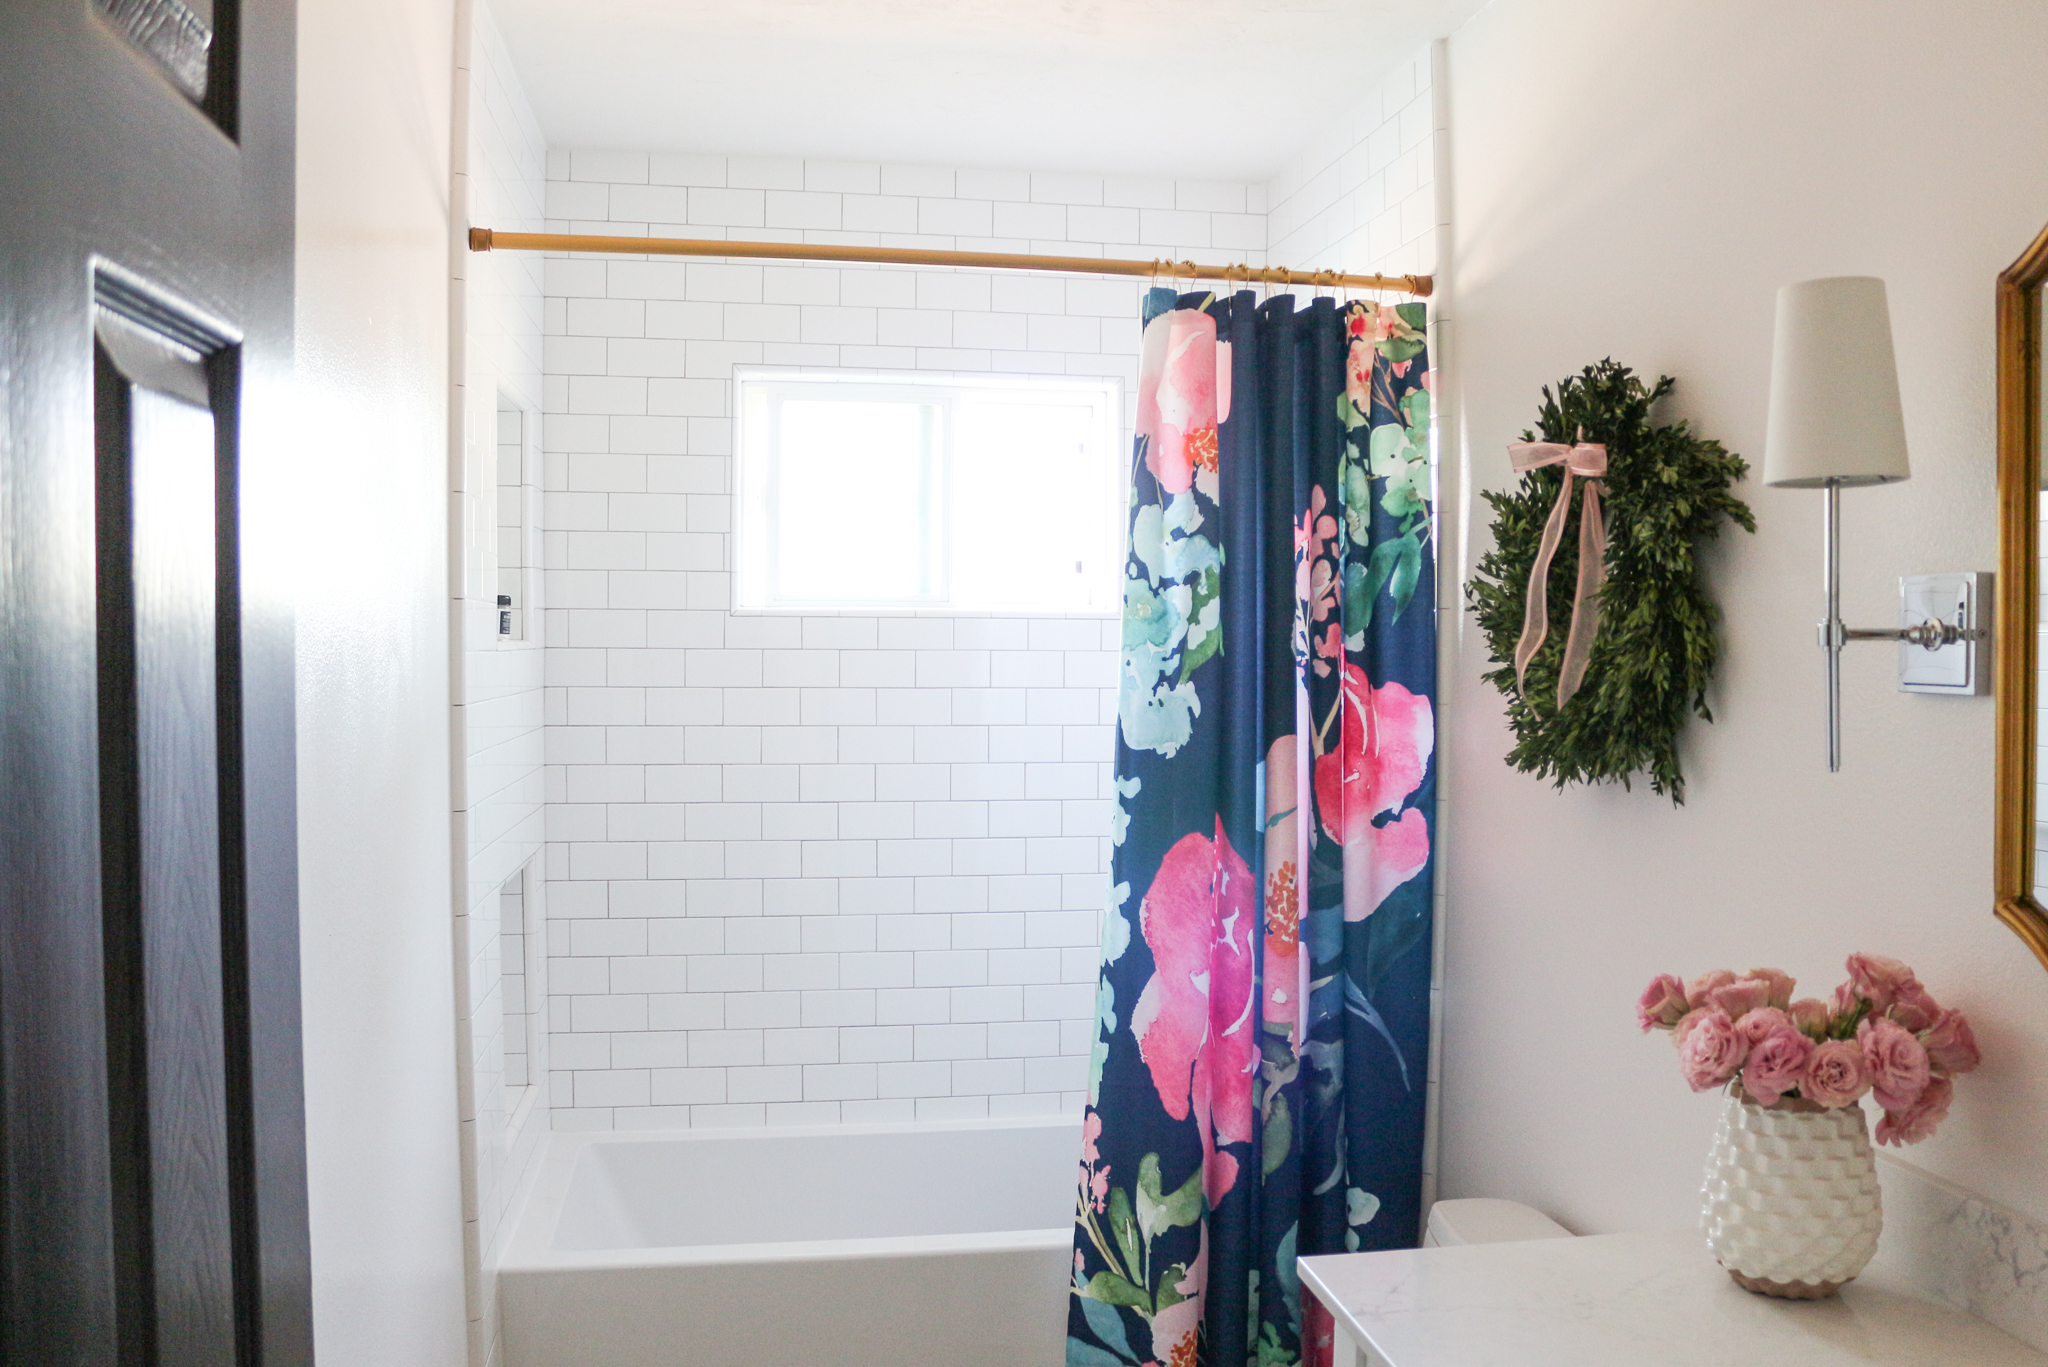
I love this little bathroom so much and I’ll be sharing more on the shower and tub detail very soon! Also if you were wondering we painted our entire house including this bathroom in Sherwin Williams Snowbound. It’s the perfect neutral and I love how it makes everything feel so open and airy!
The After: Bright, White & Chic
Here’s one last look at the after!

Thanks for letting me share my bright white chic bathroom renovation! It was such a joy to finally post about this transformation and share it with you!
Don’t forget to subscribe to the blog for all the latest posts!
Get this same look by shopping via the pics below:
Thanks for stopping by,

*Affiliate links used, all opinions my own.


Please please tell me where you got the navy floral shower curtain in the pic. ❤️❤️❤️❤️ It!
Hi! It’s from Society 6 (online). I believe I included the link in the post – hopefully it’s still available!
Where did you get the shower curtain?
Society 6!
This bathroom is super cute! Where did you find the pink metal stool??
Thank you so much! I found it at TJMaxx 🙂 I think they still have them – keep your eyes out!
Beautiful! What wall color was used? I love that it isn’t BRIGHT white.
Hi! Paint color is Snowbound by Sherwin Williams – it’s a very neutral white/light grey 🙂
How is the quality of the shower curtain?
Hi! The quality is awesome! 🙂
Want color paint are the walls?
Hi! They are Snowbound by Sherwin Williams 🙂
Hi! It’s Snowbound by Sherwin Williams 🙂
The links to your vanities aren’t working 🙁
Oh no! Thank you so much for letting me know – I’ll have to check them – thanks!
Where is the vanity from?
Hi! It’s linked in the post from Home Depot 🙂
I love your space! can you link the bathroom subway tiles or give the detentions and finish? Definitely an inspiration for the bathroom renovation we are in the middle of doing right now!
Hi! Thank you so much for your kind words. They are the standard subway tile size – 3×6 🙂
Hi Beth,
You did an awesome job! What color white paint did you use in your bathroom renovation?
Thanks,
Christine McCully
Thank you so much for your kind words! we used Sherwin Williams Snowbound 🙂
Hi! Beautiful bathroom! What size is the mirror?
Thank you for your kind words! I think it was roughly 2 x 3 feet – we moved recently so I can’t re-measure.